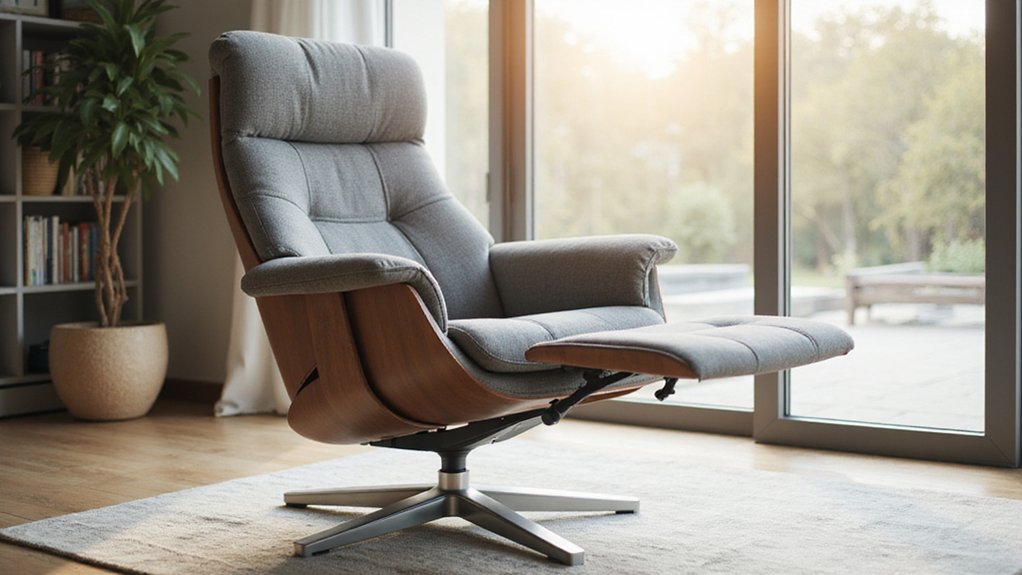
Wondering how to adjust the height of your recliner for maximum comfort? Whether you’re aiming to raise it slightly or set it at a specific level, there are straightforward ways to do so.
From built-in features to simple DIY fixes, you’ll be able to customize your chair easily. Keep reading for all the tips you need to get your recliner just right.
First, Identify Your Recliner’s Adjustment Type
To identify your recliner’s adjustment mechanism, look underneath the seat. A simple knob indicates a mechanical lift; turning it forward raises the chair. A wired or wireless remote points to an electric motorized model, which responds to button presses, using an electric motor coupled with gears for smooth movement. If you see a thumb wheel, you’re dealing with a hydraulic system that adjusts via pressure. Some chairs use cam bolts on the frame for adjustment, while high-end smart recliners feature a touchpad control interface. Recognizing the type of mechanism is crucial because it affects both the chair’s durability and its visual design, as internal parts and external controls are designed for long-lasting use and seamless appearance. If your electric model is unresponsive, troubleshooting begins with verifying the power supply voltage using a multimeter. For electric recliners, always disconnect any electrical wiring from the power source before attempting any internal adjustments to prevent damage or shock.

【Compatible with】:Switching power supply transformer compatible with Okin, Kaidi, Limoss, Pride, Golden, Lazboy, Flexsteel, Ashley, Room to Go, Berkline, Med-lift and...
Raise Height Quickly With Furniture Risers
You can quickly raise your recliner’s height by using furniture risers. Standard block risers typically offer a fixed lift, such as 1 to 4 inches, which is ideal if you want a consistent boost. Adjustable screw risers, on the other hand, allow you to customize the height by turning threaded nuts, providing a more tailored elevation. To install, simply lift your chair slightly and slide the risers underneath its frame or legs. This method requires no internal modifications and can be done in minutes. After placement, check that your cushion remains stable and comfortable. For enhanced safety, ensure the raised chair is properly stabilized by securing recliners with straps like those recommended for mobile settings. The space created underneath the chair can also serve as additional storage or a spot for decorative items. If you encounter issues with the recliner pull cable after adjusting the height, a straightforward DIY replacement is possible with basic tools. Before beginning any project, it’s wise to check the chair’s structural integrity to ensure it can safely support the new configuration. Always ensure the risers are compatible with your recliner’s base and follow the manufacturer’s instructions carefully for a secure and stable fit.

【Precautions】For 2 layer(3inches)and 3 layer(4.3inches), the intermediate sections (excluding the top and bottom) are stackable. 1 layer(1.5inches) does not have an intermediate section and therefore cannot be stacked.

Save Space & Organize Your Dorm: Need more storage? These bed risers lift your bed, sofa, couch, desk, or table a full 3 inches. The blocks give you instant under-bed space for bins, suitcases, or shoes – perfect for cramped dorms or small apartments

Raises Recliner Height 1.75" - raises effective Seat Height 4-6". Weight capacity is 800 pounds including furniture
Adjust Height With Built-In Threaded Legs
If your recliner has built-in threaded legs, you can adjust its height precisely yourself. Locate the legs, which will have a hexagonal end designed for a wrench. Using your tool, rotate a leg counterclockwise to raise it or clockwise to lower it, turning in quarter-turn increments for fine control. To ensure stability, all four legs should be adjusted evenly. Measure from the ground to the base of the chair at each leg to check for levelness. Adjust each leg sequentially until the heights are within an eighth of an inch of each other. This prevents wobbling and provides secure support, which is especially important for nightly use as poor spinal alignment can lead to discomfort. For optimal safety, remember that stability in furniture raising is critical, and proper maintenance of your furniture’s mechanisms is key to achieving a longer lifespan for your power recliner. Consider how this adjustment affects the overall room harmony with your other furniture pieces.
Never extend the threaded legs beyond their maximum length, which is typically four inches, as this increases the risk of failure and reduces stability. Once you’ve achieved the desired height, re-tighten each leg firmly to lock the setting in place and maintain safety.

STRONG MATERIAL--These adjustable furniture levelers are made of galvanized steel that will never get rusted, they are fully adjustable threads that provide maximum support. Comes with a high-density thick felt pad for the base to reduce friction and noise while moving or sliding the furniture.

Material:Built with durable plastic and metal plus a rubber base.
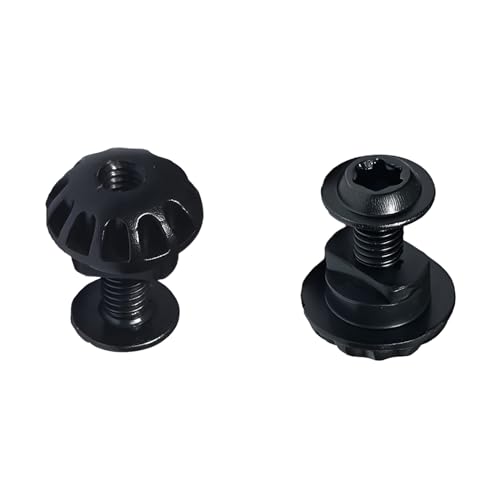
Product Overview:These Screw bolts and Plastic Grommet/Nuts Compatible with La-Z-Boy are used as replacement parts to replace the Screw bolts at the 3-position Locks position
Change Perceived Height With Frame Angle
Adjusting the frame angle is a quick way to change how high the seat feels without changing its physical height. To do this, tilt the frame forward or backward using adjustment bolts or wing nuts. Tilting the frame forward creates a nose-down position, making your knees align closer to the floor and shifting your visual perception to perceive the seat as higher. Moving the frame backward lowers this perceived height. If your chair has detachable armrests to simplify access, you may find this angle adjustment easier to perform. Before starting, it’s wise to check for any loose screws or bolts that could affect the process. Always perform quarter-turn adjustments on a level surface and secure the bolts firmly before sitting to test the new position, and consider using tie-down straps to safely hold components in place while you work. Keep in mind, this adjustment influences how tall the seat appears, not its actual dimensions, so find the angle that offers the best ergonomic support for you.

stability: the metal lock buckle and latch hinge enhance the chair's stability, ensuring it remains securely in place during use,recliner chair repair hinge,backrest seat lock
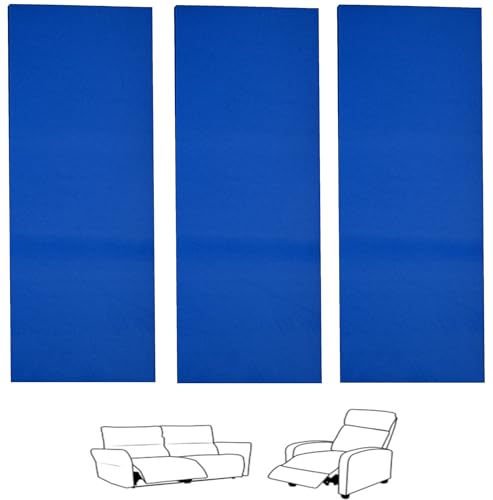
MAKE YOUR RECLINING FURNITURE LOOK AND FEEL LIKE NEW. Fix those uncomfortable ugly sags in your recliner and restore its beauty. SagsAway chair pads are the ultimate sinking or sagging seat saving repair tool
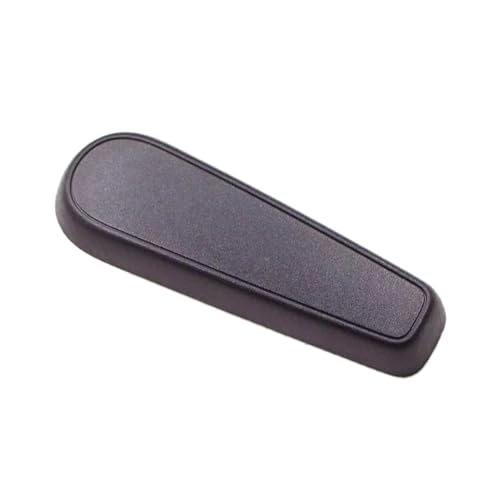
2) Perfect match for the original one.
Operate Electric Controls for Seamless Height Changes
You can operate your recliner’s electric controls to adjust its height easily. Locate the control panel on the chair’s side or use the remote. Tap the “Height” button once for a step adjustment, or press and hold it to enable continuous movement. Release the button when the chair reaches your desired height. The chair moves smoothly at a pace of about 1 to 2 inches per second and stops automatically when you release the control, serving as a form of automatic calibration for precise placement. During adjustment, listen for a gentle motor hum indicating the changeover. If your chair is moving unintentionally, you can use the same electric panel to engage a chair lock feature that stops the mechanism. Adjust the seat so your feet rest flat on the floor and your hips are near a 90-degree angle, ensuring you enjoy the full ergonomic benefits of proper support. For safety and to protect the motor, always plug the chair into a surge protector before use. Power recliners are particularly advantageous for individuals with mobility issues who require effortless adjustment. Some models also allow you to save your preferred height setting with a built-in “Memory” button for quick future adjustments. For those with mobility needs, this chair includes an integrated electric lift function that tilts the chair forward to assist with standing.

2 Button 5 Pin Connection to the Motor,work for 1 motor

Universal and Durable: CUGLB lift chair remote replacement perfectly fit for most brands that have a straight plug, round 5 pin connector, 2 button with up and down function. good quality, makes it strong and durable

This 9 button 5 pin massage remote Model HS.10.09.03 B features a convenient USB A port that allows you to charge your phone while relaxing. Please check your remote's model label before making orders. If the model is not same, it can't be replaced.
Tighten or Loosen Your Recliner’s Tension
To adjust your recliner’s tension, locate the adjustment mechanism, usually wing nuts, beneath the chair. To make the recline firmer, turn these nuts clockwise in small increments to increase spring tension. To ease the recline, rotate them counterclockwise to decrease tension. It’s important to adjust both sides equally to keep the chair balanced. Always make small incremental adjustments to prevent damage to the springs or overcompensation. After each small adjustment, flip the chair upright and lean back to test the resistance. This step-by-step process prevents over-tightening or loosening, which could damage the springs. Before adjusting tension, inspect for a worn locking mechanism as this can also cause a loose recline. A visual guide for fixing a loose recliner back can be very helpful for identifying related issues. By making careful, symmetrical adjustments, you can set the tension to your preferred comfort level. If you have an electric model, note that its modest power consumption from the motor won’t add much to your energy bill.
Perform a Final Safety and Comfort Check
Once you’ve set the tension, perform a thorough safety and comfort check before regular use. Sit naturally, ensuring your feet are flat on the floor and your thighs are parallel to promote proper circulation. Confirm that your lower back contacts the lumbar support for optimal comfort and that your head rests comfortably against the headrest to avoid neck strain. Check the armrests for appropriate height to prevent shoulder discomfort, and ensure they are securely attached. Operate the recliner through its full range of motion, listening for unusual noises that may indicate a problem. Verify that the safety lock engages firmly in both reclined and upright positions, providing stability during use. Locate the manual override control and test it in case of power failure, ensuring you can operate the chair manually if needed. For models with extended functions, such as lay-flat recliners, ensure the mechanism transitions smoothly to a fully horizontal position. Lastly, inspect the upholstery, base, and power cord for any signs of damage. Confirm the chair sits stable on a level surface to prevent tipping or wobbling during use and ensure all cam locks and base screws are firmly secured according to the manufacturer’s specifications.