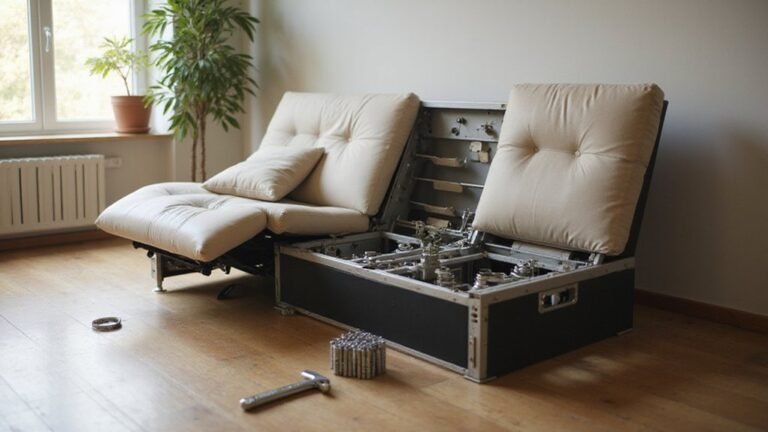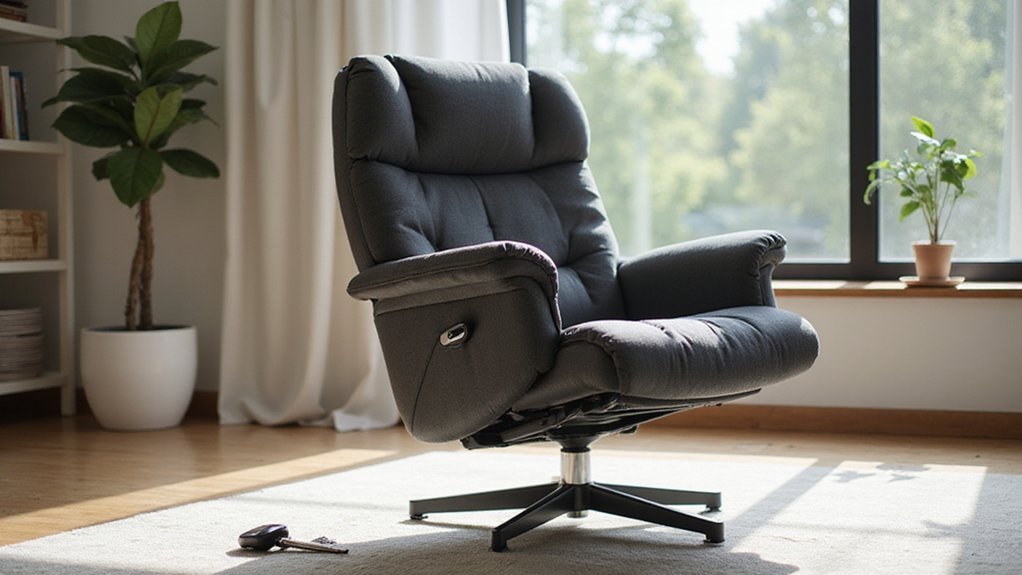
If you’re wondering how to add a swivel base to your reclining chair, you’re not alone. A swivel base allows your chair to turn 360 degrees, making it more versatile and easier to use.
With some basic tools and a little patience, you can swap out the old base for a new one and enjoy a smoother, more functional seating experience.
This guide will walk you through the steps to install a swivel base, so you can upgrade your chair yourself.
Keep reading to see how simple it can be to transform your sitting space.
Gather Your Tools and Materials
You need to gather all the tools and materials listed before you start to ensure a smooth installation. Begin with fundamental hand tools like wrenches and screwdrivers, and check their condition through proper tool maintenance. Using well-maintained tools makes your work more effective and helps prevent damage. Having tools for manual operation is also wise, as some chair mechanisms may require manual repositioning during adjustments, a principle reminiscent of the peg-adjustable Morris chair.
Next, include necessary power tools such as a drill equipped with the right bits for your hardware. The right drill bits are critical for creating accurate holes and ensuring a secure fit. Your material selection is equally important; gather specific hardware components like bolts, washers, and the swivel base itself. Additionally, have any adhesives or lubricants on hand that may be needed for stability or smooth movement. During installation, be mindful of safety risks like mechanical damage when handling moving parts.
Don’t forget measurement tools such as a tape measure or a level to guarantee precision. Safety equipment like gloves and safety glasses should also be prepared to protect you throughout the process. Organizing everything before you start minimizes interruptions and keeps your project flowing efficiently. It is best to obtain the replacement swivel mechanism directly from the recliner’s retailer to ensure a proper fit for your specific chair model.

25.5 inch (65 cm) round swivel base, with 10 inch square swivel mount plate 360 degree rotate swivel base for big tall office gaming chair Material made by steel, blacken...
Prepare Your Workspace and Chair for Safe Installation
To prepare your workspace and chair for safe installation, start by clearing and leveling the area. Remove any debris or rugs to prevent slipping, as uneven surfaces can compromise stability. Ensure the floor is flat and free of obstructions, providing a solid base for the chair. Verify there is enough clearance behind the chair to allow full recline without hitting walls or furniture.
For safety, stabilize the chair by placing its seat upside down on a non-slip surface. This prevents movement while securing the components. Keep the backrest aligned and check that all existing bolts are tight to maintain structural integrity. Confirm the armrests are locked in place and that the chair legs are evenly matched. Even weight distribution on the new base is crucial, so make sure the legs are symmetrical before proceeding with the installation. While working, also check the reclining subassembly for any signs of damage that might need attention. Consider how coordinating accent pieces can enhance the chair’s integration into your room after installation. It is helpful to document component placements with notes or photos to aid in any future repairs or adjustments.
Remove the Existing Chair Base
To remove the existing chair base, start by flipping the chair upside down onto a protected surface to prevent damage. Use a tool such as pliers or a screwdriver to remove the casters by pulling or unscrewing them. Locate the central retaining clip or bolt that secures the base to the gas cylinder. Carefully detach this component to free the gas cylinder from the base, taking care not to damage the upholstery if you plan to do a deep clean or replace the armrests later. You may need to wiggle or gently tap the base to separate it from the cylinder. For a stubborn connection, you can use a rubber mallet for controlled, gentle force to loosen it. Remember to always lift with your legs when handling the heavy chair components to avoid injury. Once the base is removed, inspect the cylinder housing for any debris or residue to ensure a clean surface for installing the new base. Your new swivel base can complement your chair’s function, whether it’s a stationary model or a rocking recliner. Before proceeding, it is wise to familiarize yourself with the recliner’s specific locking mechanisms for easier reassembly later.

What You Will Get: you will receive a sturdy and durable heavy duty sofa seat swivel base that can meet the needs of users within its weight-bearing capacity, a swivel assembly for DIY round chairs or sofas

360 Degree Rotate Swivel Chair Base
Align and Secure the New Swivel Base Plate
Remove the old base and position the new swivel base plate directly onto the seat bottom. Align it so the side labeled “front” faces a front corner, ensuring it is centered carefully. Check that it sits flush with no gaps, as a level fit is essential for stability. Any decorative accents on the plate should not interfere with a flush mount. Once aligned, mark the locations for your pilot holes. Before drilling, conduct a visual inspection of the chair’s seat frame and mechanism for any signs of wear or damage. This is especially important for chairs with electric motors and mechanisms as seen in power recliners, which typically draw a modest 50 to 150 watts during operation. For best results, work on a clean, non-marring surface to protect your chair’s finish.
Drill pilot holes that are slightly smaller than your bolts and about two-thirds of their length. Clear out any debris from the holes to ensure proper threading. Insert your mounting bolts by hand, tightening them initially to avoid cross-threading. Finish by tightening the bolts in a crisscross pattern with a wrench, which secures the base firmly and prevents wobbling, laying a stable foundation for future ergonomic adjustments.

Dining Chair Replacement Swivel Tilt Mechanism

Steel Mechanism for Swivel Rocking Chairs with 4 SPRINGS.

Tilt Mechanism For Chair - Heavy duty replacement office chair tilt control mechanism with 6" wide x 10.2" long screw mounting hole center distance. Please Measure the bolt holes before replace your chair mechanism.
Install the Swivel Mechanism Onto the Plate
Position the swivel mechanism onto the secured base plate, aligning their mounting holes precisely. Ensure the center pin sits flush against the plate surface and check that all bearings rotate freely; this confirms your bearing alignment is correct. Insert the 5/16-inch bolts with flat washers through the mounting holes, tightening them in a crisscross pattern to evenly distribute the load. Apply thread-locking adhesive to the nuts to resist vibration and prevent loosening over time, which is especially important for maintaining stability if your chair will be used in a moving environment like an RV. Use a torque wrench and tighten to the specified torque of 10-12 lb.
Since the springs are under tension, insert tools or spacers to hold the mechanism stable during this process. This process of working with internal mechanisms is a straightforward and economical DIY task, similar to replacing a pull cable. Before moving on, verify the assembly is level by placing a spirit level on the mechanism. If necessary, use a non-marring shim beneath the mechanism to correct any slight height discrepancies. Finally, check that there is zero wobble and that the mechanism rotates smoothly in all directions before completing the installation. Ensuring a solid mechanical connection is crucial, much like the secure linkage required in a recliner’s motorized actuator system.

STOPS FASTENERS SPINNING: This anti-turn washer keeps a bolt or the washer itself from rotating as a nut is tightened, letting you drive the connection from one side and hold everything steady for a faster, more secure assembly.

【Size】--inner diameter 0.339-0.359 inch, outside diameter 0.681-0.703 inch, thickness 0.051-0.080

Size: for 5/16" fasteners | Inside diameter: 0.318" | Outside diameter: max 0.593" | Thickness: min 0.078"
Reassemble Your Chair and Test the Swivel Action
Start by reattaching the recliner’s back bracket and lever to the frame, securing them with bolts and cam locks. Make sure all fasteners are tight so the mechanism moves freely without resistance. Next, re-cover the frame with the upholstery fabric, smoothing it out to avoid wrinkles or bunching. Pay close attention to cushion placement, reattaching the seat and back pillows with their original fasteners to ensure proper support and comfort. This level of customization in your seating position is especially valuable if you are retrofitting a dual power recliner, and is crucial for maintaining safe hip positioning after surgery.
Install the leg covers securely over the base. Insert a rubber wedge under the seat or base if needed to improve stability, but verify it does not interfere with the swivel action. For a clean finish, consider using a cord management box to neatly contain any wiring from the power mechanism. Once assembled, slowly rotate the chair a full 360 degrees. Check that the movement is smooth and painless, and that the recline function remains stable during rotation. Finally, double-check that all bolts and screws are tightened, ensuring the chair is stable and free of wobbling.
Fix Common Swivel Base Problems
Regular inspection and maintenance are key to fixing common swivel base problems. If your chair feels wobbly or makes noise, start by tightening all screws and bolts, and consider applying a small amount of thread locker to keep them secure over time. Check the caster stems for play or damage, and replace any that’s worn or broken with exact matches to maintain stability. Poor design can cause tension rods to become unstable; you can often adjust these beneath the seat to change the reclining tension. Material quality also matters—avoid overtightening screws, as this can cause cracking or damage to plastic or metal parts. To stop squeaking from dry caster bearings, lubricate them with a silicone-based oil. If the swivel motion feels jammed, carefully inspect for debris accumulation around the central pivot, just as you would troubleshoot a stuck recliner. Lastly, clear debris from the height adjustment mechanism using compressed air to ensure smooth operation. Before beginning any repairs, it’s wise to check the chair’s structural integrity as you would before an upholstery project. These straightforward steps help restore your chair’s stability and quiet, easy movement.

4.2 Ounce / 1 Bottle-Includes : 1 Bottle of Silicone treadmill belt lubricant (≥ 4.2oz) + 1 Hard application tube (easy to apply) + 1 Replacement application tube (choice) + 1 Precision screw cap (control the flow of silicone oil) + 2 Pcs of Oil absorption cloth (can be wiped if the operation is wrong) + 1 Sealing cap (long-term storage)

PREMIUM SILICONE FORMULA: The Original Performance Silicone Lube crafted with pure, high-quality silicone lasts as long as you do. Wet Platinum delivers a velvety-smooth glide that's perfect for adding a touch of luxury to your most intimate moments.

TOY FRIENDLY, CONDOM COMPATIBLE: #LubeLife Silky Premium Silicone Lubricant plays nice with most non-silicone toy materials and is compatible with natural rubber latex, polyisoprene, and polyurethane condoms. Whether you’re solo or with a partner, this smooth operator ensures every glide is as safe as it is thrilling.
How to Keep Your Swivel Base Smooth and Secure
To keep your swivel base smooth and secure, regular maintenance is essential. First, vacuum debris from the base weekly to prevent dirt buildup that can hinder movement. Wipe down all parts monthly with a damp cloth, ensuring you dry everything thoroughly to avoid rust. Every few months, apply a silicone-based lubricant to the moving parts, rotating the chair to distribute the lubricant evenly.
Additionally, periodically inspect all bolts and fasteners. Tighten any that are loose and replace those that are damaged or worn to ensure stability. Avoid exposing the base to direct sunlight or placing heavy loads on it, as these can weaken materials over time. Placing a non-slip mat underneath helps prevent sliding and keeps the chair anchored firmly to the floor. For those wanting a permanent solution to stop swiveling, a mechanical locking method using bolts and a lock nut can be employed. Following these routines will keep your swivel base operating smoothly and securely, minimizing squeaks and instability during daily use.