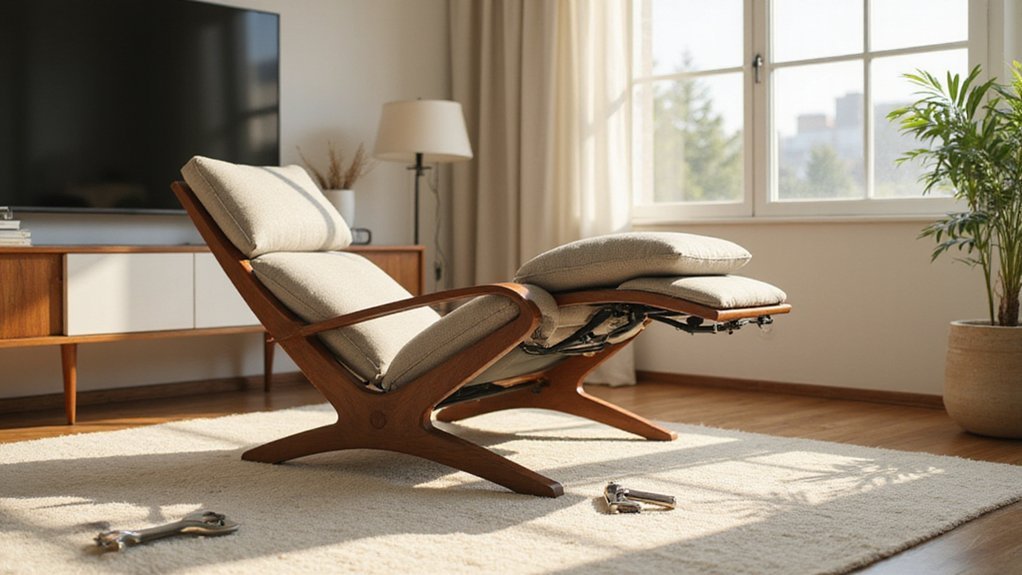
Putting together your new recliner can seem daunting, especially if you’re unsure where to start. The key is to follow clear steps to ensure everything is sturdy and works smoothly.
Once you know the basic order—attaching legs, securing arms, and fitting the backrest—you’ll have your chair ready for comfort in no time.
Keep reading for a simple, step-by-step breakdown to help you assemble with confidence.
Unpack and Prepare Your Chair Components
To prepare your chair components safely and efficiently, start by carefully unpacking everything. Cut through the box straps and remove all packaging material, then lay each part on a clean, flat surface. Organize the components by grouping similar hardware together and separating frame pieces from upholstery parts. Gather essential tools like a screwdriver and safety gear such as gloves before beginning assembly. Familiarize yourself with common mechanisms like locking levers or spring clips, as you may need to identify them for later adjustment. Immediately inspect each part for any damage or missing pieces by cross-referencing with the manual’s inventory list. Keep packaging and documentation for potential warranty claims or future reference. Proper organization and inspection now will save time during assembly and help with future maintenance, which is key for maximizing your chair’s average lifespan of 7 to 15 years. Choose a spacious, well-lit workspace, and consider your room layout to ensure the assembled chair will comfortably fit when finished. It is also helpful to document the placement of components like springs and tension rods to ensure correct reassembly later.
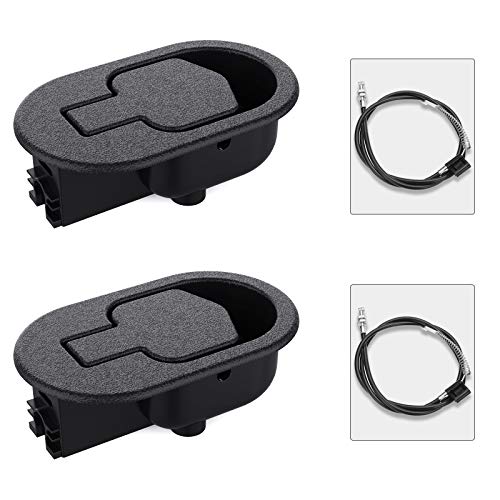
【BARIDWON Recliner Replacement Parts:】 Ideal for replacing worn-out and broken recliner handles and cables. Compatible with most major recliner sofa brands, like Ashley, Lazy Boy and more. (NOTE: Measure your original handles and cables to ensure compatibility before buying)
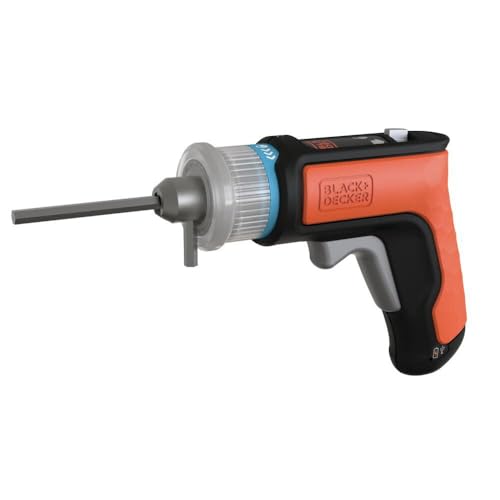
The patent-pending chuck accepts hex wrenches that come with ready-to-assemble furniture.

Match by Size: oval handle face 3.5 by 3 in; exposed cable length about 4.75 in, measured from the buckle to the top of the Z-hook bend; total cable length about 37 in. Compare these three numbers with your original part - sizes vary a lot between models, so measure first.
Assemble the Main Chair Base Frame
To assemble the main chair base frame, start by attaching the four metal legs to the holes on the spindle’s metal plate using the provided screws. Make sure the plate is correctly aligned before tightening. Repeat this process for each leg, checking that all four are securely fastened to ensure stability. This foundational step is part of the essential frame construction process detailed in the comprehensive guide. Next, locate the single hole on the inside of each arm, positioning it toward the back of the chair. Align the four holes on each arm with the corresponding holes on the frame. Secure the arms with the designated bolts, tightening them firmly. Then, take the assembled U-frame and slide it onto the spindle, ensuring it swivels freely without obstruction. Tighten bolts every three months to maintain stability and proper function. While working on the frame, visualize how the upholstery will fit over it, knowing the pattern will align perfectly once the cushion is placed on this solid foundation.
Secure the Backrest and Recliner Mechanism
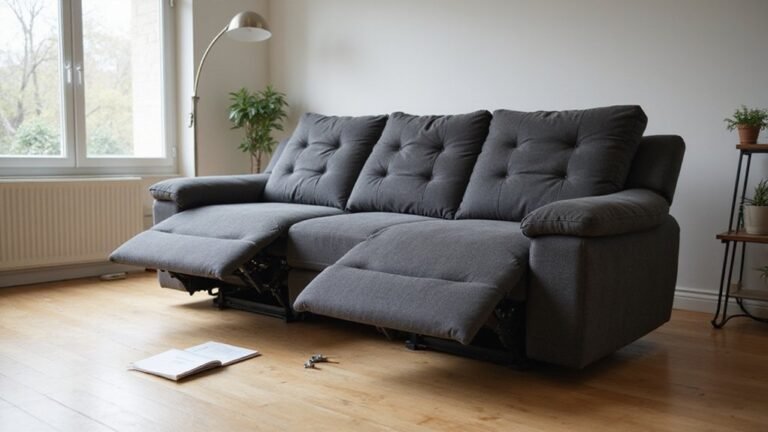
Next, align the backrest’s slots with the seat frame connectors. Then, rock the backrest slightly while lifting the release levers. Push down firmly until you hear a click, which indicates the backrest is securely engaged. Confirm that the backrest is stable and does not wobble or shift noticeably. If your recliner begins to lean to one side after assembly, you may need to realign the tracks for proper function.
After securing the mechanism, move on to upholstery fastening. Drape the fabric over the frame, smoothing out wrinkles and ensuring an even look. When selecting your fabric, avoid linear patterns due to the recliner’s moving parts. This ensures smooth operation of the dual power recliner’s independent motors. Tuck any excess material into crevices to prevent sagging or bunching. Finally, attach the Velcro flap on the backrest to hold the fabric taut, completing the main structural and functional assembly.

Thickened high quality metal material, sturdy structure, durable and strong, not easy to corrode, can be used for a long time

Multi-angle adjustment: Adjustable angle hinge is used in the connection between the headrest and backrest of the sofa, when sitting on the sofa, you can adjust the different angles of the sofa pillows and backrest, and adjust the angle of the headrest in multiple gears to enjoy a different sense of comfort

Round head kd insert clip to connect recliner cushion and backrest
Install the Chair Legs and Armrests
Attach the front and back legs securely to the seat base to complete the chair frame. For the front legs, position each one 25 to 50 millimeters inward from the edge of the seat. Align the mounting holes precisely to avoid splitting the wood. Use four bolts and plastic washers for each leg. Tighten the bolts by hand first to ensure correct placement, then use a wrench to secure them firmly. Install the rounded legs at the front where the chair reclines.
For the back legs, secure them beneath the seat using bolts and washer plates. Make sure the back legs are flush with the seat base. During assembly, avoid pinching any power supply cables for electric recliners. Check the alignment and stability of all legs before proceeding, ensuring connections are secure to avoid loose wiring issues common in powered furniture. Properly installed legs ensure the chair can support weight evenly and prevent wobbling or loosening over time. Regularly inspect these mechanical connections as part of a routine inspection to catch any issues early.

This La-Z-Boy metal bolt set includes screws, and nuts that can replace the plastic parts of your recliner leg rest.
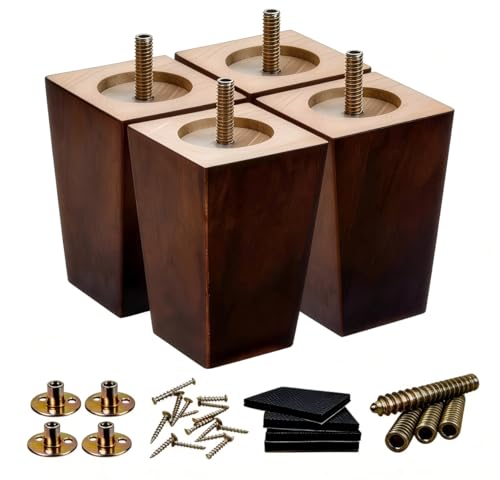
HEAVY DUTY LOAD CAPACITY — Precision-engineered solid rubberwood supports up to 1,762 lbs per set (440 lbs per unit). This 5-inch replacement provides a stable foundation for heavy sofas and preventing structural collapse without using subjective quality claims.
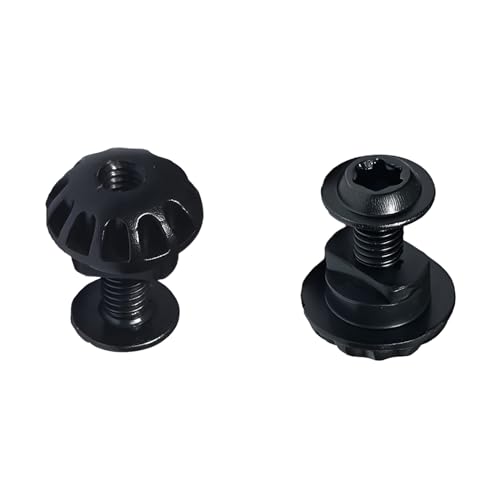
Product Overview:These Screw bolts and Plastic Grommet/Nuts Compatible with La-Z-Boy are used as replacement parts to replace the Screw bolts at the 3-position Locks position
Test the Recline, Footrest, and Final Stability
Testing the recline, footrest, and stability is essential for safety and comfort. Start by checking the recline tension from a seated position. It should move smoothly without resistance or looseness. Stop at different angles to ensure it locks securely each time. If the recline feels too stiff or too loose, make small adjustments to the tension screws until the resistance is even throughout. Turn thumb wheels clockwise to increase recline tension or counterclockwise to decrease it, always adjusting both sides evenly.
Next, verify the footrest locking mechanism. Press it down firmly until you hear a clear click. The footrest should stay in place and support your calves fully. Check all bolts connected to the footrest, tightening any that seem loose. Make sure the footrest operates without sticking or wobbling.
Finally, assess the chair’s overall stability. Wiggle the frame gently from side to side and front to back. There should be no noticeable movement or creaking. Tighten any bolts or joints that feel loose. Sit in the chair for several minutes in different positions to confirm it maintains comfort and evenly distributes your weight, indicating proper load balance and stability.
How to Set Up Electronic Controls (Optional)
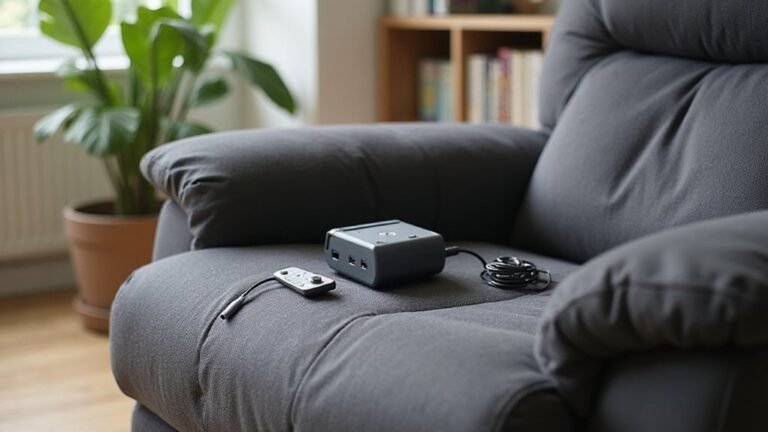
To set up electronic controls on your recliner, start by connecting the wiring and mounting the components properly. First, plug the male ends of the junction boxes into the motor control units. For wiring, attach the black and white leads to the touch sensors and route all wires neatly inside the armrests. Keep the wires at least 100mm away from any touch buttons to prevent interference. Secure all components firmly to avoid movement during use.
Next, connect the remote control by plugging the new remote and any original switch into the female sockets on the junction box. Ensure all retaining clips are properly fastened to hold the connections securely. Finally, mount the ABS plastic control box in its designated frame location. Reconnect the power adapter, then plug it into the outlet. Confirm that all connections are secure and components are mounted tightly before testing the electronic controls. Charge the remote via the USB-C port using a household charger to ensure it is ready for use.
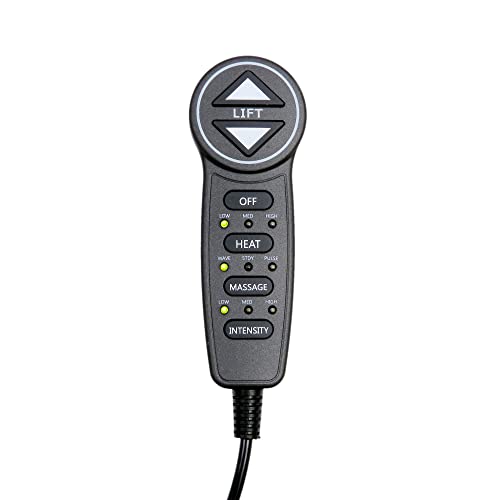
MLSK55-A1 Hand Control Handset Remote for Lift Chairs Power Recliners

【Part Number】Replace for MLSK91-A1 MLSK91A1

Universal Ceiling Fan Remote: The Nexete ceiling fan remote control is compatible with all brands of ceiling fans and lights, including Hunter, Hampton Bay, Harbor Breeze, Minka-Aire, Lightolier, Fanimation, Lutron, and more.