Building a recliner sofa might seem tricky at first, but with the right steps, you can assemble it yourself and enjoy comfy relaxation in no time.
Getting the base grounded securely and attaching the backrest and armrests properly are key parts of the process.
Once you understand the basics, the rest is straightforward, like connecting power cables and testing the reclining function.
Keep reading to see the full step-by-step guide that will walk you through every detail for a perfect setup.
Prepare Your Workspace and Unpack All Components
To prepare your workspace for assembling your recliner sofa, clear a safe, spacious area of about 10 to 15 square meters. This size provides enough room for maneuvering and full extension of the recliner without bumping into walls or furniture. Remove all nearby objects, including furniture, decorative items, and clutter, to avoid accidents and ensure a smooth setup process. Check that your floor is flat, hard, and free of debris, as uneven or soft surfaces can cause instability during assembly. Before connecting any frames, it is wise to check structural integrity, inspecting for any cracks or loose joints in the components.
Unpack all boxes inside this designated area to keep components organized and accessible. Sort parts like frames, backrests, and cushions, comparing them to your manual’s diagrams to verify all pieces are present and undamaged. As you inventory, note the upholstery colors to confirm they match your order and are free of stains or tears. To keep small parts like screws organized, use containers or small bowls, which will help prevent loss during assembly. If your recliner is motorized, it is wise to also verify your power supply and ensure the cord is undamaged before proceeding.
Lay down cardboard or protective sheets on your floor before starting, both to safeguard your surfaces and the sofa’s upholstery from scratches, dust, or dirt. This simple step will make the entire process cleaner and more efficient, especially when handling heavy or sharp components. It is also wise to document component placements, such as where specific brackets or connectors belong, for easier reference during future maintenance or disassembly.
Assemble and Lock the Seat Base Frame
To assemble and lock the seat base frame into a solid unit, start by aligning the metal brackets or slide-lock connectors between the sections, paying close attention to the left-right markings to ensure proper grouping. Push the sections together firmly until you hear a clear click; this indicates that the components are correctly aligned for both stability and a seamless aesthetic appearance. If your model uses bolts, evenly tighten them with the included Allen wrench to secure the connection and prevent future wobbles, a technique also useful for stabilizing a rocker recliner. For slide-lock connectors, slide them along their tracks until they are fully engaged, preventing lateral movement. If your seat base uses a hook-and-clip system, carefully align the sections and lower them so the hooks sit completely into their respective clips, using the same careful handling of clip mechanisms recommended for disassembly to prevent damage. Before proceeding, you must then position the seat base onto the main frame and attach using correct screws. Once assembled, check all connections for tightness and gaps by gently testing the joints to confirm everything is secure. This thorough process ensures the frame will be durable and stable, providing a wobble-free foundation for your sofa, which is especially important when installing a dual power recliner to support its independent motor system.
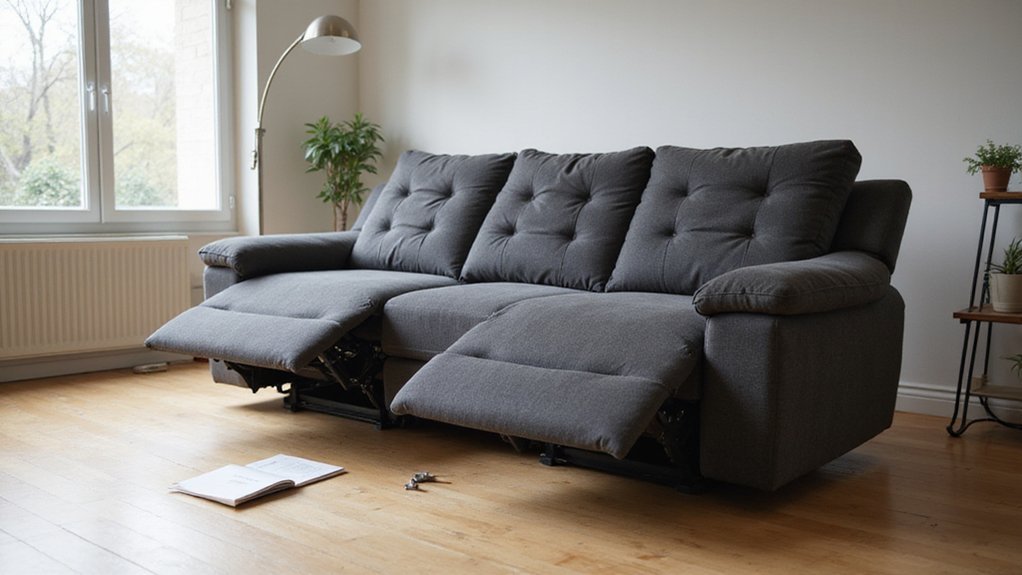
Attach the Backrest and Secure the Armrests
Attaching the backrest and securing the armrests is straightforward once your seat base is sturdy. Start by aligning the hooks or guides on the backrest with the brackets on the frame. Carefully lower the backrest until it clicks into place, ensuring it is level and securely locked in position. If your backrest uses bolt-through fasteners, hand-tighten all the bolts first to avoid cross-threading, then tighten them evenly in a crisscross pattern to ensure stability. Some models feature metal guides and receiver clips that lock the back into place when pressed down.
Next, attach each armrest using their designated methods—pegs, screws, or clips. Make sure each armrest is firmly secured and does not wobble when you apply gentle pressure. If you encounter resistance or misalignment during this step, inspect for any loose wire connections or obstructions that could be interfering with the mechanism. A proper inspection here helps prevent future issues and maintains the mechanical components. After attaching, check that the backrest is straight and the armrests are symmetrical on both sides for a balanced look. This attention to scale and proportion ensures the recliner integrates well with your other furniture. Any final adjustments to the fabric covering or cushion placement should now be made to give the assembly a neat appearance. Finally, test the stability by gently pushing on each component to confirm everything stays secure.
Connect Your Recliner’s Power Cables Safely
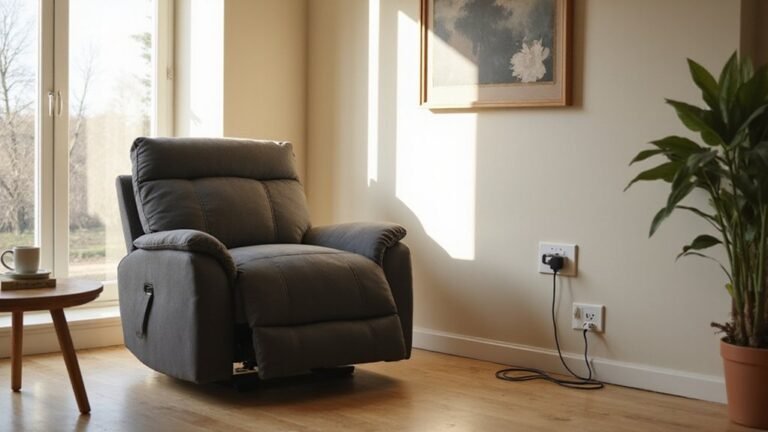
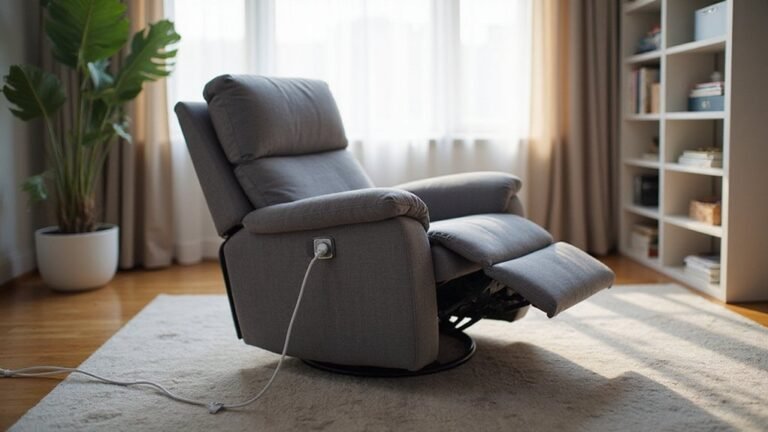
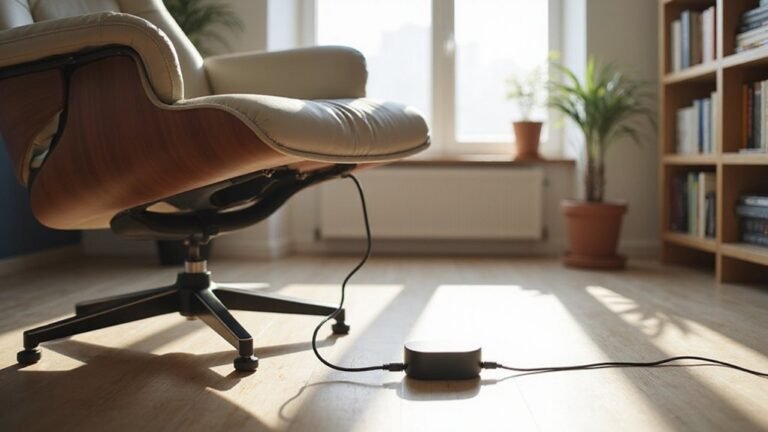
Begin by locating the power cord, which is typically positioned at the rear base of the recliner. Conduct a thorough wiring inspection along the entire length of the cord, checking for any damage such as cuts, fraying, or exposed wires. For electrical safety, plug the transformer directly into a nearby wall outlet, avoiding extension cords or power strips that could cause overloads. Ensure the outlet’s voltage matches your recliner’s requirements to prevent electrical issues. Route the cable carefully along the sofa frame using any provided clips, keeping it away from all moving parts to avoid pinching or damage. As you work, a thorough vacuuming with an upholstery attachment will help clear any dust or debris from the assembly area. Before connecting to power, securely attach the cord to the recliner motor port located under the seat. The power cord connects to the back side of the armrest before plugging the other end into the wall outlet. For a cleaner look and added safety, consider concealing the visible portion of the cord along the floor using a painted cord cover that blends with your wall or furniture. If your recliner is part of a modular sofa system, connect internal wiring between sections by aligning the keyed connectors and pushing until they click securely. Always keep the cords tidy and out of the way to prevent tripping hazards.
Test the Reclining Mechanism and Adjust
Once you’ve safely connected the power cables, you can begin testing the reclining mechanism and making adjustments to ensure it operates smoothly and comfortably. Start by engaging the recline function while seated. Watch for signs of jerking or sticking, which indicate that tension adjustments may be needed. Most models use wing nuts; turn them clockwise to increase resistance or counterclockwise to decrease it. Make equal quarter-turns on both sides to keep the tension balanced. After each adjustment, test the recline again. For finer tuning near your preferred comfort level, use half or eighth turns. For models without wing nuts, check for thumb screws under the seat that serve the same purpose.
If springs were replaced, gently stretch them to set initial tension before sitting and leaning back to evaluate the movement. Remember to lock the castor before making any adjustments to secure the recliner’s stability. If the chair still fails to stay in position after adjusting tension, inspect the locking pawl for wear and tighten its screws. You may need to temporarily detach the back panel for deeper access to the internal frame or motor during complex adjustments. Repeat the process of testing and small adjustments until the recline feels both secure and comfortable. For power-operated models, refer to detailed guides for how to remove the mechanism from the frame if motor replacement becomes necessary.
Position Your Recliner and Verify Clearance
Positioning your recliner correctly involves verifying clearances before securing it in place. First, measure your room’s depth and outline the sofa’s footprint with tape on the floor to visualize its placement. The critical wall clearance depends on your recliner model: manual recliners generally need 12 to 18 inches of space behind them, whereas wall-saver types only require 4 to 6 inches. Confirm these measurements to ensure proper rear space. Additionally, maintain at least 30 inches of open space in front for leg extension and comfortable walking. Allow a点多 bufferelec 2 to 4-inch buffer on each side so armrests can slide freely without obstruction. Since a power recliner’s motorized components typically last about a decade, proper initial placement reduces strain and supports longevity. Once you’ve checked all these clearances and the recliner is close to its final position, you can proceed to lock the base down, knowing it will function smoothly in its chosen spot.
Troubleshoot During Assembly: Common Issues
If you encounter issues during assembly, start by tightening all bolts with a 10mm Allen wrench to ensure stability. Loose bolts can cause the frame to wobble or feel unstable. Check the alignment of the frame before attaching brackets to prevent uneven movement and ensure smooth operation. If fabric has shifted or pulled, adjust the upholstery back into place before securing with bolts to avoid gaps or bunching.
For jammed mechanisms, apply silicone-based oil to stiff hinges and straighten bent levers to restore proper function. When replacing springs, remove the broken unit with pliers and install an exact match to maintain correct tension and safety. For a footrest that won’t lock or a recliner that leans to one side, clean and realign the tracks as described in the troubleshooting guide. Finally, verify that power cords are untangled and secured with zip ties every six inches to prevent shorts or accidental disconnection. Addressing these common issues promptly can save time and ensure your recliner functions safely and smoothly. For safety and efficiency with particularly heavy or complex models, consider hiring professional movers.
Final Safety Check and Enjoyment Tips
Before fully relaxing in your new recliner sofa, perform a final visual alignment inspection to ensure everything is properly assembled and safe. First, check that the backrests sit squarely and the armrests are aligned correctly, as misaligned parts can lead to discomfort or instability. Confirm that no screws are protruding and that cables are tucked away from mechanisms to prevent pinching or damage during use. If you need to detach the backrest for maintenance, you will typically find locking levers or brackets at the base of the backrest.
Next, verify all motion functions. Test the recline, footrest, and any adjustable features for smooth, quiet operation. There should be no scraping, grinding, or rocking, which could indicate misassembly or mechanical issues. For power models, ensure the height adjustment button functions properly to position the seat cushion for optimal back and leg support.
Your safety precautions primarily involve maintaining a clear space around the sofa and managing electrical components. Keep a proper clearance from walls and heat sources to prevent overheating or restricted movement. Secure all wires and cables to avoid tripping hazards or accidental disconnection. For long-term material care, regularly use suitable leather or upholstery cleaners and vacuum debris weekly. Always check before use for trapped objects or loose parts to enjoy your sofa safely for years.