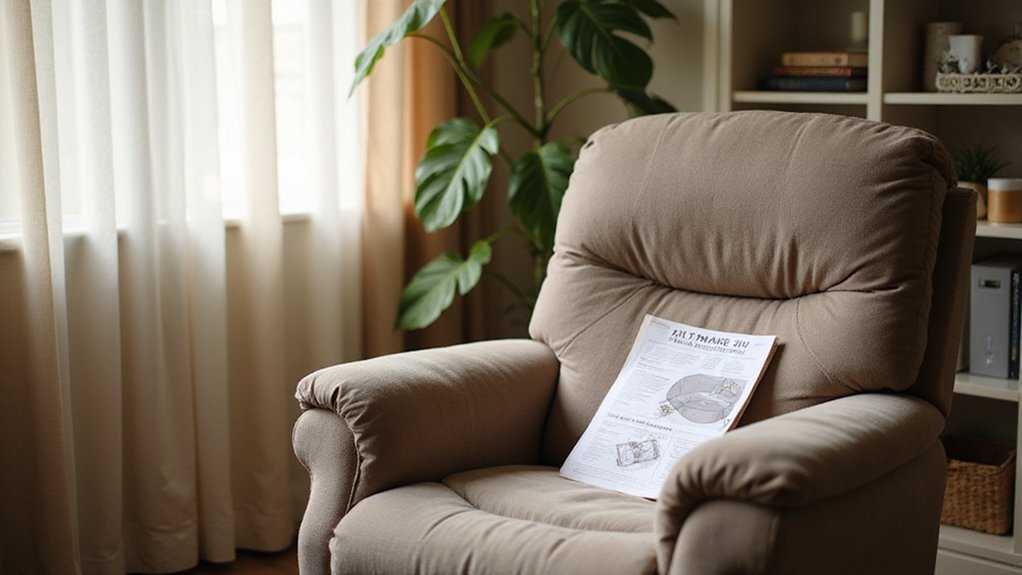
If your Catnapper recliner isn’t functioning right, the back panel might be the culprit. Removing it can give you quick access to the inside components for repairs or maintenance.
In this guide, you’ll learn how to safely detach the back panel without damaging your recliner, so you can get it working smoothly again.
Keep reading for step-by-step instructions to get the job done easily.
Unplug and Prepare Your Workspace for Safety
Unplug and prepare your workspace for safety before starting any maintenance or repairs. First, switch off your recliner and then unplug it from the electrical outlet to ensure complete power disconnection. Waiting at least 30 seconds allows internal capacitors to drain, reducing the risk of electrical shock. As you proceed, remember that careful diagnosis by testing components individually is key to isolating any electrical issues. Clearing a flat, sturdy area and removing nearby furniture prevents accidental damage or obstruction. Lay down protective bags or blankets over the upholstery to guard against scratches or tears—these comfort considerations help maintain your chair’s appearance. For a smoother process, documenting component placements can be invaluable for ensuring everything goes back together correctly. Keep in mind that a typical electric recliner uses a relatively modest amount of electricity, comparable to a small household appliance. Ensure good lighting and organize your tools within easy reach to create a safe, efficient workspace. Proper preparation minimizes the chances of slips, collisions, or other accidents as you manipulate and service the chair.
Find the Screws and Tabs on Your Catnapper Back
Locate the screws and tabs securing your Catnapper back by first lifting the fabric flap at the top of the chair’s back. This exposes the inner framework where you’ll find the mounting points. Under the bottom frame, identify Velcro fasteners that hold the outer back cover in place; pull them loose to free the fabric. When reassembling, consider using anti-slip pads under the recliner legs to keep it securely in place. Check along the sides for mounting brackets, which feature locking tabs and levers. The tabs should point upward when released. To fully release the back, you must flip any lock levers to the unlocked position. Understanding the motor-driven system within the chair’s frame can help you avoid damaging these internal components during disassembly. Additionally, look for screws securing the mechanism, which may be Phillips head or Torx types. Your main task now is to identify all these fasteners and mounting points without removing anything, so you know what to expect before proceeding. For power recliners, remember to unplug the chair and disconnect any electrical wiring harness before proceeding to ensure safety and prevent damage.
Remove the Screws and Metal Attachment Tabs
To remove the screws and metal attachment tabs, start by unscrewing all visible fasteners on the side and bottom using a Phillips-head screwdriver. Common screw sizes are 5mm, 6mm, and 7mm, so ensure you select the correct one for a secure fit and to prevent damage. If necessary, use a socket wrench for stubborn screws.
Next, address the metal attachment tabs. Gently pry open the metal clip tabs with a flathead screwdriver, taking care to avoid damaging surrounding fabric or material. For screw-secured tabs, loosen the screws with your screwdriver. For KD brackets secured with screws or bolts, you will often find insert nuts pressure-fit into the frame material. If there are brackets or mechanisms holding components in place, slide them outward to release. When dealing with these mechanisms, be mindful of any cable release system that may be connected to the handle and frame. Keep all removed hardware in a labeled container to avoid losing parts. Throughout the process, support the backrest’s weight to prevent strain and supervise gentle force to prevent bending or damaging connectors. Remember that the complex reclining mechanisms in these units can be intricate, so careful disassembly is key for later reassembly. Ensuring proper scale and proportion during reassembly will help the recliner integrate harmoniously with your other furniture.
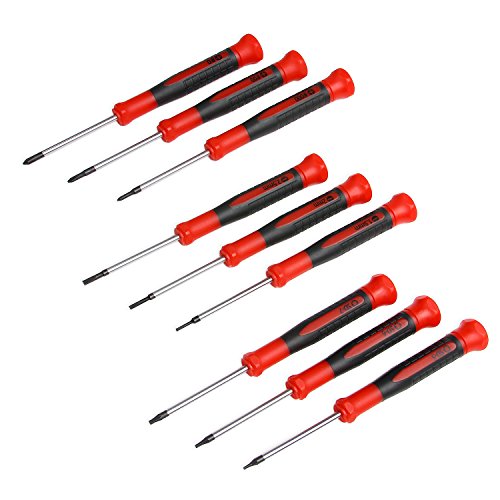
High strength chrome vanadium steel shafts reduce wear-outs and stripping for longer tool life

Extended 10-inch reach for deep screws: This long phillips screwdriver features an 10-inch shaft designed to reach into deep holes and recessed areas where standard screwdrivers can't. It provides the leverage and access needed for challenging repair and assembly tasks

5 x 75mm Phillips & Flat Tips Magnetic Screwdriver Set
Release the Locking Tab to Detach the Backrest
To detach the backrest, you need to release the locking tab mechanisms on both sides of the frame. First, locate the plastic tabs protruding from the KD brackets. Use a clean flathead screwdriver, inserting its tip under each tab. Apply steady outward pressure to lift and disengage the locking mechanism. You should hear a distinct click on each side, indicating the tabs are free.
Repeat this process on the opposite side. Once both tabs are released, gently pull the backrest away from the base. If it resists, try a slight wiggle to free any minor obstructions. Before reattaching the panel, it is wise to inspect the exposed mechanism for loose screws or bolts that could contribute to future problems. Proper alignment of the tabs with the brackets during reattachment will ensure a smooth release when detaching in the future. This access can also be helpful for inspecting or servicing the electric lifting mechanism and is a common feature shared with power recliners.
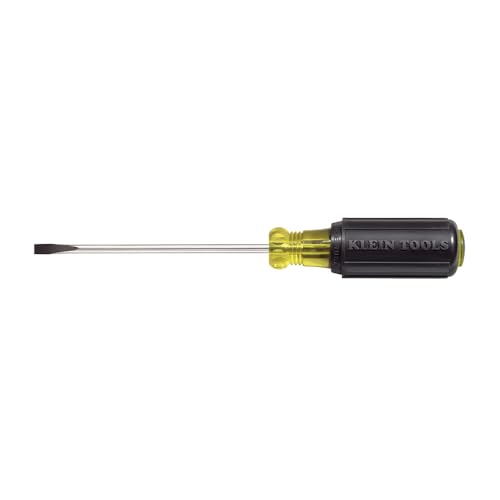
Narrow cabinet tip permits blade access where space is limited

Precision formed tip provides an exact fit for small screw applications

STRENGTH AND DURABILITY: Made of heat-treated alloy steel
Disconnect Any Cables in Your Recliner Safely
To disconnect the cables safely after detaching the backrest, start by unplugging the chair from the wall outlet. Follow the power cable to locate any connectors near the transformer or motor. Gently open any cable clips to create slack, which helps prevent stress on the wires before unplugging. Never yank on the cords, as this can damage the components. Handle powered models with extra caution by carefully identifying and disconnecting these cables without bending or forcing them. Cutting the power is a reliable method to reset the recliner mechanism and enable safe manual handling. Before you begin the disassembly process, it is strongly recommended to check the chair’s structural integrity to ensure a stable foundation for your work. A reversible fix like tightening loose bolts can also be part of regular maintenance to stabilize the chair frame before accessing internal components. This is especially important if the chair is used to assist with improved mobility for someone with health conditions. Label small pins and connectors as you remove them to ensure correct reassembly later. Before proceeding, double-check that all connections are fully detached and that no wires remain linked between the backrest and the base.
Lift and Remove the Back Panel Completely
To lift and remove the back panel completely, start by ensuring all attachments are released. Before lifting, carefully disconnect any power wires if your Catnapper is an electric model. Safely grasp the panel and lift it upward from the recliner’s base, applying steady pressure. If it resists, gently slide it side-to-side to loosen it. Confirm that no final brackets or locking mechanisms remain attached before proceeding. Once free, place the panel on a stable surface away from your work area. Avoid dragging it across floors to prevent scuffs or tears, which is important for future upholstery repairs or maintaining the original color match. Store the panel where it won’t be bent or crushed. Also, double-check that all internal cables and connectors are disconnected and organized to prevent damage or confusion during reassembly. Ensure your workspace is stable and on a firm surface to facilitate a safe and controlled removal process. Before lifting, it is helpful to flip the back panel to access its underside for easier removal. This process is similar to securing a recliner chair cover with straps and clasps for a tight fit. Once removed, you might consider using a decorative screen to conceal the recliner’s mechanics if you choose not to reattach the panel immediately.
How to Reinstall Your Catnapper’s Back Panel
Once you have successfully removed the back panel, reinserting it correctly is crucial for stability. Start by ensuring your recliner’s base is upright and free of any obstructions. Align the back posts with the frame brackets on both sides at the same time, sliding them in gently without using force. Make sure the posts are centered to distribute the weight evenly, preventing sagging or uneven wear. Flip the small locking levers downward on each side until you hear a click, which indicates the posts are secured properly. Gently test the back by applying slight pressure; if it stays in place smoothly, the locking mechanism has engaged correctly, ensuring the recliner’s stability. For persistent looseness, check and tighten any loose screws you find during your inspection. Before reattaching the cover, check if your model has a battery backup option to maintain functionality during a power interruption. Reattach the outer cover by pulling it down evenly over the back, fastening all the Velcro firmly. Keep the fabric taut but not stretched tight to avoid wrinkles. Finally, reconnect any power cables you disconnected for installation access.

Thickened high quality metal material, sturdy structure, durable and strong, not easy to corrode, can be used for a long time

Round head kd insert clip to connect recliner cushion and backrest

Multi-angle adjustment: Adjustable angle hinge is used in the connection between the headrest and backrest of the sofa, when sitting on the sofa, you can adjust the different angles of the sofa pillows and backrest, and adjust the angle of the headrest in multiple gears to enjoy a different sense of comfort
Secure the Backrest and Lock It Into Place
To secure the backrest, push it down firmly onto the base until the slide-on brackets on each side engage. You’ll feel resistance or hear a click, indicating the locking mechanism is engaged. Apply firm, even pressure—don’t be gentle—until the brackets slide together completely. If your recliner uses bolts instead of brackets, use a screwdriver or wrench to tighten those bolts tightly. Confirm the lock by gently trying to lift the backrest; it should stay firmly in place and not move. To unlock the back later, you will need to push up on the small metal hook to release it from the base.

Made of high quality steel material, sturdy and durable, anti-rust and anti-rust, smooth surface, not easy to bend, can be used for a long time

Includes 2 piece fixture bracket furniture restoration sofa connector tilt mechanism connection bracket.

Product Information:The part number is 3-5/8 , the total length is about 3.46 inches, the coil diameter is about 13/20 inches, the coil body length is about 1-13/22 inches, the wire diameter is 2 millimeters, and the springs come with 45-degree deflecting hooks on both ends. One package contains four 3-5/8 inch long neck replacement recliner mechanism furniture tension springs for you to use or spare for your needs
Test Your Recliner’s Function and Power
To verify the recliner’s electrical system, start with power supply checks. First, confirm your wall outlet works by plugging in a lamp and turning it on. Next, inspect the power cord for any damage, such as tears or frays. Make sure the cord is securely plugged into both the outlet and the recliner’s power input. A green indicator light does not guarantee the power supply is providing sufficient voltage for operation.
Check that the transformer’s indicator light is on; if it’s off, the transformer may be faulty. Use a multimeter set to measure voltage in DC (VDC) mode to test the transformer’s output voltage. Place the multimeter probes on the transformer’s output terminals and compare the reading to the voltage specified by the manufacturer. If the voltage is low or absent, replace the transformer.
Next, unplug the handset and test its switch for proper continuity with your multimeter. Set the multimeter to continuity mode, press the switch, and listen for a tone or observe the display. A lack of continuity indicates the switch is faulty and should be replaced.
Finally, disconnect the motor from the wiring and test it directly with a suitable DC power source matching the motor’s specifications. Ensure your power source provides the correct voltage and current to avoid damaging the motor. After confirming all wiring connections are secure and components are functioning, restore power to test the recliner’s full operation.
Troubleshooting a Stuck Panel or Fabric Issues
To troubleshoot a stuck panel or fabric issues, start by inspecting the mechanical components. Locate the locking lever on the side frame. Gently pry it away with a screwdriver or slide it outward to disengage the lock. Check for debris around the lever and verify that the metal hook isn’t bent or damaged, as these can prevent proper movement.
For fabric concerns, perform a thorough fabric inspection. Remove the covering from the panel’s bottom, fold it back, and examine the velcro flap carefully. Look for signs of wear, such as tears or missing hooks. Poor velcro adhesion or residual adhesive can cause the fabric to catch or not stay in place. Clean off any adhesive residue and ensure the velcro is intact and adheres properly.
If the panel remains stubborn, check for hidden screws or misaligned KD brackets. Lifting or adjusting these components can help release the panel without forcing it, preventing additional damage. Taking a slow, attentive approach ensures you identify the root cause and fix it effectively.

Match by Size: oval handle face 3.5 by 3 in; exposed cable length about 4.75 in, measured from the buckle to the top of the Z-hook bend; total cable length about 37 in. Compare these three numbers with your original part - sizes vary a lot between models, so measure first.

Fits Most Recliners: replacement pull handle with cable for manual recliner sofa, couch and chair; works with most major brands like Ashley and Lazy Boy. Exposed cable length is 5.1 in from the clip to the top of the Z-hook bend; to the cable sleeve it reads about 4.7 in, to the hook tip about 5.5 in - if your old cable measures anywhere in between, this is the right part.
MAKE YOUR RECLINING FURNITURE LOOK AND FEEL LIKE NEW. Fix those uncomfortable ugly sags in your recliner and restore its beauty. SagsAway chair pads are the ultimate sinking or sagging seat saving repair tool