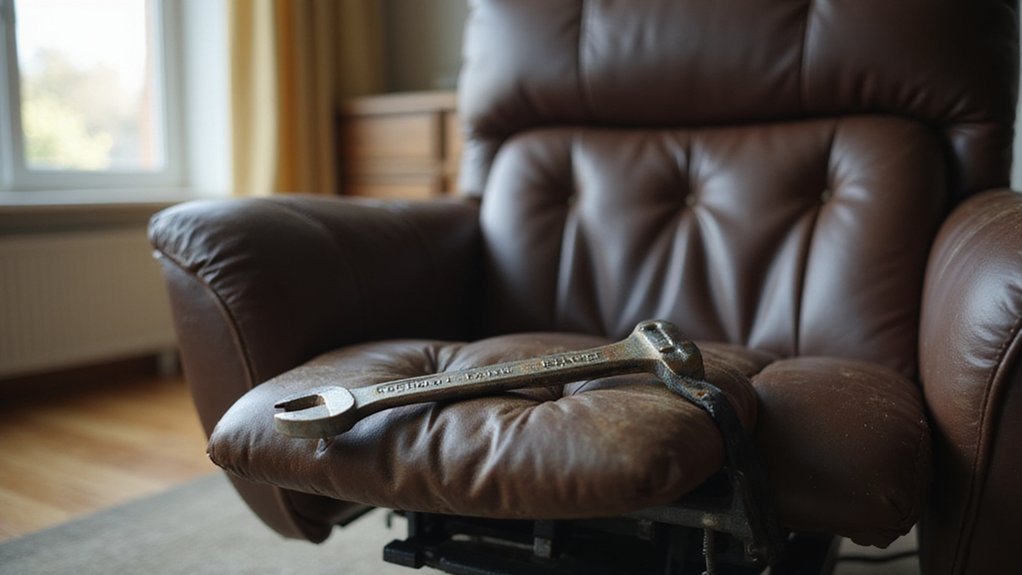
If your recliner footrest isn’t working right, it can be frustrating. Whether it’s sagging, stuck, or won’t stay in place, the fix might be simpler than you think. Most problems come down to loose parts, worn springs, or bent brackets—things you can often repair yourself.
In this guide, you’ll learn how to diagnose common issues and perform easy repairs to get your footrest functioning smoothly again.
Follow along for simple steps to bring back your recliner’s comfort.
Diagnose Your Recliner Footrest Problem
To diagnose your recliner’s footrest issue, start by listening for grinding noises or feeling jerky movements. These sounds and sensations often indicate problems with lubrication or friction in the mechanism. For similar friction noises in other parts of a recliner, applying household lubricants like silicone spray can be a quick and effective solution. Next, inspect the spring and cable systems for rust, breaks, or detachment, as these are common causes of malfunction. Before attempting any fixes, always check your warranty status to avoid voiding your coverage with unauthorized repairs. Check for any physical blockages such as lodged debris or bent levers that could jam the footrest’s movement. Also, examine the frame for cracks or worn pins. If your recliner’s bulk is an eyesore in the room, remember that solutions like a decorative screen can conceal its backside while you work. Keep in mind that this mechanism is integral to various recliner types, from power-assisted models to classic manual designs. Accurate diagnosis requires thorough attention to these key components, since issues with cushions or upholstery are separate from the mechanical core. Identifying the precise fault ensures you target the right repairs from the start.
Tighten Loose Screws and Repair Stripped Holes
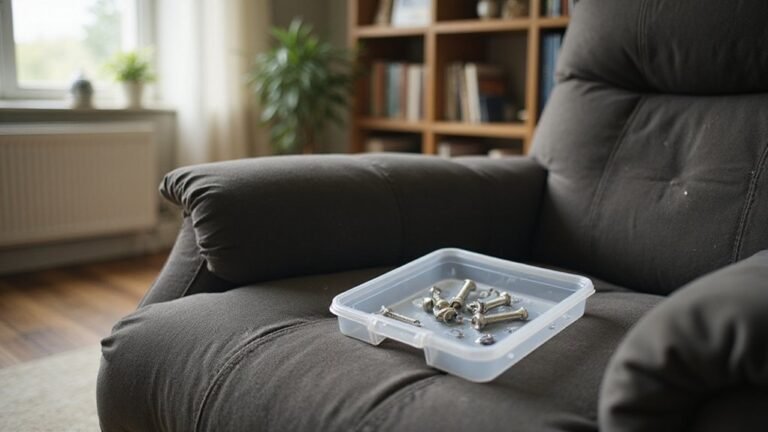
To tighten loose or missing screws and repair stripped holes in your recliner, start by locating all connection screws on the metal rails and frame rails. Use the correct screwdriver to turn each screw clockwise with steady pressure—avoid over-tightening, which can cause damage. For stripped holes, remove the old screw and clean out any debris. Pack the hole with wood glue and insert toothpicks into the hole to fill the space. Let the glue dry completely, usually for several hours or overnight. Once dried, drill a new pilot hole slightly smaller than your replacement screw. Insert a screw that is slightly larger or longer than the original to ensure a secure fit. For an organized reassembly, keep all removed hardware like screws and bolts sorted and labeled. Take care to avoid damaging nearby upholstery, padding, or fabric while working, just as you would when removing a car seat reclining handle to access internal components. After tightening or repairing all loose or stripped screws, test the footrest’s movement manually and check for wobbling, creaking, or unusual sounds to confirm stability. If the footrest still fails to operate smoothly, you should also check for misaligned or loose hardware as this is a common cause of recliner issues.

Fix Stripped Wood Screw Holes in Seconds: wood anchor for screws is designed to quickly and easily repair stripped screw holes in wood, door hinge, fittings, fixtures, modern and antique furniture, door locks, anywhere a wood screw hole need repair

Fix Stripped Wood Screw Holes in Seconds: wood anchor for screws is designed to quickly and easily repair stripped screw holes in wood, door hinge, fittings, fixtures, modern and antique furniture, door locks, anywhere a wood screw hole need repair

VERSATILE REPAIR KIT: Restores stripped screw holes in wood, plastic, and metal for reliable repairs. Perfect for door hinge hole repair and cabinet screw hole filler needs.
Lubricate the Mechanism for Smooth Movement
To ensure smooth movement of the footrest, lubricate the mechanism properly. First, flip the recliner to access the underside, laying down rags to protect the floor and upholstery from drips. This may be easier if you have already performed a basic disassembly of the recliner back to reduce weight and improve access. Apply a general-purpose lubricant or a thin oil directly to all pivot points, joints, and springs. Avoid using sprays near fabric surfaces, as dust can stick to them. For optimal results and to protect metal components, use a silicone-based lubricant as recommended for mechanical upkeep. Manually work the footrest up and down several times to distribute the lubricant evenly. During this test, be mindful of potential safety risks like pinching as you move the mechanism.
Immediately wipe away any excess with a rag to prevent drips onto the fabric, which could lead to stains requiring cushion replacement. Once the mechanism is lubricated and cleaned, set the recliner upright and test the footrest’s movement. The handle should release smoothly, and the footrest should extend and retract without stiffness or resistance. Regular lubrication can help maintain optimal function and prevent squeaking or sticking over time.

DuPont Silicone Lubricant with Teflon Fluoro Polymer
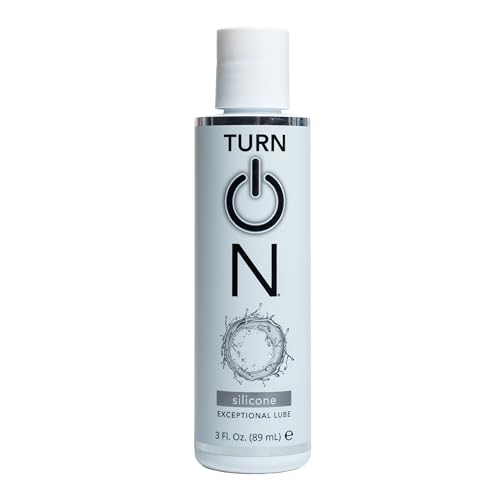
SILICONE-BASED: This 4-blend pure silicone formula is ultra slippery with no sticky residue and designed to last. A little goes a long way with no need to stop the fun and reapply.

ENHANCE PERFORMANCE - B'laster Silicone Lubricant contains a higher concentration of silicone than competitor brands, which provides longer-lasting lubrication.
Replace Worn-Out Springs for Proper Tension
To replace worn-out springs for proper tension, start by purchasing a heavy-duty pair that match your original coil specifications. Fully extend the footrest for safety, then take a photo of the spring routing before unhooking the old springs. For installation, hook one end first, then carefully stretch the new spring to attach its other end using a tool like needle-nose pliers for better grip and control. This straightforward process is economical and suitable for DIY repair without professional help. After installing, perform a tension adjustment by moving the spring hooks back one hole on their mounting pegs. This increases tension and helps the footrest stay closed securely. Continue testing and adjusting until the footrest remains firmly shut. As with repairing a recliner back, a thorough inspection often reveals other issues, such as loose locking mechanism screws or bent metal components.

Precision 4-1/2 Inch Recliner Spring Replacement:Designed as a 4-1/2 inch recliner spring replacement with 3/4 inch coil diameter, 2mm wire gauge and high-density coils, this heavy duty recliner spring delivers accurate fit and stable tension for sofa recliner mechanisms. ideal for DIY users fixing worn or broken sofa recliner chair mechanisms without replacing the entire furniture

3 inch Overall Length [Hook to Hook]

Heavy-Duty 7" Recliner Springs Replacement: Two 7 inch recliner springs crafted for reliable recliner spring replacement; replacement recliner mechanism tension spring to restore safe lift and tension to your sofa chair
Fix a Footrest That Won’t Stay Up (Ratchet Adjustment)
If your footrest won’t stay up, the issue is often with the ratchet mechanism. Start by flipping your recliner over carefully, using fabric protection like a nylon cover to avoid damaging the upholstery. Locate the ratchet assembly, which typically consists of a bar, spring, and locking teeth. Inspect the bar closely for any signs of damage, such as bending or breakage. Remove any obstructions that may prevent proper movement. Check the spring and replace it if it appears worn or faulty. You may also need to adjust the spring tension by moving it to different holes to achieve the correct footrest resistance. This process of adjusting springs for proper tension is similar to the technique used when tightening existing zig-zag springs in a sagging seat. If the bar is broken or bent, extract and discard it, then install an exact replacement that fits your model. For complex mechanical issues, consulting helpful video tutorials can provide clear visual guidance. Once your footrest is repaired, consider adding anti-slip pads under the legs to keep the recliner securely in place during use. Reattach all pins and springs in their original configuration, ensuring nothing is left loose. Tighten all screws securely to keep the assembly stable. After reassembly, test the footrest by moving it to different positions; the ratchet should now lock firmly at intermediate points. If problems persist, consult your recliner’s manufacturer support for specific guidance tailored to your chair model.
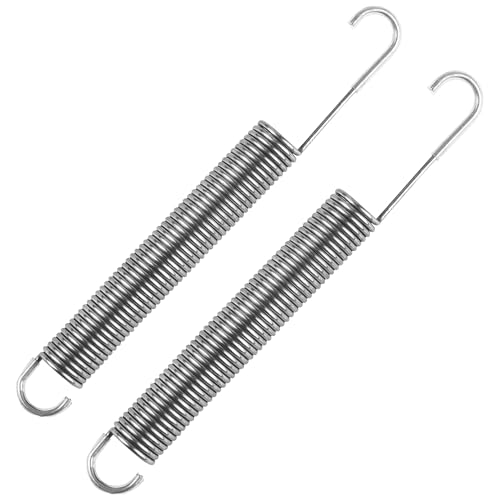
PRODUCT FUNCTION: The primary function of the recliner springs replacement can better support and cushion the weight and pressure of the body, providing users with a better experience and ensuring their safety ensuring optimal comfort for the user during use,and it can also be widely used in other items such as cars, bicycles, toys, lamps, furniture, car hood, crafts, molds, hardware and electrical appliances, etc

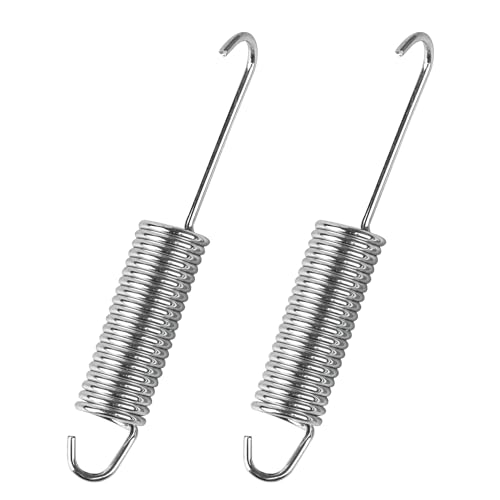
【Precision 4.5-Inch Design】: Total length of couch springs is 4.5 inches (114mm) with 3/4-inch coil diameter, 2mm wire gauge, and 20-turn high-density winding. Long neck hook fits major recliner mechanisms. Reinforced hooks prevent bending or slipping during use
Realign Bent Brackets and Wobbly Pivot Joints
Before realigning bent brackets and wobbly pivot joints, inspect for loose or stripped screws on the brackets. Look closely for stripped holes that prevent a secure hold. Tighten these screws to between 5 and 8 Newton-meters, or replace them with high-strength stainless steel screws if they are damaged. Next, examine the pivot joints for wear. Check the bushings for signs of excessive wear, and look for metal fatigue or broken retaining pins. Applying lubricant to these parts can help reduce friction and improve movement. To straighten bent brackets, apply a force of 150 to 200 Newtons with pliers; heating the metal beforehand will make this easier. For a severely bent mechanism, lay it on a flat surface and use a hammer to straighten the affected section. Use an angle gauge to confirm the bracket is returned to its original 90-degree position. For pivot joints, clean off any corrosion, then measure the clearance to ensure it falls within acceptable limits. When working with such mechanisms, many DIY builders find that detailed woodworking diagrams greatly clarify the assembly and repair process. Ensuring overall harmony between your repaired recliner and the room’s other furniture is key to a cohesive design. For safety during any adjustments, always employ proper lifting techniques by bending your knees and keeping your back straight. Finally, test the stability of the entire assembly by applying load to the footrest and observing any wobbling or looseness.
Disassemble the Footrest Assembly (Advanced Repair)
To disassemble the footrest assembly for advanced repairs, start by removing the mounting bolts from the recliner’s base while supporting the footrest to prevent it from dropping unexpectedly. Next, locate the linkage rod connected to the main mechanism and drive out its retaining pin, making sure to note its original orientation for reassembly. For a powered model, be sure to first disconnect any electrical wiring to avoid short circuits or damage. Then, detach the footrest pad from the metal uprights, removing any screws or clips securing it. After that, separate the crossbar from its central pivot assembly by unscrewing the securing bolts. Finally, use pliers to carefully unhook any internal tension springs, taking care not to damage them or adjacent components. Similar to installing a swivel base, it is crucial to align pre-drilled holes for proper component fit and mechanism function. Mount bolts connecting the mechanism to the rail system to ensure proper alignment and adjustment during reassembly. Performing this complete disassembly allows you to thoroughly inspect all parts for wear or damage, which is essential for executing a thorough and effective repair.
When to Call a Professional or Order Parts?
You should call a professional or order parts when you encounter serious mechanical or electrical issues that you cannot safely address on your own. For electric recliners, any persistent motor, circuit board, or wiring problems pose electrical hazards and require expert attention. Critical mechanical failures such as snapped lever arms, a broken frame, or severe rust inside the mechanism also call for professional help.
Before attempting any repairs, check your warranty status since DIY work may void coverage. Contact the manufacturer for the correct replacement parts or to arrange authorized service. When sourcing parts yourself, verify the exact model number and part specifications to ensure compatibility. Avoid trying to fix high-tension springs or unstable mechanisms alone to prevent injury. Professional repair not only guarantees safety but also ensures the recliner functions properly afterward.

Compatibility: Adapter Parameters of Input: AC 100-240V, 2.5A-4A, 50/60Hz. Output: DC 29V, 2.0A, 58W. The interface features a 2-pin connection (one flat and one round), universal with most models of most recliner chairs, electric sofas, lift chairs and message chairs, also compatible with other devices with a 2-pin connection, like standup desks, lift tables, adjustable bed. When making your selection, please pay attention to the product specifications and interfaces

RMT Recliner Motor Actuator Replacement Model R811A/R811A32375198 made by RMT
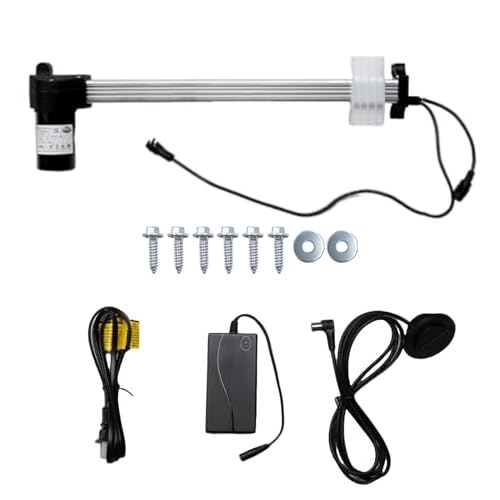
RMT Recliner Motor Actuator Replacement Model R812302040333 made by RMT
How to Test and Maintain Your Recliner
Testing your recliner regularly is crucial for reliable performance. Operate the chair through its full range of motion at least once a month, listening carefully for any hesitation or unusual sounds. Inspect all power cords to ensure they are undamaged and securely connected, and always use a surge protector to prevent power fluctuations. For maintenance, apply a small amount of silicone lubricant to moving parts such as hinges and recline mechanisms once a year, wiping off any excess to avoid buildup. Regular upholstery cleaning, including vacuuming weekly and spot-cleaning stains immediately, helps maintain its appearance and longevity. Additionally, check the structural components by tightening loose bolts and removing debris from underneath the chair. Always verify the power supply is functioning properly and ensure your weight stays within the recommended limits. Following these straightforward steps can extend your recliner’s lifespan and keep it comfortable and safe to use.