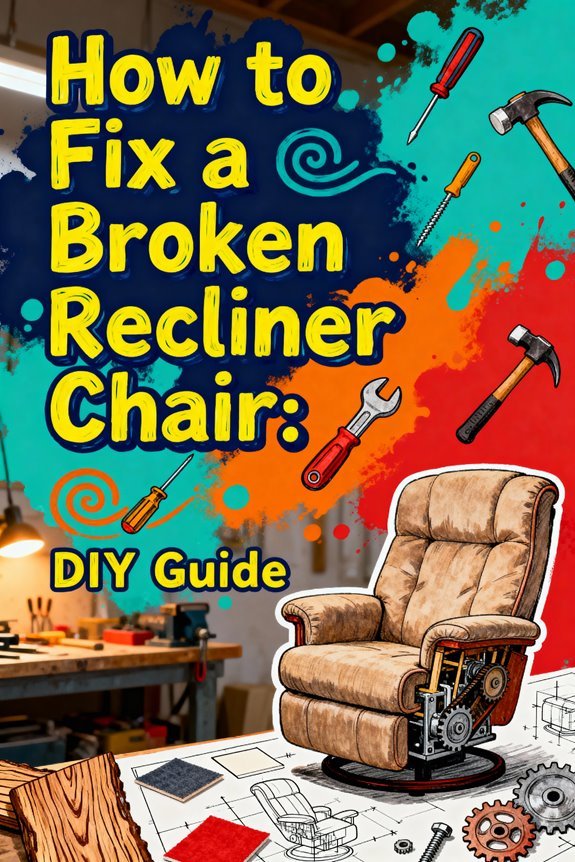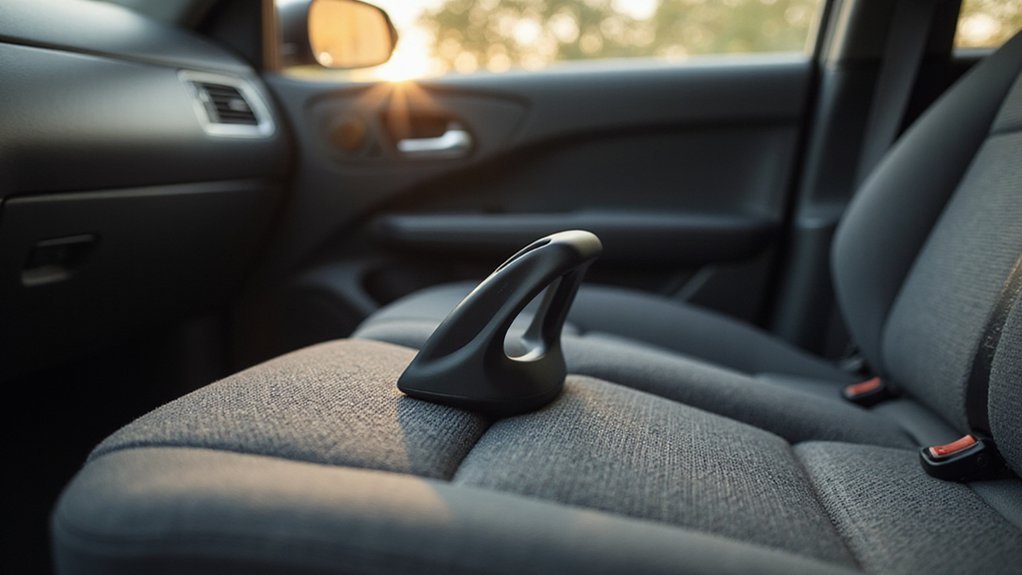
If your car seat’s reclining handle feels stuck or won’t move, you’re probably wondering how to fix it without a hassle. Usually, the problem comes down to a broken handle, stripped gear, or a stiff joint.
Once you know what’s causing the issue, fixing it can be straightforward. Keep reading to learn the simple steps to get your seat recline working smoothly again.
Gather the Right Tools and Safety Gear
To tackle a broken seat handle safely and effectively, you need to gather specific tools and safety gear beforehand. Start with basic hand tools like a socket wrench set, which is essential for removing bolts of various sizes. Plastic trim tools are important to prevent damaging or scratching your seat upholstery during removal. Use screwdrivers suited to different screw heads, and needle-nose pliers to handle clips securely. For tasks like removing the old recliner handle, having a pick or flathead screwdriver is essential for prying and releasing clips without causing damage.
Prioritize safety by disconnecting your car battery with an insulated wrench to disable airbag systems and prevent accidental deployment. Always wear safety goggles to protect your eyes from debris and cut-resistant gloves to shield your hands during disassembly. For working on the recliner mechanism, keep penetrating oil nearby to loosen stiff parts, and lithium grease for reassembly to ensure smooth operation. As with any reclining mechanism, regular routine inspections can help you catch small issues before they lead to a major failure. Repairing these mechanisms often focuses on restoring the cable’s connection to restore both footrest and recline functions. A key tip for a smooth reassembly is to document component placements as you disassemble the seat mechanism.
Prepare your workspace with a floor jack and a wooden beam to support the seat frame securely. Having a magnetic tray for small parts keeps everything organized, and a bright LED light helps you see inside tight areas clearly, reducing the chance of losing essential components. With the right tools and safety measures in place, you can proceed confidently with your repair.
Diagnose Your Broken Recliner Handle
To diagnose your broken recliner handle, start by inspecting it closely for obvious damage such as cracks or breaks in the handle material, which can indicate material failure. Check the handle for excessive looseness or grinding when you attempt to operate it; these signs often point to internal gear wear or a stretched cable. Next, examine the internal mechanism of the recliner—look for broken cable ends, worn gears, or missing springs that can impair function. A systematic approach to diagnosing control button or remote issues can similarly help isolate faults in a power recliner’s system. Also, verify if the frame is misaligned, as poor alignment can strain internal components. If you notice stiffness when moving the handle, it could be due to lack of lubrication or corrosion inside the mechanism, much like how choosing a recliner with the right material texture for your space adds both comfort and durability. Finally, determine whether the issue is simple, fixable with a screw tightening or part adjustment, or if it requires replacing the handle or internal assembly entirely. For powered seats, always check the electric motor and wiring for faults before assuming a complex mechanical failure. In some cases, the failure is mechanical, where a broken welded joint on a connecting rod prevents the recline function despite the lever moving freely.
Disconnect the Battery and Remove the Seat
Disconnect the battery before removing the seat. To do this safely, locate the battery with the engine off and cooled down. Always start by disconnecting the negative terminal to prevent short circuits. Use a wrench to loosen the nut securing the negative cable, then carefully lift it away from the terminal. Check for any corrosion on the terminals and clean it if necessary, ensuring a good connection when reassembling. Secure the cable away from the battery to avoid accidental contact. Extended disconnection prevents battery depletion if the repair takes a long time.
Once the battery is disconnected, proceed to remove the seat. First, unbolt the seat from the floor using the appropriate tools. Before lifting it out, carefully disconnect any electrical connectors beneath it, such as those for airbags or seat sensors. This step is crucial for safety, preventing accidental airbag deployment or damage to wiring. When handling connectors, take care to locate and release any locking levers or clips gently to avoid breaking them. For any electrical issues, carefully diagnose the problem by testing components individually to isolate the fault. After disconnecting the electrical connections, lift the seat straight up and out of the vehicle. Place it on a flat surface in a safe area for further work. This process helps to access and repair the seat’s complex reclining mechanisms, which can be prone to failure.
Access the Seat’s Internal Recliner Mechanism
To access the internal recliner mechanism, start by removing the seat from the vehicle and placing it in your workspace. Carefully peel back the seat cover by removing perimeter fasteners, which typically include Phillips or Torx bolts. Be sure to check for hidden clips under armrests and side panels, as these can be overlooked during upholstery removal. Gently detach the fabric to prevent tears. Once the cover is removed, you will see the recliner unit along with its linkage and tension cable. Identify the mounting points by locating the primary bolts that secure the mechanism to the seat frame. Examine the side brackets and look for the cable anchor bolt. Also, take note of any sensor connectors for future reference. Before proceeding, mark the unit’s original orientation with tape to ensure correct reassembly, and consult the recline indicator to understand the intended safe angle range for testing the repaired mechanism. A basic inspection should include inspecting and tightening any loose screws and bolts on the mechanism. Regular inspection and cleaning of the mechanical parts can help maximize the recliner’s lifespan, as is recommended for furniture recliners. As with a furniture recliner, a common step in troubleshooting is to manually test the recline movement without forcing it.
How to Inspect the Recliner Linkage and Gear Teeth
Once the seat cover is removed and the mechanism is exposed, inspect the linkage and gear teeth for signs of wear or damage. Start by checking that the cable is securely attached to the linkage without any slack, ensuring the lever moves smoothly and freely. Next, examine all pivot points for excessive play, rust, or corrosion, and verify that clevis pins are tight and properly seated. When inspecting the gear teeth, look closely for stripping, cracks, missing segments, or any uneven wear. Check the mating paw for tip wear and test its spring tension— it should snap back firmly into position, as a weak locking pawl can prevent the chair from staying securely reclined. Additionally, assess the cams and stop pins for damage, bending, or misalignment that could interfere with proper locking and reclining function. Given the intricate nature of these moving parts, fabric selection should prioritize durability to withstand repeated mechanical stress. If the internal damage is extensive, consider replacing the manual system with an electric recliner mechanism for a more robust solution.
Deciding Between a Repair or a Full Replacement
Deciding whether to repair or fully replace your recliner depends on the severity of the damage. For minor issues like a damaged handle, loose screws, or a stiff rotation that only needs lubrication, a simple repair is usually enough. Handle repairs typically cost between $15 and $40 and can be completed in under an hour. However, for more serious problems such as deep cracks reaching the internal shaft, stripped splines, or broken gear teeth, a full replacement of the assembly is necessary. A new assembly generally costs between $80 and $200, with additional labor required for installation. Consider aesthetic factors, especially if the wear is purely cosmetic, and evaluate your warranty coverage—some repairs may void coverage if they only involve handle replacements. Safety should always come first; remember that a repaired component might fail sooner than a new original manufacturer’s assembly. This is especially true for power recliners, where the motor-driven system is more complex than a manual mechanism. For those who enjoy hands-on projects, you might explore DIY woodworking solutions to create custom wooden supports if the internal frame is damaged. To maintain a cohesive room aesthetic even after a repair or replacement, consider employing creative concealment techniques to seamlessly integrate your sofa into your space.
How to Lubricate a Stiff Recliner Handle
To lubricate a stiff recliner handle, start by thoroughly cleaning all visible joints and glide tracks. Remove old grease and trapped debris with a rag or brush to reduce friction and address squeaky joints. Choose a lubricant like silicone spray or white lithium grease for the best results—avoid using WD-40 for long-term lubrication. Apply a penetrating oil directly to the pivot points and let it sit for 10–15 minutes to loosen any buildup. Use a spray nozzle with a straw to reach tight internal spots. After applying a small, even coat, work the handle back and forth several times to evenly distribute the lubricant. This gentle handling helps to preserve the mechanism’s integrity, similar to the care recommended for upholstery during cleaning, and is a key part of the attentive upkeep needed to extend the lifespan of any recliner. Finally, wipe away any excess to prevent sticky residue or dust accumulation.
Replacing a Broken Recliner Handle Assembly
To replace a broken recliner handle assembly, start by removing the seat to gain proper access. Slide the seat forward and disconnect the vehicle’s battery to ensure safety. Remove the four mounting bolts securing the seat and carefully lift it out of the vehicle. Next, remove any plastic trim panel that covers the mechanism; if no trim is present, gently peel back the seat upholstery to access the internal components. Before working further, unplug any wiring harnesses for power or heated seats if you’ve lifted the seat. For many seat designs, you will first need to pry up the trim piece using a trim tool to access the clip securing the handle. Locate the retaining C-clip on the recliner shaft, then use needle-nose pliers to remove it. Slide the broken handle off the shaft and align the new handle assembly’s internal teeth with the shaft. Push the new assembly firmly into place, ensuring it is fully seated and secure.
Reinstall Your Seat and Recliner Handle Securely
Ensure the seat is securely reinstalled by aligning it precisely with the floor bolts. Position the seat frame so that the tracks engage the floor mounts and all bolt holes line up correctly. Carefully check under the base to prevent trapping any wiring. Insert and tighten all four mounting bolts evenly, following the manufacturer’s specified torque to avoid overtightening. Reconnect any electrical connectors, making sure each clip snaps firmly into place. Slide the plastic side covers back into position and fasten their screws. When placing the seat cushion over the frame, be cautious not to snag the upholstery fabric, ensuring a smooth and secure fit. Before final installation, check that the seat tilt handle is correctly engaged with the metal rod inside the mechanism.
Final Testing for Safety and Function
After reinstalling the seat and handle, you must perform safety and functionality checks. Start by testing the seat’s stability; push it side-to-side, ensuring it does not move more than one inch. The reclining handle should lock securely in all positions with a distinct click, indicating proper engagement. Inspect each bolt to verify they are fully tightened and examine the seat material and upholstery for any damage or discoloration.
Next, confirm that the harness straps are not twisted. Perform a pinch test at the shoulder level—the straps should be firm enough that you cannot pinch any material between your fingers. Adjust the seat’s recline angle using the handle so the indicator line is level, ensuring optimal seating position. Securely tighten the vehicle’s seat belt or anchors to hold the seat firmly in place.
Finally, sit in the seat to check its stability under load. Make sure all functions, such as the slide lever, operate smoothly and lock securely. This comprehensive final testing guarantees the seat is both safe and functioning correctly before use.