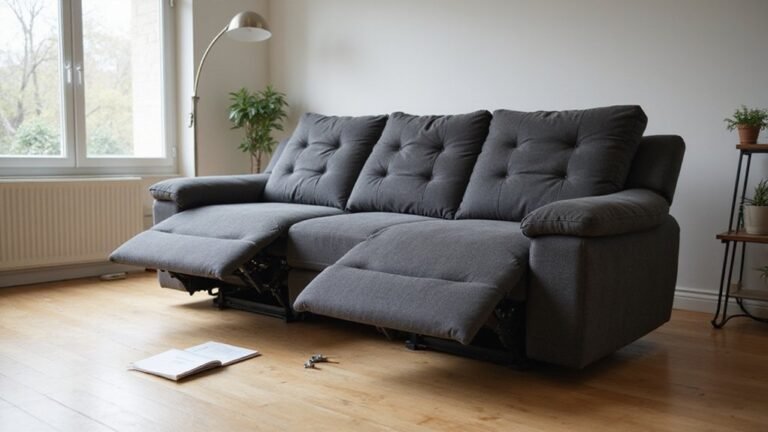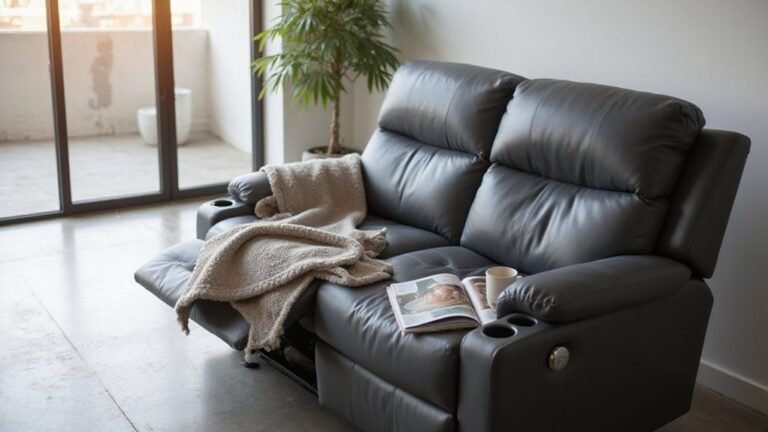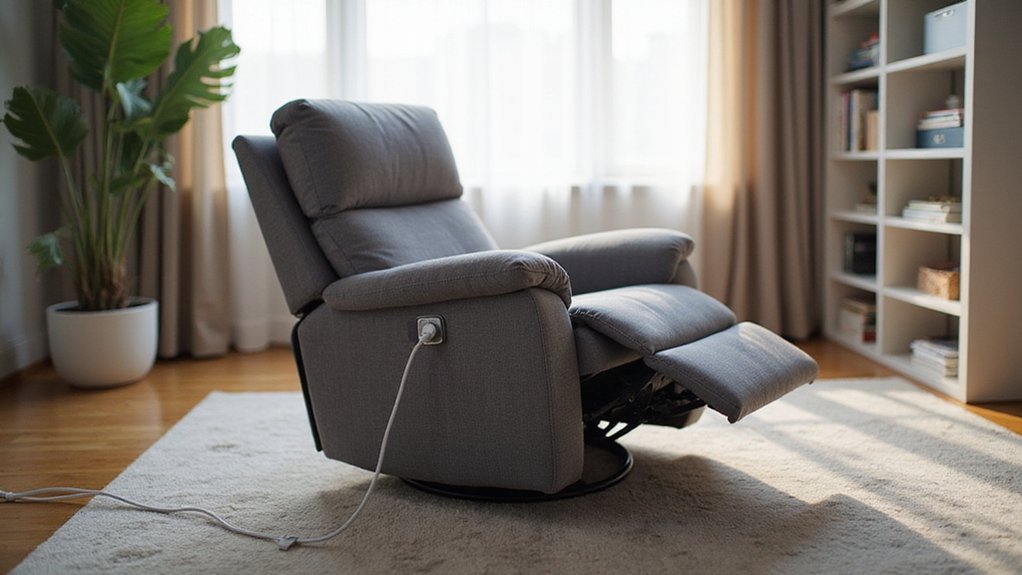
If you’re tired of seeing power recliner cords cluttering your living room, you’re not alone. Sometimes, just getting rid of the loose cord isn’t enough—you want a cleaner, safer look.
Luckily, there are simple ways to hide and secure those cords so your space feels tidy and cozy. Keep reading to discover how to keep your living room both stylish and safe.
Snake Cords Along the Baseboard
To permanently hide power recliner cords along the baseboard, you need to modify the baseboard itself to create a concealed channel. Start by carefully measuring the length of the section where the cord will run and decide on the channel’s depth, ensuring it can safely house the cord without compromising the integrity of the baseboard. Using a wood router, hollow out the interior of the baseboard to form a clean, narrow trough.
Next, cut small exit holes at both ends of the modified section to allow the cord to enter and exit smoothly. Thread the power cord through the newly fashioned channel, keeping it completely hidden from view. After the cord is in place, reattach the baseboard to the wall using appropriate adhesive or screws, making sure the modified section aligns seamlessly with the rest of the baseboard. Exercise particular caution when handling the power cord if it is still connected to the internal frame or motor. This method provides a durable, neat solution to keep cords out of sight and maintain a tidy, seamless appearance, blending functionality with decor as suggested for hiding your reclining sofa’s backside. Ensuring proper care and regular inspection of these power recliner mechanisms can help maximize your furniture’s lifespan.
Mount Cords With Adhesive Clips and Channels
You can mount cords directly to walls or furniture using adhesive clips and channels. To ensure secure attachment, start by assessing surface compatibility. Use self-adhesive clips on smooth, sealed surfaces like painted drywall or finished wood—just clean the area thoroughly before application. For rough or textured surfaces, such as unpainted drywall or concrete, you’ll need screw-mounted anchors to keep the clips in place. Many adhesive cable mounts feature built-in screw holes for extra security and peace of mind. Place the clips about two to three inches from the edge of the furniture or wall, pressing firmly to ensure they grip well. For a sleeker appearance, opt for adhesive-backed raceways that conceal cords along walls, helping to prevent tangles and clutter. Always measure the diameter of your cord bundle first so you can select the appropriately sized clips or channels—this prevents wobbling or pinching that could damage the insulation or create hazards. This organized approach also helps when you need to access the recliner motor port for maintenance or reconnection, as neat cabling makes it easier to inspect the wiring and control switches. This organized cabling can also simplify tasks like inspecting the reclining mechanism should you need to troubleshoot movement issues.

FITS CABLES UP TO 0.22"(5.6mm) DIAMETER – PLEASE CHECK YOUR CABLE SIZE BEFORE PURCHASE! These small cable clips are designed ONLY for thin wires, about the thickness of a standard cellphone charging cable: dash cam cords, USB charging cables, audio cables, ethernet lines, LED strip wires, headphone cords, security camera thin wires, mouse & keyboard cables. NOT compatible with thick extension cords or heavy coaxial cables.

ELECTRICAL CORD ORGANIZER: One package of the Command Clear Round Cord Clips includes 13 clear cord clips and 16 small Command Strips

High quality material:XHF Adhesive Cable Clips are manufactured from Strong Adhesive and PA66 nylon
Route Cords Behind and Underneath Furniture
You can route cords behind and underneath furniture for an even less noticeable setup. Start by assessing your furniture height and available space. Tuck the cord beneath your recliner’s frame or fabric skirt, securing it with a small strap to keep it off the floor. Use the gap between the furniture base and the floor to run the cord backward. Then, guide it behind the rear legs of your sofa or entertainment center to hide it completely from view. When routing, remember to first connect the power cord to the chair’s back port before plugging it into the wall outlet. If your cable length is too long, bundle and secure the excess slack under the furniture’s center. This method also helps maintain the room’s balanced scale and proportion by preventing tripping hazards and visual clutter. This hidden routing is also beneficial if you need to troubleshoot the battery backup during a power outage. Should you need to access the power unit for motor replacement, this hidden cord routing will simplify the process. This method makes use of existing furniture to hide the cord path without needing additional hardware.
Hide Cords Under an Area Rug or Carpet
You can hide recliner cords by routing them under an area rug, but safety must come first. Use only flat, UL-listed cords approved for indoor use—never run standard round cords under rugs due to fire risks. Lay the cord flat and straight against the floor to avoid creating hot spots that could cause damage or fires. Run the cord to the nearest outlet, leaving only a short section exposed at the rug’s edge. Secure the cord with tape to prevent shifting or tripping hazards. Be mindful not to snag these cords with your recliner lever mechanism when adjusting the chair.
After setting everything up, feel the cord after about 30 minutes of use. If it feels warm or hot, reroute it to prevent overheating. Keep this method as a temporary solution and always monitor for any signs of damage. For any ongoing mechanical issues, like a broken recliner frame, it’s best to address them separately to avoid putting stress on the electrical setup. Choose a large, low-pile rug that lies flat without bumps over the cord to ensure safety and to prevent accidental tripping or movement. This is particularly important for power lift recliners with features like massage and heat functions which increase electrical demand.
Bundle Cords With Ties and Velcro Straps
Bundling cords with ties and Velcro straps offers an effective way to manage clutter. You can start by attaching simple adhesive clips on the side of your recliner to hold a single cord in place. For multiple wires, use cable ties or reusable Velcro straps to create a neat bundle, reducing tripping hazards. The adjustable nature of Velcro straps makes it easy to add or remove cords later as needed. For securing heavier bundles, standard one-wrap ties provide greater durability for long-term use. When working with an electric recliner, always remember to disconnect any power wiring carefully before beginning your cord management project, which may involve inspecting the wiring for any issues. Similar to when handling the backrest of a Flexsteel recliner, you should avoid forcing components to prevent any damage during your cord management task. Always position your secured bundles away from foot traffic and near the recliner’s base for safety and a clean appearance. Regularly check that your ties and straps remain secure to maintain long-term organization.

Reusable cable ties are made from premium nylon adhesive materials can be environmentally used multiple times

INSTANT ORGANIZATION: Our pre-cut ties make cable management a breeze. Just insert the end through the slot, pull tight, and enjoy a secure hold every time!
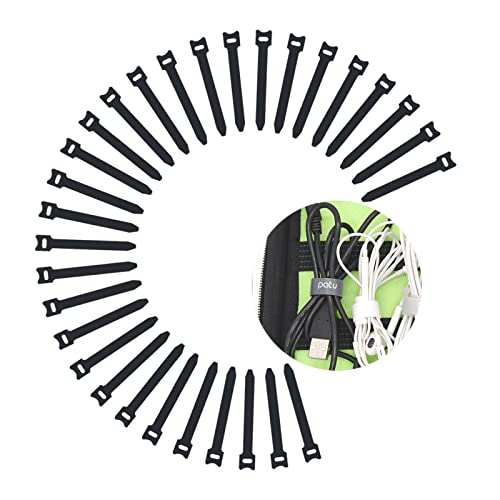
High-quality, reusable, and durable hook and loop straps
Blend Cords Into Walls With Paintable Covers
To blend your power recliner cords into the walls seamlessly, use paintable covers designed for this purpose. These raceways feature self-adhesive backing that provides strong surface adhesion to drywall, ensuring they stay securely in place. After mounting, remove the cover from its plate and apply two coats of your wall’s latex paint, allowing each coat to dry overnight. Painting the covers after installation is essential for perfect paint matching, making the cords virtually disappear against your wall. The durable surface adhesion maintains its hold for months, while the paintable surface ensures a smooth, integrated look. Some kits come with couplers that enable routing around corners and can accommodate cords up to 1.5 inches thick, offering a tidy and professional finish. When planning your room layout, it is wise to secure the chair properly and plan a clear path to avoid tripping hazards during the installation. For models that require a direct connection, concealing the cord is key since most power recliners must be plugged into a wall outlet to function. As you work, remember that maintaining your recliner’s appearance also involves regular vacuuming to prevent dust and dirt buildup around its base. For optimal safety, ensure any covers you select are made from flame-retardant plastic.

Passing the UL94 V-0 Rating test, a plastics flammability standard released by Underwriters Laboratories of the United States, UL94 V-0 Rating is defined as Burning stops within 10 seconds on a vertical part allowing for drops of plastic that are not inflames, which means it's safer than ordinary materials because of the higher flame retardancy and brings greater security to your daily use

Passing the UL94 V-0 Rating Test: A plastics flammability standard released by Underwriters Laboratories of the United States, UL94 V-0 Rating is defined as Burning stops within 10 seconds on a vertical part allowing for drops of plastic that are not inflames, which means it's safer than ordinary materials because of the higher flame retardancy and brings greater security to your daily use
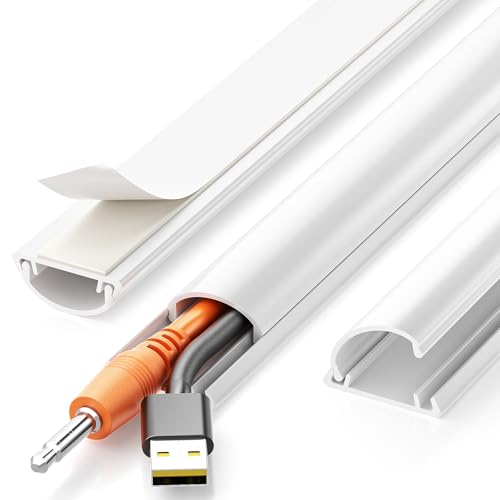
Universal Cable Cover with Almost-Seamless Design: Fits 1-2 standard cords (Suitable for thinner power cords or TV cables; not suitable for holding two thicker power cords) with gap-free connections between wire cover raceways. The cable management kit works on walls, baseboards, desks, or floors for home and office use
Use a Room Divider to Block Cords From View
Room dividers are an effective way to hide power recliner cords from view. A tall folding screen placed directly behind your chair or a multi-panel divider angled to create a barrier can block the cords completely. Solid wooden slat screens provide high opacity, making them great for total concealment, while lightweight lattice panels allow airflow but still hide the cords. For a softer aesthetic, installing artistic curtains on a tension rod or ceiling track offers an elegant solution; opting for dense fabrics like velvet ensures complete visual blocking. Choose decorative paneling that matches your room’s style, whether modern, rustic, or traditional. To ensure stability, anchor tall screens securely or place heavy bases underneath, and match the finish of the divider to your furniture for a cohesive look.
Conceal Plugs in Decorative Boxes and Containers
To conceal power strips and bulky plugs effectively, use decorative boxes with interior dimensions around 12 by 8 by 6 inches. This size provides enough space for most power strips while remaining compact enough to blend into your living room. Choose durable materials like wood or ceramic to ensure longevity and stability. Ventilation is essential; look for boxes with openings or vents to prevent overheating of electronic devices. Route cords through pre-cut openings or holes to keep them organized and hidden. Use twist ties or Velcro strips to bundle excess cord length, reducing clutter. Secure the power strip inside the box with double-sided tape or adhesives designed for hardware, ensuring it stays in place. For replacement cables and clips, consider sourcing from a recliner part supplier as they often carry a wide variety of hardware suitable for organizing projects. When selecting fabric for such a box cover or decorative accent, avoid using linear patterns due to potential misalignment from repeated use. Finally, decorate the exterior by painting or adding decorative accents that match your room’s style. To prevent slipping, anchor the box to furniture or the wall if necessary, and always prioritize safety by selecting non-conductive materials and ensuring proper ventilation.

Original Design, U.S. Design Patent Registered: Protected by U.S. Design Patent No. D1,112,102 S, this original Cantalop cable management box preserves its unique rattan structure, proportions, and overall visual design.

【PREMIUM MATERIAL】: FABROK cord organizer is made up of premium plastic material that helps in organizing cables and controls heat and fire. Present a tidy and sleek look with our easy-to-use cord hider box, which is perfect for TVs and computers.

Decorative Cable Organizer Box – The Tastepick novel book design cable box resembles a stack of two books with realistic, high-quality printing, seamlessly blending into your decor while neatly hiding electrical cords and power strips.
Run Cords Through Furniture Legs for a Clean Look
Routing cords along furniture legs creates a clean, hidden look. Use low-profile, UL-certified cord covers and secure the cords with adhesive clips along the back side of the leg. Keep the cord within three inches of the floor to maintain a neat appearance. To blend seamlessly with your furniture, consider decorative leg covers or paint a hidden conduit that matches the furniture’s color. Velcro straps are preferable to zip ties because they allow you to adjust or remove the cords easily without restricting movement. Make sure the cord cover’s load capacity exceeds 500 watts to prevent overheating. Before attaching any adhesive-backed cord covers, clean floors thoroughly to ensure strong adhesion and avoid damage to your flooring. This approach keeps cords out of sight from typical viewing angles, reduces tripping hazards, and helps your space look more organized.

High-Quality Floor Cable Protectors, made from flexible pvc, supplied coiled - uncoils to lay flat (no need to add to boiling water to uncoil). Can be easily cut to size if shorter wire cover lengths are required, cut using sharp utility knife or heavy duty scissors.

High-Quality Floor Cable Protectors, made from flexible pvc, supplied coiled - uncoils to lay flat (no need to add to boiling water to uncoil). Can be easily cut to size if shorter wire cover lengths are required, cut using sharp utility knife or heavy duty scissors.

High-Quality Floor Cable Protectors, made from flexible pvc, supplied coiled - uncoils to lay flat (no need to add to boiling water to uncoil). Can be easily cut to size if shorter wire cover lengths are required, cut using sharp utility knife or heavy duty scissors.
Conceal Cords Inside Your Walls for a Built-in Look
Hiding cords inside your walls creates a seamless, built-in look by completely eliminating visible wires. Begin by locating the wall area behind your furniture with a stud finder. Turn off the power at the breaker and use a voltage tester to ensure the outlet or switch is safe to work on. Use a drywall saw to carefully cut a rectangular hole around the outlet or where you want the cord to emerge. Drill a hole through the wall stud for the cord to pass through, and insert a flexible plastic conduit secured between the studs to guide the cord. Maintain proper depth and avoid sharp bends to prevent damage. After routing the cord, patch and paint the drywall to match the wall finish, giving the appearance of a custom-installed outlet. Keep in mind that this is a fairly involved project that requires safety precautions and some carpentry skills. If you prefer a simpler approach, wireless charging solutions or cordless furniture are effective alternatives that do not involve wall modifications.