To fix a broken recliner pull handle, you’ll need basic tools like screwdrivers, wrenches, and replacement parts. Start by removing the broken handle and disconnecting the release cable from the mechanism. Install the new handle by aligning it properly and securing all mounting screws. Test the tension and adjust if needed using the control mechanisms underneath. Regular maintenance and proper handling will prevent future breaks. Our thorough guide explores additional repair techniques and preventive measures.
Common Signs of Handle and Lever Problems
When your recliner handle starts exhibiting problems, several telltale signs can help you diagnose the issue before it worsens. During symptom identification, you’ll notice the handle becoming loose or wobbly, often due to unsecured screws or bolts. Check for handle alignment issues, as bending or misshapen levers can considerably affect operation. A damaged tension spring can result in reduced resistance when pulling the handle.
Pay attention to how the recliner responds when you pull the handle. If there’s no reaction, the handle may have detached from the internal cable system. Using a Phillips head screwdriver can help you inspect and tighten any loose connections. You might also find cracks or fractures that make it impossible to engage the reclining mechanism. Testing the cable connectivity throughout the system can pinpoint where the malfunction originates. In some cases, the handle can completely separate from the chair or disconnect from its cable, requiring immediate attention to prevent further damage to your recliner’s operating system.
Required Tools and Materials for Repair
Before undertaking any recliner handle repair, you’ll need to gather a thorough set of tools and materials to assure a successful fix. Your tool selection should include essential hand tools like screwdrivers, adjustable wrenches, and hex keys for disassembly. Don’t forget safety equipment such as gloves and protective eyewear.
Your maintenance checklist should cover replacement parts including a compatible pull handle, release cable, and mounting brackets. Consider that metal replacement handles cost around $5.99 for basic models. You’ll also need measurement tools like a tape measure and flashlight for accurate diagnostics. Keep additional supplies handy, including lubricant spray, cleaning cloths, and cable ties. Store small parts in a magnetic tray during repair to prevent loss. Having these items ready before starting will assure you can complete the repair efficiently and safely.
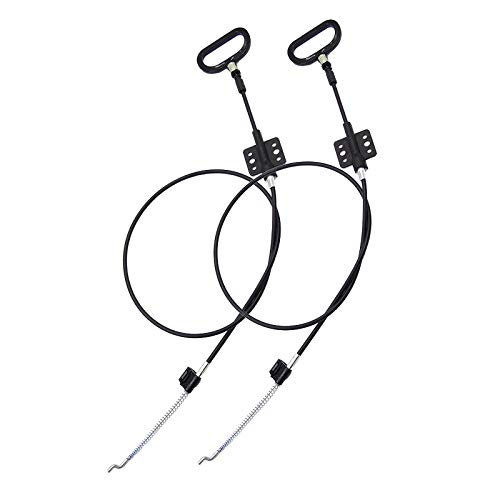
1.D-RING HANDLE :This handle is a universal replacement cable found in the arm of most major brands. It is used on recliners that have the handle in between the seat cushion and the arm.Handle size:is 2" x 2.5".

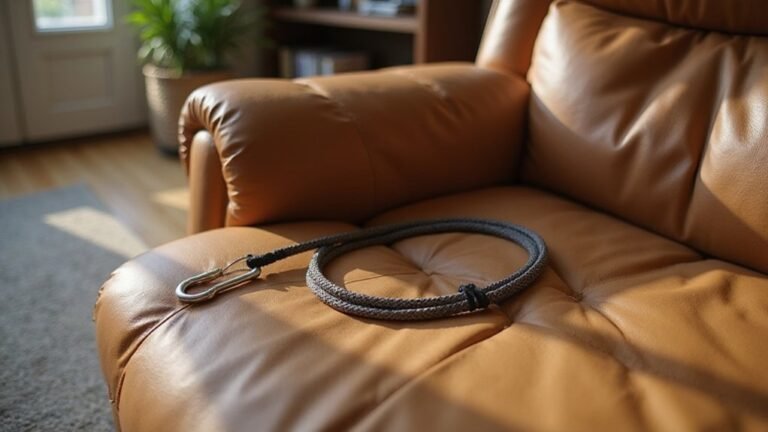
Convenient Recliner D-Ring Cables: Unique couch recliner pull cable replacement D-ring pull handle allow you easily grip the recliner handle when you lay back the sofa and release the recliner cable, finish the step by easily clipping with the S tip of the string
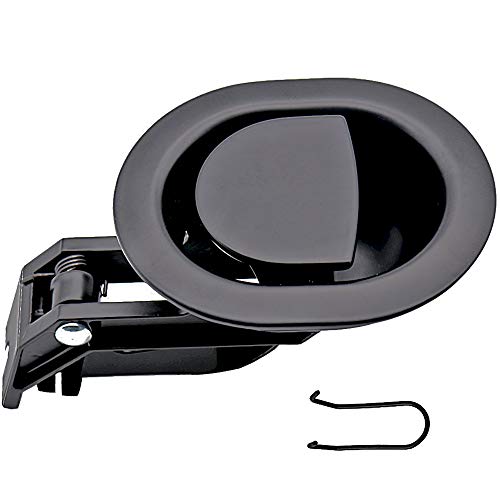
【Universal Recliner Part】Couch release handle size is 3.5" by 3", This Recliner handle replacement is a universal part found in Ashley Furniture and most recliner brands.
Step-by-Step Handle Replacement Guide
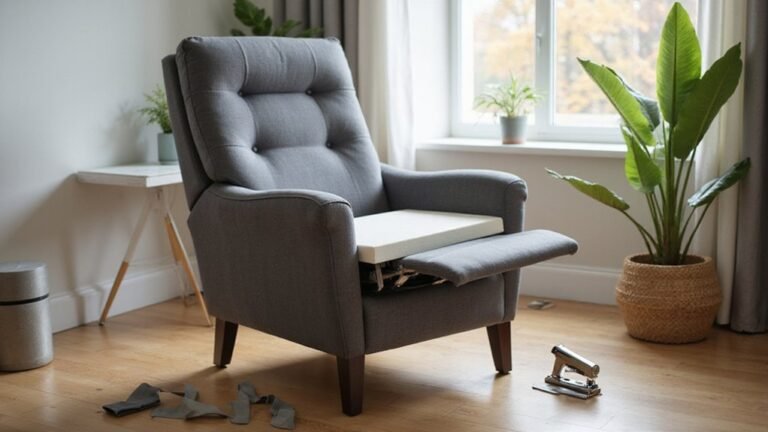
With your tools and materials ready, replacing a broken recliner handle follows a systematic five-phase process. First, remove the broken handle by unscrewing its mounting screws and detaching it from the frame. Next, tip the recliner to access and disconnect the cable from the mechanism underneath, using pliers to release any securing clips. Be sure to lay down a protective sheet under the recliner to prevent damage to leather surfaces. Keep all screws and bolts organized as you work to ensure proper reassembly. Inspect the frame connections carefully for any additional damage that may need repair.
For proper installation techniques, verify handle compatibility by selecting a replacement that matches your recliner’s specifications. Insert the cable into the new handle’s designated groove, securing it with any provided clips. Mount the handle by aligning it with the frame’s screw holes and tightening firmly but carefully. Finally, test the installation by operating the handle multiple times, checking for smooth operation and proper mechanism engagement. Make any needed adjustments to cable tension or screw tightness for peak performance.

Match by Size: oval handle face 3.5 by 3 in; exposed cable length about 4.75 in, measured from the buckle to the top of the Z-hook bend; total cable length about 37 in. Compare these three numbers with your original part - sizes vary a lot between models, so measure first.

【Universal Recliner Part】Couch release handle size is 3.5" by 3", This handle replacement with cable is a universal replacement part found in Ashley Furniture and most recliner brands.

【Universal Replacement Handle】Universal replacement handle is found in any lever style recliner brands with this type of outside handle.It with long cable fit most major furniture and recliner brands, such as Ashley, Lazy Boy.
Cable Tension Adjustment Tips
Since proper cable tension directly impacts your recliner’s performance, mastering tension adjustment is crucial for smooth operation. You’ll need to locate the tension controls underneath your recliner, typically wing nuts or thumb wheels near the center. Turn these clockwise to increase tension or counterclockwise to decrease it, always adjusting while the chair is upright. Examine both sides of the chair to ensure balanced tension adjustments for optimal reclining support. DIY cable replacement can save significant repair costs compared to professional servicing.
Check for cable wear and mechanism alignment before making adjustments. The standard 3 or 5 inch cable length options provide flexibility for most recliner models. Remove cushions to access the controls if needed, then select the best cable tip hole on the release trigger to minimize slack. You’ll want enough tension for smooth footrest actuation without causing stiffness. If you notice fraying or damage during inspection, replace the cable before adjusting tension to guarantee reliable operation.

Fits Most Recliners: replacement pull handle with cable for manual recliner sofa, couch and chair; works with most major brands like Ashley and Lazy Boy. Exposed cable length is 5.1 in from the clip to the top of the Z-hook bend; to the cable sleeve it reads about 4.7 in, to the hook tip about 5.5 in - if your old cable measures anywhere in between, this is the right part.
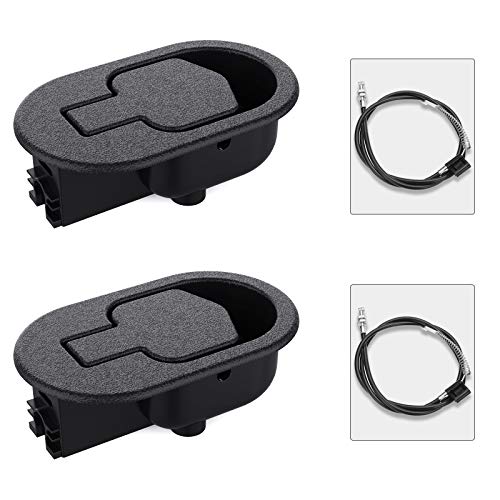
【BARIDWON Recliner Replacement Parts:】 Ideal for replacing worn-out and broken recliner handles and cables. Compatible with most major recliner sofa brands, like Ashley, Lazy Boy and more. (NOTE: Measure your original handles and cables to ensure compatibility before buying)
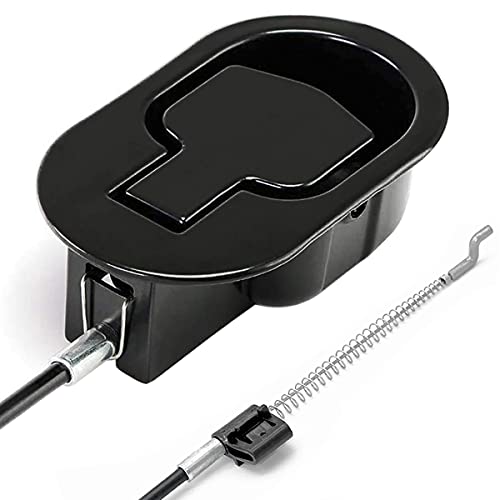
【Universal Recliner Part】Universal recliner replacement handle with long cable fit Most major furniture and recliner brands, such as Ashley, Lazy Boy.
Testing and Quality Checks After Repair
After completing your cable tension adjustments, thorough testing validates the repair’s effectiveness. Start by slowly pulling the handle to verify smooth operation and full range of motion. Check for consistent responsiveness through multiple cycles and guarantee the cable moves freely without binding. Measure the tail end length after testing to ensure it hasn’t shifted during repairs.
Apply various testing techniques to assess structural integrity. To prevent future issues, clear any accumulated debris from the mechanism components. Inspect all mounting points for tightness, and verify cable connections at both ends. Listen for unusual noises during operation that might indicate assembly issues. Test the locking mechanism by fully engaging the recliner and confirming secure positioning.
For final quality assurance, simulate different user scenarios including quick, slow, and partial pulls. Monitor the mechanism’s response to each action, assuring proper activation without excess force. Complete a safety check for any protruding parts or sharp edges before declaring the repair successful.
Preventative Maintenance and Care Tips
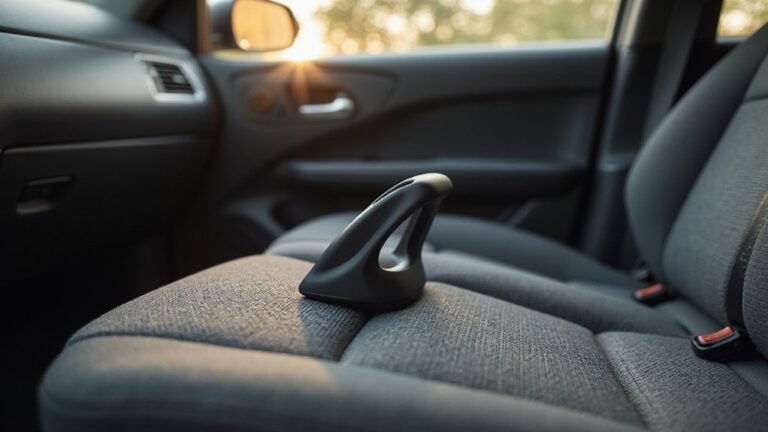
Maintaining your recliner’s handle mechanism requires a systematic approach to prevent future breakdowns. Start with regular recliner cleaning to remove dust and debris that can cause stiffness. Apply silicone spray or lithium grease to moving parts, avoiding oil-based lubricants that attract dirt. During monthly inspections, check cables for fraying and connection points for wear. Consider installing a lever extender device to reduce strain on the handle mechanism and extend its lifespan. Testing the pivot points after each maintenance session ensures all mechanical parts move smoothly.
Implement proper lubrication techniques by focusing on joints and mechanical components while keeping the handle’s exterior clean with mild cleaners. Tighten loose screws and replace worn metal clips promptly. Position your recliner away from moisture and direct sunlight to prevent corrosion and material degradation. Always use smooth, steady motions when operating the handle, and avoid hanging objects on it or applying excessive force that could damage the mechanism. Regular upholstery conditioning will help maintain the overall integrity of your recliner while protecting the handle area from wear and tear.