If your recliner feels wobbly or makes strange noises, it might be time to fix the frame. Repairing it at home is doable with some basic tools and a little patience.
By carefully inspecting, gluing, reinforcing, and reassembling, you can restore your chair’s strength and comfort.
Keep reading to learn how to bring your recliner back to life step by step.
Inspect Your Recliner for Frame Damage
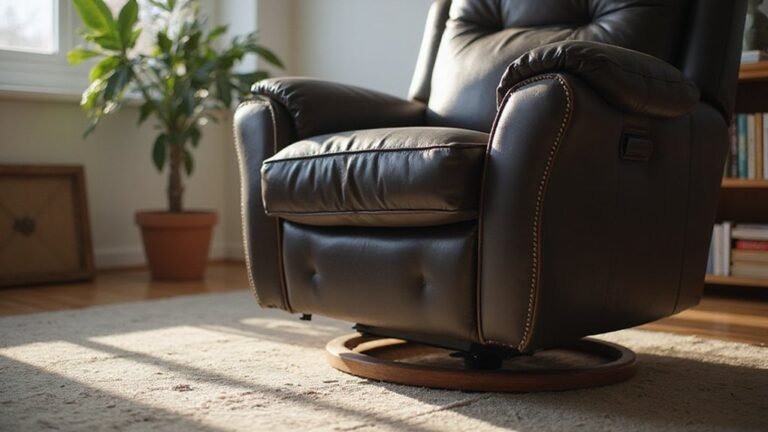
To inspect your recliner for frame damage, start by thoroughly examining the structure for any visible cracks along the wooden slats or frame. Pay close attention to connection points, where parts are fastened together, for signs of looseness or separation, and check bolt tightness on connections to the arm frame as described in recliner repair guidelines. Listen carefully when you operate the recliner mechanism; grinding noises or sudden cracks often indicate internal issues that need immediate attention, but you can attempt a control system reset before assuming major failure. Physically test the stability by pressing down on each corner—excessive flexing or wobbling suggests a compromised frame. Additionally, check the upholstery for gaps or pulling that reveal weak spots or gaps below the surface. Before beginning any repair, consult the manufacturer’s guide for specific disassembly instructions to avoid causing further damage. If you need to remove the backrest for better access, carefully unlock the cam locks and set it aside on a protected surface. Lastly, feel for sagging springs and inspect the entire frame for warped sections or loose fasteners that could affect the recliner’s stability and safety.
MAKE YOUR RECLINING FURNITURE LOOK AND FEEL LIKE NEW. Fix those uncomfortable ugly sags in your recliner and restore its beauty. SagsAway chair pads are the ultimate sinking or sagging seat saving repair tool

【Durable & High Quality】Our zero gravity chair fabric made of high-quality density textilene fabric, thick and wear-resistant, fade resistant. This zero gravity chair replacement cord is made of reliable strong elastic high-quality nylon rope, good elasticity, strong and stable, it will support weight up to 350 pounds with most oversized anti-gravity chair frame.
Gather Your Recliner Repair Tools and Materials
To repair your recliner frame, gather the necessary tools and materials first. You’ll need Phillips and flathead screwdrivers for removing screws and bolts, which is a crucial first step for inspecting and cleaning the mechanism. Needle-nose pliers and a heavy-duty staple remover are essential for handling upholstery without causing damage. A cordless drill driver speeds up disassembly and reassembly. For repairing broken joints, choose adhesives like wood glue or fast-setting epoxy. Keep clamp sets ready to hold pieces steady while the glue dries. If you need to smooth edges or prepare new wood parts, a Dremel tool or electric sander will come in handy. The repair may also require you to remove the back panel to access the frame structure. For added stability after repair, consider securing the chair with locking cables or straps. Having all these items assembled before starting ensures your repair process is efficient and hassle-free.

FOR EVERYDAY USE — This cordless electric screwdriver is your go-to for small projects.

EASY TO USE - The perfect cordless electric screwdriver for everyday needs and DIY projects.

Optimal Performance: 20V MAX* lithium-ion battery always ready for your next project
How to Safely Disassemble Your Recliner
To safely disassemble your recliner, start by clearing a six-foot workspace to give yourself enough room to maneuver. Lay down protective blankets to prevent damage to your flooring and upholstery. Wear heavy gloves and safety glasses to protect your hands and eyes from sharp edges and falling debris. Before beginning, snap detailed photos of each step to ensure you can reassemble the chair correctly later.
Begin by removing the upholstery at the base, which usually involves detaching fabric secured with Velcro or buttons. This exposes the frame and internal mechanisms. Given the complex reclining mechanisms, proceed with extra caution during this step. Next, locate and remove the screws securing the backrest, then lift it off carefully after disengaging any clips holding it in place. For armrest replacement or adjustment, find and unscrew the bolts connecting the armrests to the side frame. To release a backrest that is locked in place, look for and raise the locking levers located where the top of the arm connects to the back. For power recliners, always remember to disconnect the electrical wiring before proceeding to avoid damage.
To access the mechanism and internal components, carefully flip the recliner onto its side or back. Identify all fasteners holding the mechanism in place. Keep all hardware organized by placing screws and bolts in labeled bags to facilitate quick and accurate reassembly later. For chairs with advanced features, check the control panel for a memory function that may need to be reset after repair. Throughout the process, take clear photos of each step to serve as visual references.

Match by Size: oval handle face 3.5 by 3 in; exposed cable length about 4.75 in, measured from the buckle to the top of the Z-hook bend; total cable length about 37 in. Compare these three numbers with your original part - it is the fastest way to order the right one.

Match by Size: oval handle face 3.5 by 3 in; exposed cable length about 4.75 in, measured from the buckle to the top of the Z-hook bend; total cable length about 37 in. Compare these three numbers with your original part - sizes vary a lot between models, so measure first.

🔧 PERFECT LAZBOY COMPATIBILITY Exact replacement for worn pins, springs, modern LAZBOY recliners. Check your model’s mechanism for compatibility.
Repair Cracks and Replace Broken Frame Parts
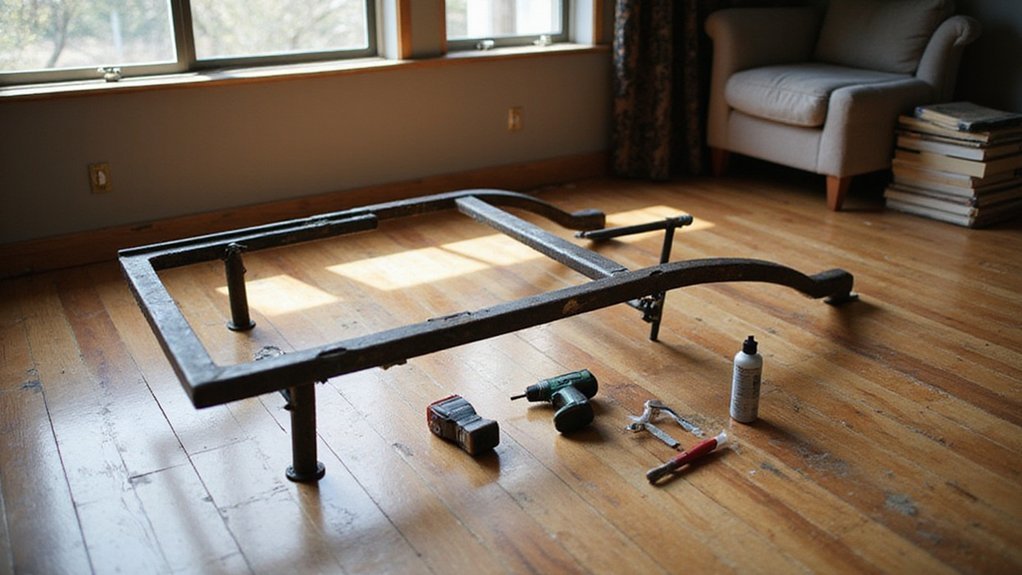
Start by thoroughly inspecting the entire frame to identify any cracks or broken parts. For wooden frames, remove old adhesive from cracks using a scraper or sandpaper before applying fresh wood glue or epoxy. Clamp the pieces tightly and leave them until the adhesive fully cures, typically several hours. For major breaks, install a sister board—cut a matching piece of wood and secure it alongside the damaged area with wood glue and screws for added strength. Always remember to tighten screws and bolts as part of your frame inspection to address any loosening that may have contributed to the damage.
If you’re working with metal frames, weld the cracks if you have welding experience, or use a high-quality metal epoxy designed for structural repairs. Before beginning any repair, it is wise to check the chair’s structural integrity to ensure the foundation is sound. After the frame’s structural repairs are complete and fully cured, consider refinishing the surface. You can add creative painting and decorative accents to match your décor and personalize your recliner. Lastly, replace any broken brackets, hardware, or screws with new matching parts to ensure everything stays secure and functional. Remember that your frame repairs are essential for restoring the footrest and back recline functionality that depends on a solid foundation.

Two-part epoxy paste to replace missing or rotted wood is resistant to dry rot, UV light, fresh and salt water

J-B WELD KWIKWOOD: A hand mixable two part epoxy putty stick that is formulated to repair and rebuild wood. J-B Weld KwikWood is designed for all wood household DIY repairs!

Two-part epoxy paste to replace missing or rotted wood is resistant to dry rot, UV light, fresh and salt water
Reinforce Weak Joints for Lasting Strength
To reinforce weak joints and ensure lasting strength, start by cleaning the old adhesive residue from the wood surfaces. Sand the area smoothly to create a clean, roughened surface that allows for better adhesion. Select a high-strength adhesive like polyurethane glue, which is water-resistant and provides a durable bond. When applying, force the glue deep into the joint gaps to ensure full contact across all surfaces. Before clamping, double-check that all wiring and mechanical components are clear to avoid pinching and mechanical damage. For optimal performance, remember that regular routine inspections can help identify these weaknesses early. Always ensure any nearby control switches and wiring are fully protected before proceeding with clamping. Clamp the joint firmly and leave it clamped for the time recommended by the adhesive manufacturer to allow proper curing. This process secures loose components and prevents future splitting or weakening, resulting in a more stable and long-lasting connection.

The adhesive permanently tightens loose wood joints

Reassemble Your Recliner Frame Correctly
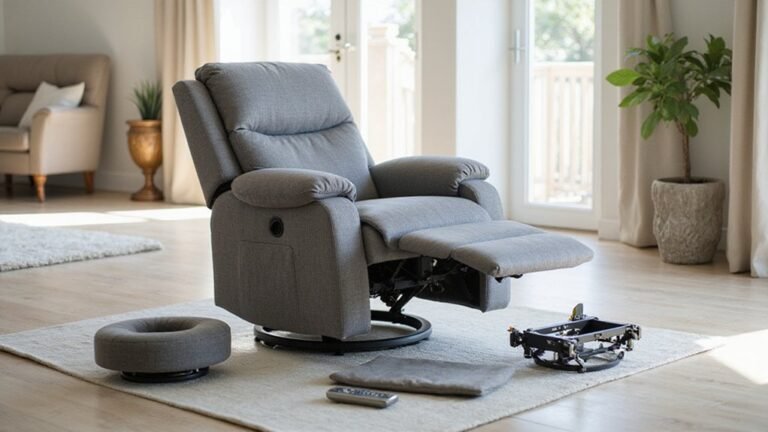
To reassemble your recliner frame correctly, start by preparing and labeling every component. This helps you ensure each piece goes back in the right place. Begin by aligning the base of the frame, making sure it sits flat and level. Attach the central structure next, securing all the pre-labeled connection points tightly. Carefully reconnect the mechanical and electrical systems, checking that everything moves smoothly and there are no obstructions. This is especially important for power lift recliners, where you must verify the functionality of the electric lifting mechanism. When reconnecting the manual reclining mechanism, proper orientation of the mechanism is critical for ensuring correct cable alignment. For models with a removable back, carefully re-engage the recliner back clips or knobs to secure the panel firmly to the base. Once these systems are in place, fix the remaining panels, ensuring they are aligned properly. Proper cushion placement is vital; position and adjust all cushions before attaching the upholstery to avoid pinched fabric or uneven surfaces. You may also want to consider the type of upholstery, like leather or microfiber, as it can affect how the fabric fits over the repaired frame. Finally, reattach the upholstery fabric using techniques that keep the fabric taut and smooth, avoiding wrinkles or pinched areas around brackets or mechanisms. Allow any adhesives to fully dry and cure before testing the final stability of the frame.
Test Your Recliner Repairs and Make Final Adjustments
Before you settle back into your newly repaired chair, it’s crucial to thoroughly test its operation and stability. Start with remote testing by pressing each button and verifying the responses are immediate and accurate. Ensure the recliner moves smoothly through all positions and that the seat and backrest remain stable without drifting when in a fixed position. Check that the movement is calibrated precisely, with the chair stopping exactly where you intend during multiple cycles. Inspect the frame for any signs of stress or new cracks, tighten any loosened bolts, and confirm all electrical connectors are securely engaged. It is also advisable to test the power supply voltage with a voltmeter to confirm it delivers the required 28-29 volts for full and reliable operation, which is also important for ensuring the battery backup system functions correctly after an outage. Finally, listen for unusual sounds and observe the operation closely to ensure there are no irregularities. For visual guidance on specific mechanical adjustments, consider watching step-by-step repair videos. Only after completing this comprehensive checklist should you consider the repair finished and your chair safe for regular use.