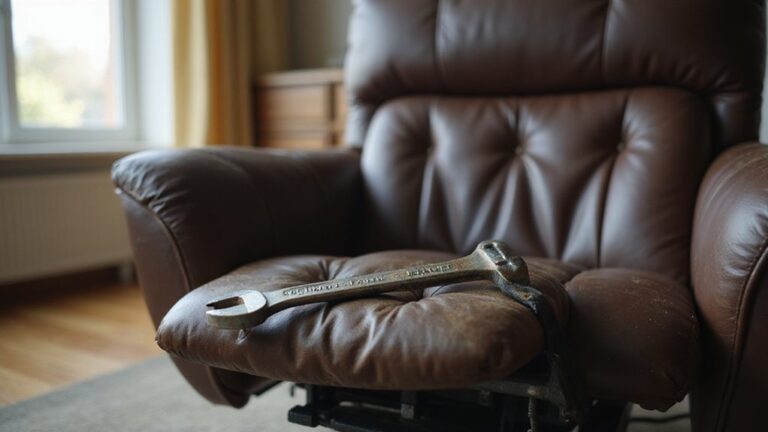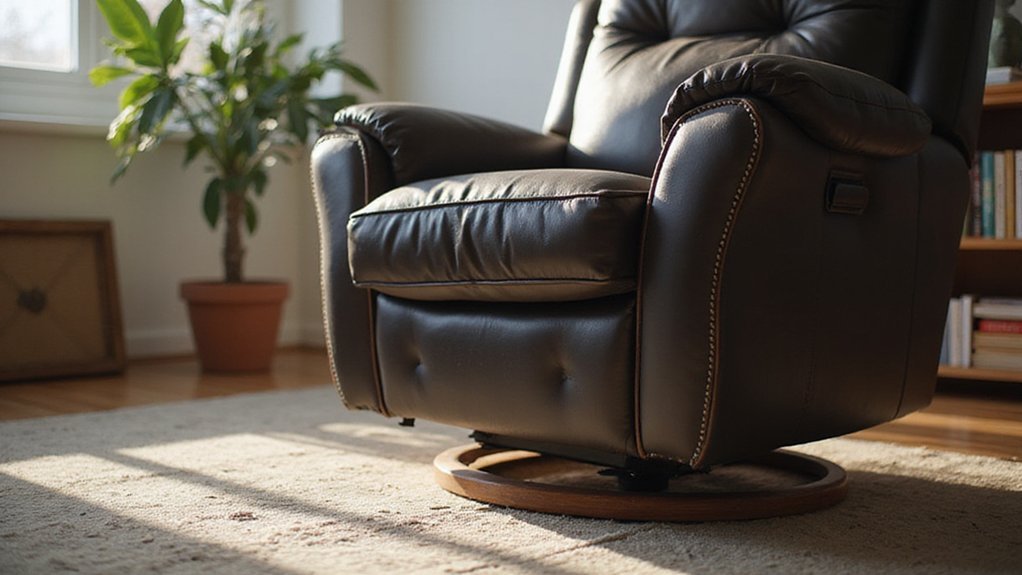
If your recliner leans to one side, it can make sitting comfortably a challenge. The good news is, most issues can be fixed with some simple checks and adjustments.
Whether it’s a loose screw, uneven springs, or a slight dip in your floor, you can often level it out yourself. Keep reading to find out how to get your recliner sitting evenly again.
Diagnose: Is the Problem Your Recliner or Your Floor?
To determine whether the lean is caused by your recliner or the floor, start with a floor assessment. Use a level and place it under the base of your recliner to check for unevenness. Measure the incline; an angle greater than她们的0.5 degrees or a dip over a quarter inch indicates an uneven floor. Keep in mind that tiled floors can have grout lines that create false inclines, and carpeted areas may have uneven padding that affects readings. To confirm if the recliner itself is the problem, move it to a known flat surface. If the lean remains, it points to an internal issue affecting the chair’s structural integrity rather than the floor. Before proceeding with any internal disassembly, it is wise to thoroughly check the structural integrity of the frame and components, referencing a clear step-by-step guide to understand the process. An internal inspection may reveal mechanical misalignment or debris jamming the parts. Common internal causes include a loose recliner mechanism often stemming from loose screws or a bent stop roller.
Start by Adjusting and Tightening the Legs
Start by adjusting and tightening the legs. Most recliners have adjustable feet that can be turned to level the chair. Use a builder’s level on the seat to identify which legs need adjusting. Turn each foot incrementally, checking the level after each turn until the bubble centers. During inspection, tighten any loose screws on the leg brackets to secure the legs firmly. If a leg is cracked, damaged, or excessively worn, replace it. Remove the broken leg by unscrewing the mounting hardware, then source a replacement that matches the original height, material, and attachment style. Ensuring proper scale and proportion in your furniture setup, as with any seating piece, contributes to a balanced and functional room. When installing the new leg, align it parallel to the frame and tighten the screws securely. For recliners that still tilt after leveling, inspect and clean the recliner mechanism of any debris that may be causing an imbalance. Managing any related power recliner cords neatly also helps in maintaining a clean and safe room aesthetic. Once all legs are tightened and adjusted, sit in the recliner and check for a stable, even position without any persistent lean.

Height-adjustable Leg Elevating Pillow: KingPavonini leg pillows have two heights for you to lift your leg up to 7.1 inches or 9.8 inches. Providing a right height for different leg lengths and and elevating the leg above heart level. The use of widened Velcros to fix the two pieces makes it easier to adjust the height, and the leg pillow does not slide during use.

Sufficient quantity: you will receive 8 packs of black sofa legs, 8 packs of M8 T-nuts, 24 pieces of metal screws, and 8 pieces of anti-skid pads; all accessories are complete for easy installation (Note: the maximum load-bearing capacity of the 4 furniture legs is 250 kg)
Tighten All Bolts and Frame Joints on Your Recliner
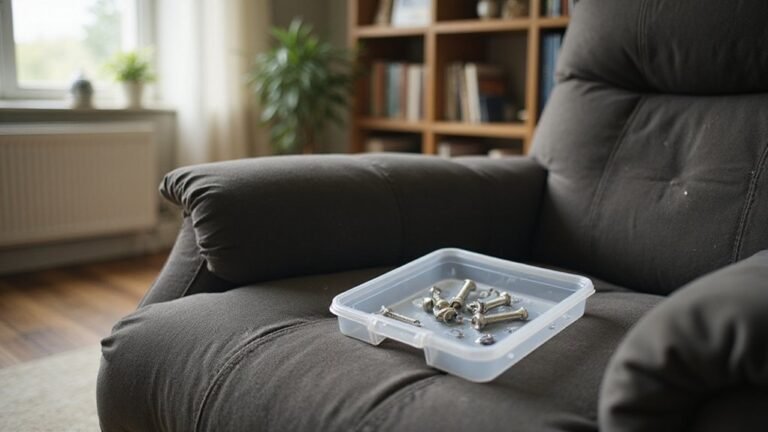
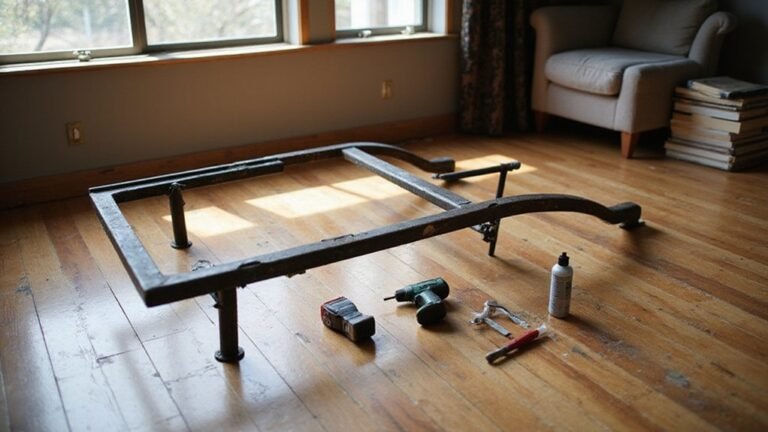
Start by inspecting all visible screws and bolts underneath your recliner. Use a screwdriver or socket wrench to tighten any loose fasteners clockwise. Focus on bolts in wooden panel joints and at the footrest hinge, as these areas often loosen over time. If you find a bolt hole that’s stripped, apply thread-locking adhesive before reinserting the fastener to ensure it stays tight. While inspecting, carefully check for any signs of mechanical strain on the cables or frame, which can also contribute to uneven operation. Sometimes removing a bottom panel provides better access; this is usually simpler than undertaking a full upholstery repair, and is a similar first-step approach to troubleshooting a power recliner motor during an outage. This gives you a clear view of internal components, much like when accessing a recliner cable mechanism for replacement.
If any wood holes have expanded, fill them with wood filler to restore a tight fit for the fasteners. Properly tightening these connections can often eliminate a leaning recliner and prevent the need for more invasive repairs like cushion replacement later. After tightening, confirm all frame connections are flush and secure, ensuring the recliner remains stable and safe to use.

Perfect replacement parts: specifically designed as camping chair replacement parts and lawn chair repair kits, these threaded fasteners for sofas offer a proper fit for damaged or missing bolts,furniture assembly screws,Folding bed repair screws

[Compatible Models] The set is compatible with La-Z-Boy / Lazy Boy / LZB models, these replacement screws and grommets work with the leg rest, foot rest, and scissor assembly.An essential repair solution for sagging or wobbly mechanisms

Fits Most Recliners: replacement pull handle with cable for manual recliner sofa, couch and chair; works with most major brands like Ashley and Lazy Boy. Exposed cable length is 5.1 in from the clip to the top of the Z-hook bend; to the cable sleeve it reads about 4.7 in, to the hook tip about 5.5 in - if your old cable measures anywhere in between, this is the right part.
Balance and Adjust the Spring Tension
To balance a recliner that leans, start by inspecting and adjusting the spring tension. Locate the thumb wheels on the sides of the frame and flip the chair carefully to access them. Check the tension of each spring by comparing their stretching lengths—uneven wear indicates imbalance. To correct a leaning issue, turn the thumb wheels clockwise in quarter-turn increments to tighten a sagging spring, or counter-clockwise to loosen a tight one. If the thumb wheels are stiff, use pliers wrapped in a cloth to avoid damage. For significantly worn or damaged springs causing a persistent lean, you may need to replace the springs for a lasting fix. It can be helpful to refer to the installation instructions for your specific recliner base mechanism when making these adjustments. After each adjustment, sit in the chair and check if it reclines evenly and remains level. Repeat this process, making small adjustments and verifying balance until the chair is perfectly level.
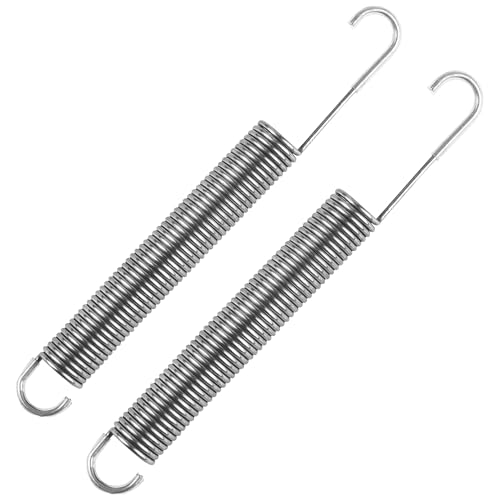
PRODUCT FUNCTION: The primary function of the recliner springs replacement can better support and cushion the weight and pressure of the body, providing users with a better experience and ensuring their safety ensuring optimal comfort for the user during use,and it can also be widely used in other items such as cars, bicycles, toys, lamps, furniture, car hood, crafts, molds, hardware and electrical appliances, etc

[Direct Replacement Parts]: 8-inch replacement recliner springs, standard 2mm steel wire diameter, 0.65-inch coil diameter, 2.93-inch coil body length, total length 8 inches, 90° offset hook design, matching the installation angle of the original recliner mechanism

Product Information:Springs are 2 7/8 inches in overall length, 11/16 inches in outside diameter and contain 18 precision spring coils. Located 1/2 inch above the spring coils, the spring hooks are specifically designed to be compatible with Lane recliners, ensuring precise tension distribution and restoring stability to the recliner's mechanics
Lubricate Your Recliner’s Squeaky Joints and Springs
To silence squeaky joints and springs in your recliner, lubricate the moving parts with silicone-based lubricant or 3-in-1 oil. Start by protecting your floor with a tarp and place a rag behind the parts to prevent staining your upholstery. Identify the squeaky pivot points and spring coils. Apply the lubricant directly into these joints, focusing on the pivot points and between rocker spring coils. Remember, a light spray on both sides of the rocker springs typically resolves the noise. Avoid using WD-40 for long-term lubrication, as it may attract dirt and degrade over time. Proper maintenance like this can extend your chair’s overall lifespan, as detailed information suggests regular upkeep helps power recliners achieve their maximum longevity. It’s also wise to occasionally inspect the control switches and wiring for any issues that could affect smooth operation. When lubricating, be careful of any nearby cable release system which could be disconnected or damaged by excess spray. Wipe away any excess lubricant immediately to prevent drips on your floor or upholstery. Repeatedly recline and rock the chair to test if the squeaking stops. If it persists, consider applying more lubricant to specific spots or inspecting the springs for damage, which might require separate repairs. Finally, tighten all nuts securely and clean the mechanism to ensure smooth operation.
Replace Worn Springs and Damaged Parts
To replace worn springs and damaged parts, start by flipping the recliner to access its underside. Examine all springs for signs of stretching, breakage, or detachment, and look for uneven tension that could cause discomfort. Ensure all four bolts securing the springs are present and tight, and inspect the swivel and rocking mechanisms for loose fasteners that could contribute to instability. To remove old springs safely, wear safety goggles and use appropriate tools to detach each spring carefully, making sure no residual tension remains. Always wear eye protection to prevent injury from snapping springs. When selecting a new recliner to avoid future issues, consider models with a manual override feature for reliability during power interruptions. Proper disposal of damaged springs is essential to prevent injury. When installing new springs, attach the upper hook first and stretch the spring across to secure the lower end firmly. Make sure the springs are compatible with your recliner. For ongoing smooth operation, remember to lubricate moving parts periodically as part of routine mechanical upkeep. Finish by tightening all bolts evenly, flipping the chair upright, and testing the reclining mechanism to confirm the issue is resolved.

【Stainless Spring】6-1/4 inch recliner springs replacement sofa chair bed mechanism tension stainless chaise longue springs long neck hook style 2 PCS

Product size: Total length: 3-5/8 inches (measured from hook to hook as 3.46 inches), coil diameter: 13/20 inches, coil body length: 1-13/22 inches, wire diameter: 2mm, hook angle: 45 degree deflection

PERFECT FIT:7-inch recliner springs are designed as direct replacement parts for sofas, chairs, and recliners. Also 7 inch recliner springs are compatible with Southern Motion, Lazy Boy recliners, not only are they premium lazy boy recliner springs replacement parts and southern motion recliner parts, they also fit perfectly with catnapper recliner parts.
Fix Floor Unevenness With Furniture Pads or Shims
To correct an uneven recliner caused by floor dips or warping, use furniture pads or shims under the low side legs. Begin by inspecting the floor for uneven spots before selecting your solution. For minor tilts, rubber or foam furniture pads of varying thicknesses are effective; choose thicker pads for heavier furniture or uneven spots. For more pronounced unevenness, employ wooden or composite shims, trimming them to fit precisely under the affected legs. After placing the pads or shims, test the stability by using a level on the seat and sitting in the recliner to ensure it sits evenly, particularly to avoid placing strain on your body while recovering from an injury like a hip replacement. Make sure all four legs are equally raised to provide a balanced, secure feel. This principle of even weight distribution is equally important when using a furniture dolly to move heavy recliners, and it is also crucial when disassembling a recliner for maintenance by first releasing the locking mechanisms to safely remove the back panel. Regularly check these adjustments for movement or wear to maintain stability over time.

Mighty grip that wont slip – Gorillapad furniture grippers by Slipstick are the universal solution to stop unwanted movement or sliding of furniture / objects and effectively protect hard surfaces from scratches or damage. Includes 16 x 1 inch round adhesive non slip furniture pads.

Mighty Grip & No slides: Furnigear premium rubber feet keep furniture in place. Thicken rubber net shape surface design can effectively stop furniture leg glides. when you attempted to get out of the chair, the chair will "slide" back. Yes! Non slip chair leg pads definitely work out these, perfect rocking chair grippers

❓ DOES THE SOFA SLIDE AND INTERRUPT THE REST ON IT? DOES YOUR CHAIR SCRATCH THE FLOOR? Non-Slip Furniture Pads by X-PROTECTOR Will Keep Any Furniture and Protect The Floor In Your Lovely Home!
Signs You Need a Professional Recliner Repair
If your recliner has a pronounced, visible tilt that makes it lean even when empty, it’s a clear sign you need professional repair. Listen for persistent grinding or clunking sounds during operation, as these indicate internal misalignment or damaged components. Functional failures such as getting stuck in a position or the power mechanism only working intermittently on one side also point to the need for expert assessment. Additionally, significant surface wear like deep tears in the fabric or cracks in the leather generally require skilled upholstery repair or material replacement. Most importantly, never ignore safety hazards such as an unstable frame or protruding screws, since these pose immediate risks and should be addressed by a professional.