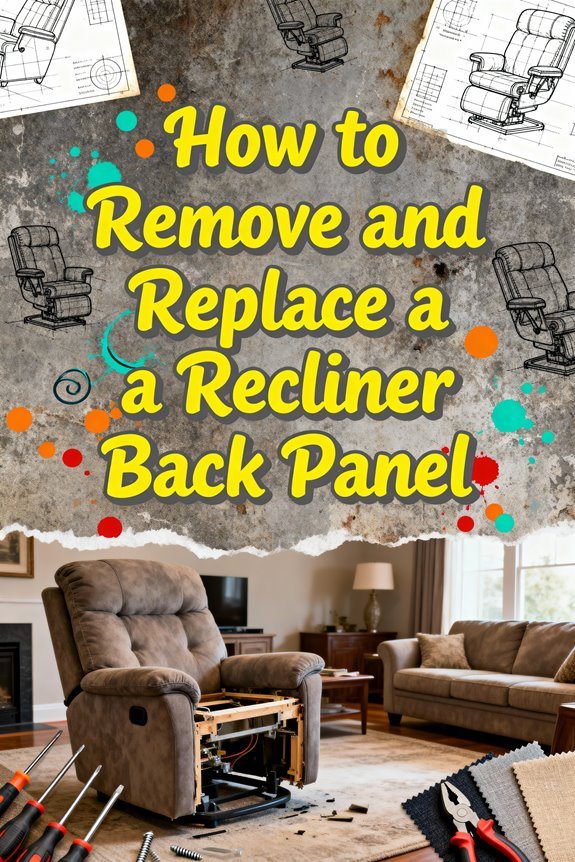
To remove your recliner’s back panel, you’ll need panel trim tools, safety gear, and proper lighting. Start by disconnecting power (if applicable) and clearing your workspace. Locate the locking mechanisms – typically lever-style brackets on both sides near the bottom of the back panel. Apply upward pressure to disengage the locks, then lift the panel straight up and away. For reinstallation, align at a 45° angle and slide downward until locks engage. Proper technique prevents damage to critical components and guarantees lasting functionality.
Required Tools and Equipment
A well-equipped toolbox is essential for successfully removing and replacing a recliner back panel. Your tool selection should include panel trim removal tools made of heat-treated stainless steel, featuring non-marring surfaces and ergonomic handles. The comprehensive Equalizer tool set provides five specialized configurations for accessing hard-to-reach clips. You’ll need various clip removal tools, including hook, wedge, and chisel configurations, plus panel clip pliers for precise fastener extraction.
Proper equipment organization requires sorting your hand tools, including Phillips and flat-head screwdrivers, socket wrench sets, and needle-nose pliers. Don’t forget measuring tools like a tape measure and carpenter’s square for accurate panel alignment. Keep supplemental items ready: replacement clips, cleaning supplies, and protective gloves. Having model-specific instructions nearby will guide you through the correct disassembly sequence and guarantee you’re using appropriate tools for your recliner’s design. The spring clips on both sides of the backrest must be carefully released to prevent damage during removal. For safe transport or repair work, rest the back assembly on the seat cushion while detaching the panel.

Non-Scratch Pry Tools: Made from durable nylon, this auto trim removal tool kit protects your car’s surfaces from scratches while offering strong leverage for trims, panels, and dashboards

Complete trim removal tool kit: 1 pcs 2-in-1 clip 2 pcs fastener removal tool & 4 plastic pry tools .no sharp edges to harm surfaces

Fastener Removal Trim Tool : Work great for automotive interior and exterior trimming work, but also used as a bike tire remover and pushpin puller.
Safety Precautions Before Starting
Before beginning any recliner panel work, establishing proper safety protocols safeguards both you and your furniture from potential harm. Confirm your workspace has adequate lighting, stable flooring, and proper ventilation. Remove any obstacles that could impede movement around the recliner.
Don your safety gear, including safety glasses, gloves, and close-fitting clothing. If you’ll be using adhesives or finishes, wear a respirator. When handling heavy components, use proper lifting techniques by bending at the knees and keeping your back straight. For larger recliners, work with a partner and utilize furniture sliders. Create and follow a safety checklist before starting any furniture work.
Disconnect any electrical components and verify the recliner’s stability. Identify potential pinch points and sharp edges before proceeding. Clear a flat surface for organizing removed parts and keep your tools within easy reach.
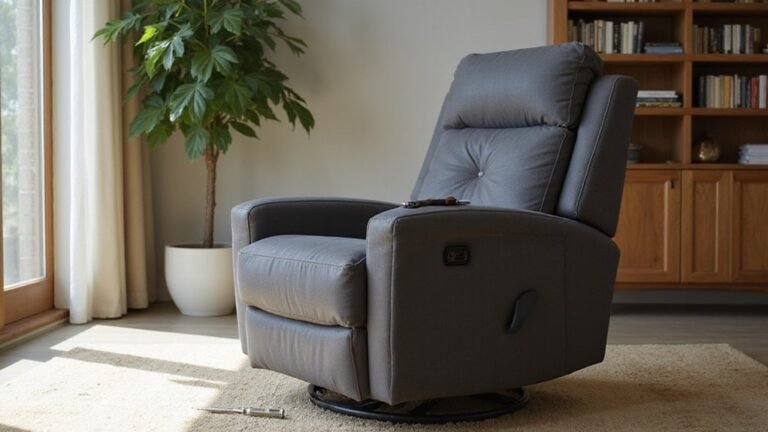
Understanding Your Recliner’s Locking Mechanism
With safety measures in place, identifying your recliner’s locking mechanism becomes the next critical step in panel removal. You’ll need to determine if your chair uses manual locks with levers, automatic locks in power units, or locking pins. Most manual recliners feature counterbalance springs and release triggers that control the locking function.
Look for a lever-style mechanism, which you’ll typically find on the side of your chair. These systems use springs and hinges connected to the release lever for smooth operation. Understanding your recliner’s locking types not only helps with disassembly but also guarantees proper ergonomic benefits when reassembling. Check if your model has independent backrest and footrest locks, as this will affect how you approach the panel removal process. Power recliners utilize gear reduction systems that minimize noise and wear during operation.

Handle Length: Approx 10 inch

Handle Length: Approx 10 inch , 5-3/10 inch Extension Tube
【Universal Recliner Part】Universal recliner replacement handle with long cable fit Most major furniture and recliner brands, such as Ashley, Lazy Boy.
Preparing the Work Area
Proper workspace preparation serves as the foundation for successful recliner panel removal and replacement. Begin by implementing an efficient workspace layout that designates specific zones for tools, removed parts, and replacement components. Clear the area of unrelated items and protect surrounding surfaces with drop cloths.
Position a sturdy workbench at a comfortable height and arrange your tools on a portable tray within arm’s reach. Organization techniques should include using magnetic trays or containers for hardware storage to prevent losing small parts. Taking inspiration from professional workshops, use labeled tool storage to maintain efficiency during the repair process. Confirm adequate lighting and ventilation, especially if you’ll be using cleaning agents. Don your safety equipment, including gloves, safety goggles, and closed-toe shoes. Set up a dust collection system nearby and keep cleaning supplies accessible. Maintain clear pathways around your work area for safe movement.
Step-by-Step Removal Process
Successfully removing a recliner back panel requires a systematic approach focused on proper identification and careful disengagement of the attachment mechanisms. Begin by examining the panel design to locate the locking brackets and spring clips on both sides. You’ll need to lift any fabric flaps or Velcro covers to access these points. Rolling forward your recliner provides better access to the back panel components. For power recliners, ensure you disconnect power cables before proceeding with disassembly. Some Ashley models include release knobs that must be unscrewed before removal.
Using your screwdriver, apply upward pressure to disengage the locking levers or spring clips. The proper removal techniques involve simultaneous release of both sides while gently rocking the panel. Don’t force the movement – guarantee all attachment points are fully disengaged before lifting. Once the mechanisms are released, carefully lift the back panel straight up and away from the frame. Place it on your prepared surface and inspect the brackets for any needed maintenance or tightening.

【BARIDWON Recliner Replacement Parts:】 Ideal for replacing worn-out and broken recliner handles and cables. Compatible with most major recliner sofa brands, like Ashley, Lazy Boy and more. (NOTE: Measure your original handles and cables to ensure compatibility before buying)

【BARIDWON Recliner Replacement Parts:】 Ideal for replacing worn-out and broken recliner handles and cables. Compatible with most major recliner sofa brands, like Ashley, Lazy Boy and more. (NOTE: Measure your original handles and cables to ensure compatibility before buying)

Comprehensive Recliner Repair Kit: Our universal lazy boy recliner replacement parts set includes a pull handle, cable with hook, and mechanism, making it easy to restore your favorite recliner.
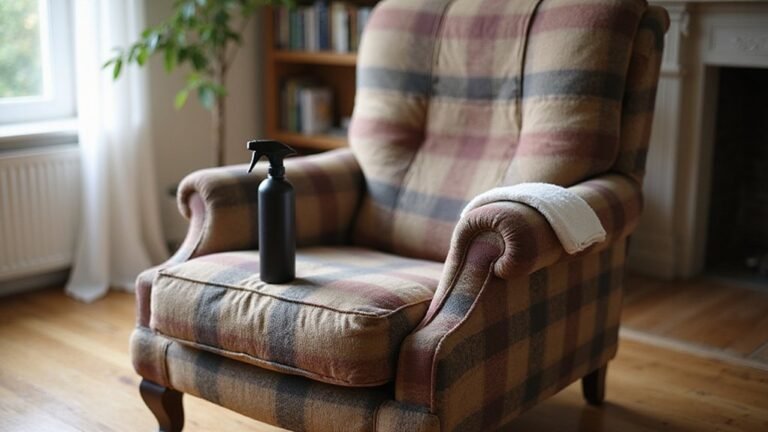
Maintenance and Cleaning While Disassembled
Once you’ve removed the back panel, take advantage of this unobstructed access to perform thorough maintenance and cleaning. Begin by vacuuming all upholstery surfaces with a brush attachment, then apply appropriate cleaning techniques based on your material type. For fabric, use diluted mild soap; for leather, apply specialized conditioners; and for faux leather, stick to gentle cleaners. Check and tighten loose screws throughout the exposed frame to maintain stability. Remember to spot test any new cleaning products on a hidden area first.
While the panel’s off, inspect and maintain mechanical components. Disconnect power before cleaning electrical parts with a dry microfiber cloth, and check wires for secure connections. Apply manufacturer-recommended lubricant to moving joints and hinges, being careful not to over-lubricate. Use a nonmetallic brush to restore fabric pile after cleaning, and thoroughly inspect the internal frame for wear. Make certain all surfaces dry completely before reassembly. Regular maintenance helps prevent mechanical squeaks that can develop over time.
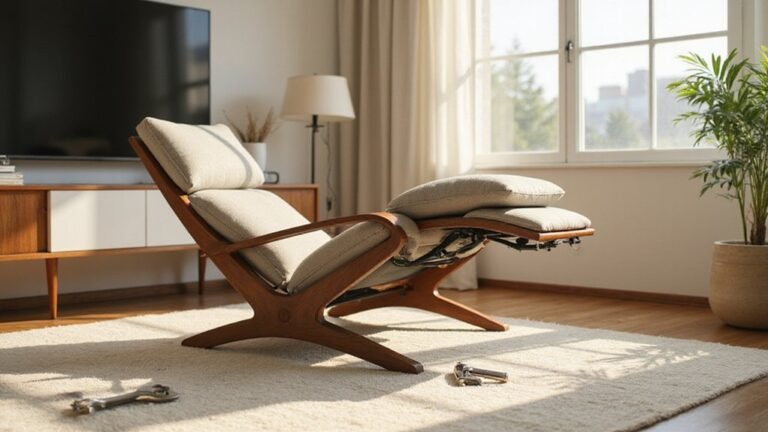
Proper Back Panel Reinstallation
Reinstalling a recliner’s back panel requires careful attention to proper bracket alignment and secure engagement. Hold the panel at a 45-60° angle while aligning the metal brackets with their corresponding frame receptacles. You’ll achieve the best back alignment by placing the panel on the seat area during fitting. Using a flathead screwdriver helps safely disengage and engage the locking mechanisms during reassembly. Work on a clean surface to protect both the chair and panel from damage.
Slide the panel downward until you hear or feel the locking mechanisms engage. Don’t force the movement – proper panel engagement occurs smoothly when correctly aligned. While reassembling, tighten all bracket screws on both the frame and back panel to prevent future wobbling. Make certain the locking levers angle below 90° and engage evenly on both sides. Before use, verify the installation by checking for gaps and testing the recliner’s functions to confirm unobstructed movement. Take time to inspect the tension wires and springs under the seat decking to ensure even weight distribution.

Includes 2 piece fixture bracket furniture restoration sofa connector tilt mechanism connection bracket.

Practical good things: Made of metal materials, strong load-bearing force, smooth surface, strong and firm, not easy to bend, long-term use will not break, is a high-quality material connector.

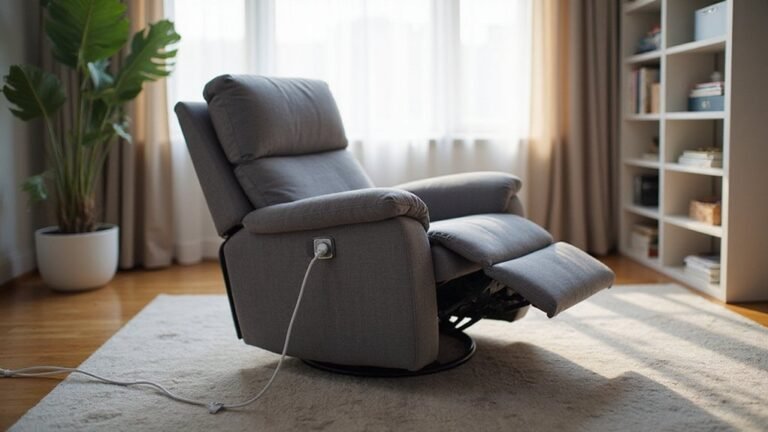
Testing and Adjustments After Assembly
Three critical tests must be performed after reattaching a recliner’s back panel to ascertain proper functionality and safety. First, conduct reclining mechanism tests by operating the chair through its full range of motion, listening for unusual noises and checking for smooth shifts between positions. If you’ve installed a power recliner, verify all electrical connections are secure and test the control switches for proper responsiveness. The TorquePRO system can provide automated verification of proper torque and rotation angles during testing. Before proceeding with any repairs, test the power supply connection to ensure consistent electrical flow to all components.
Next, examine structural stability by checking that mounting brackets are correctly aligned and all fasteners are adequately tightened. Finally, perform safety compliance testing by applying normal user weight loads to confirm the mechanism maintains position without slipping. If you encounter issues during these tests, implement adjustment procedures by inspecting wiring connections, lubricating mechanical components, or realigning brackets as needed. Check for proper tension by adjusting the locking pawl if the recliner doesn’t stay in position.
Common Issues and Solutions
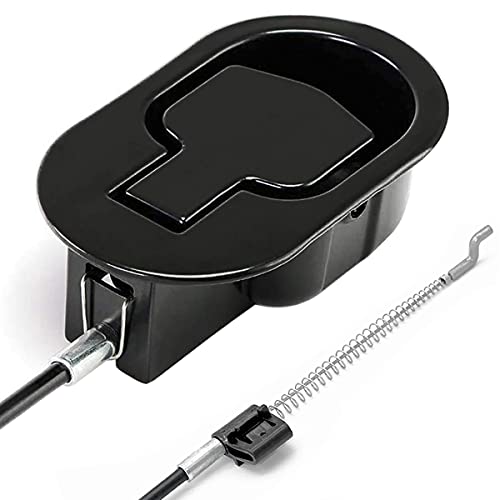
After completing functional tests, you’ll likely need to address several mechanical issues that commonly affect recliner back panels. Common problems include loose springs failing to hold position, faulty locking mechanisms preventing recline, and bent metal components interfering with smooth operation. When troubleshooting techniques reveal disconnected pull cables or damaged handles, you’ll need to replace these parts to restore proper function. Monthly cleaning with a damp cloth is essential for leather recliners to maintain their appearance and prevent material deterioration. Using pliers and screwdrivers can help tighten or replace critical components in the reclining mechanism.
Check for grinding noises that indicate loose or unlubricated components within the mechanism. You’ll want to inspect internal support frameworks and realign any misaligned back frame brackets. Address worn bushings causing instability, and verify all hardware connecting the back panel to the frame is secure. Regular maintenance, including lubrication of moving parts and tightening of connections, helps prevent recurring operational issues. Using tension screws can help correct a recliner that leans to one side.
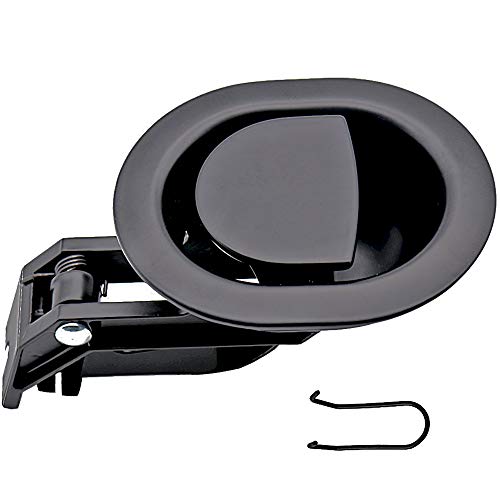
【Universal Recliner Part】Couch release handle size is 3.5" by 3", This Recliner handle replacement is a universal part found in Ashley Furniture and most recliner brands.

【Universal Recliner Cable】Universal recliner replacement cable with D-ring pull handle fit Most mainstream reclining sofas and recliner brands, such as Ashley, Lazy Boy couch, Flexsteel, catnapper, Lane, Stratolounger, Seatcraft, reclining sectional and loveseats recliner.

Oh Snap! - Did the sofa recliner pull ring suddenly broke or doesn't feel smooth anymore? Check out our Nonley sofa recliner handle replacement with updated design with superior grips!