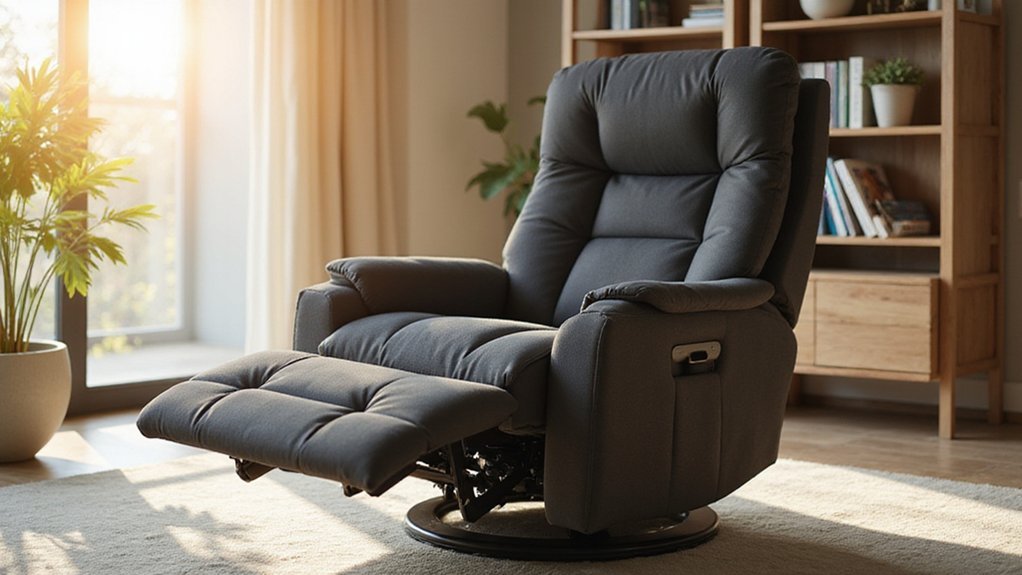
Ever wonder how to safely remove the back panel from your Flexsteel recliner? Whether you’re fixing a loose part or accessing internal components, knowing the proper steps is key.
In this guide, you’ll learn how to detach the back panel carefully, so you can do it yourself without damage.
Keep reading for a simple process that makes maintenance or repairs much easier.
Prepare Your Workspace and Gather the Right Tools
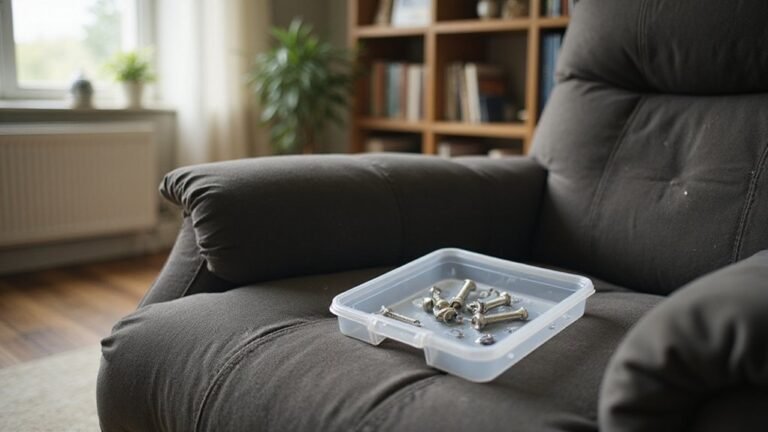
Ensure your workspace is safe and well-organized before beginning. Unplug the recliner to prevent electrical hazards, and clear all nearby furniture to create ample room for movement. Check that your floor is stable; on hard surfaces, use a non-slip mat to prevent sliding. Lay down a drop cloth or old towel to protect the floor from scratches or debris. Prepare a labeled container for screws and small parts to keep track of hardware during disassembly. Gather your essential tools, including a Phillips and flathead screwdriver, socket wrench set, Allen key, and needle-nose pliers, as you will also need to access the spring clips on the recliner’s back assembly. Confirm that the tools are compatible with your hardware—using the wrong type can strip screws or damage parts. As part of your initial preparations, also take a moment to check the chair’s structural integrity before proceeding with disassembly. Inspect the reclining mechanism for bent metal parts as these are a common cause of instability. Have a helper ready to assist with lifting the recliner, and keep a first aid kit nearby in case of minor injuries. It is highly recommended to document component placements as you work to ensure proper reassembly later. Proper preparation ensures a smoother, safer dismantling process.
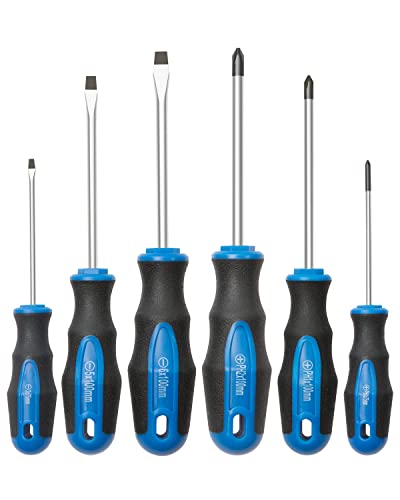
DURABLE SHAFTS - made of heat-treated CR-V steel for enhanced durability, rust resistant and anti-corrosion.
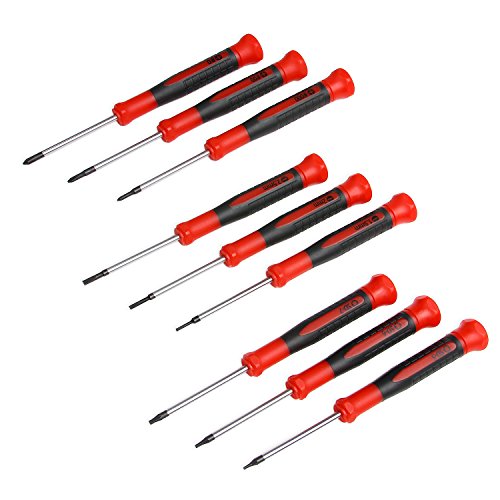
High strength chrome vanadium steel shafts reduce wear-outs and stripping for longer tool life

Top quality magnetic screwdriver set, 10 professional grade screwdrivers that are designed to serve a multitude of uses.
Locate Every Clip, Screw, and Attachment Point on the Flexsteel Back
Locate all the attachment points on the back of your Flexsteel recliner before disassembly. Start by inspecting the side panels for black plastic clips, typically located along the edges where the backrest joins the sides. These clips usually snap into place and can be pried out carefully with a flat-head screwdriver or pry tool, following the step-by-step methods for safe removal. Next, examine beneath any fabric flaps at the bottom of the back panel for visible screws; lifting or gently pulling back these flaps often reveals the primary screw fasteners. For a more accessible workspace, consider removing the seat bottom first, which provides greater visibility and reach to the rear attachment points of the backrest. This is a similar principle to accessing the reclining and rocking mechanisms for maintenance or repair.
Use a utility knife or seam ripper to carefully cut away or lift fabric coverings if screws are concealed beneath them. Then, look on the sides of the recliner for the metal hook-and-bracket attachments, which secure the backrest to the recliner frame; these are usually small metal loops or hooks that latch onto brackets. Always consult your manufacturer’s guide before applying force to these components. Near the outer edges of the backrest, identify Allen bolts with an Allen wrench or hex key—these are typically embedded into recessed holes or the side structures. If your recliner has a power recline function, check near the base of the backrest for electrical wire connections or connectors; these usually have plastic locking tabs and should be disconnected carefully to avoid damage. The motorized movement is powered by an electric actuator that converts electrical energy into mechanical motion.

Thickened high quality metal material, sturdy structure, durable and strong, not easy to corrode, can be used for a long time

KD Clip for Recliner Sofa Seat Back
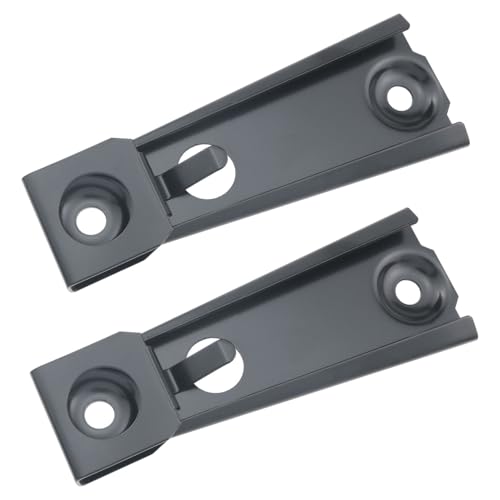
Easy to install: You only need to use simple tools to complete the installation easily and quickly, which is convenient and quick. After replacing this KD clip bracket, it will ensure that your recliner works as well as before.
Remove Fabric Covers and Release the Primary Fasteners
To remove fabric covers and access the primary fasteners, start by locating all clips and screws. Carefully pry off any stiff plastic or Velcro flaps using your fingers or a trim removal tool. For stubborn covers, use pliers to gently pull them away, exposing the hidden screws or bolts beneath. Once exposed, identify each fastener type—small screws, Allen wrench points, or hidden bolts—before removing them. Turn screws counter-clockwise to unscrew, and insert Allen wrenches to unseat bolts if needed. Carefully disengage any locking levers or clips by pulling or pushing as required. Throughout this process, exercise patience and attention to detail as you carefully detach the upholstery to avoid damaging the fabric and padding. For safety, always check that no obstacles are around before moving any large components. Be sure to document each fastener’s location and note its type to facilitate reassembly. The back of a recliner is often held by spring clips that secure brackets on each side, which may need to be accessed. For optimal mechanical upkeep, apply a silicone-based lubricant to the moving parts you expose during this process. Place all hardware in a labeled container and mark screw positions with painter’s tape to keep track of their original positions.

Remove plastic fasteners, quickly release door panels and upholstery clips without damage

Package Includes: The upholstery tool contains 1pc rubber hammer, 2pcs replacement heads, 1pc tack lifter, 1pc needle nose pliers and 1 pc construction staple puller tool, totally 6pcs.The all-in-one upholstery tool is suitable for both professionals and beginner. Ideal for upholster shops, framers, finishers, roofers, carpenters, contractors and serious DIYers.

Tool for Tucking Upholstery
Disconnect Wires and Remove Any Remaining Bolts
Disconnect wires and remove any remaining bolts. First, ensure electrical safety by unplugging the recliner. Locate wire bundles near the base, identify the connectors, and press their release tabs to disconnect them gently. Handling the wires carefully prevents damage. Disconnecting the back assembly is a key preparatory step that facilitates easier access and handling. Before removing connectors, it can be wise to verify the power supply is functioning with a simple voltage output test. Next, look for hidden bolts that hold the back panel in place. Inspect the lower rear edge and side frames for fasteners like Allen bolts or hex screws, often concealed under covers. Use an appropriate wrench or screwdriver to remove them completely. For models with powered features, proper technical wiring integration is crucial for reassembly and final functionality checks. Keep all parts organized to avoid misplacement, using a method similar to organizing replacement handle and cable kits. Before proceeding further, verify that all wires are disconnected and no bolts remain securing the panel.
Lift and Separate the Back Panel From the Recliner
To lift and separate the back panel from the recliner, you need at least two people due to the panel’s weight and size. Begin by removing all wires and bolts connected to the panel. Ensure your helper is ready before starting, as coordinated, steady vertical lifting is essential. Both of you should grasp the top corners firmly, maintaining a level grip to prevent tilting or sudden shifts. Before lifting, check for Velcro securing the back and detach it to free the panel. On many recliners, you may also need to locate and disengage clips that hold the back panel to the frame, and you can often find the locking levers or brackets at the base of the connection point.
Guide the panel away from the frame at a 45-degree angle, carefully navigating past any protruding brackets or hardware. As the top clears the frame, your helper should support the lower edge to stabilize the panel. Continue lifting until the panel is fully disengaged from the frame. Then, lower it smoothly onto a protective mat or soft surface to avoid damage. Before moving the panel, double-check that it is completely free of the frame, wires, or hardware catching or snagging. Once removed, you can explore creative concealment methods to integrate the recliner into your room’s aesthetic.

1 - 8" (200 mm) and 1 - 9" (225 mm) Door Panel and Plastic Fastener Removal Tool Set Premium quality steel removal tools with precise sized pry tips and sturdy plastic handles
Store the Panel Safely and Prep for Reassembly
To keep a recliner’s back panel protected until you’re ready to reattach it, store it by wrapping it tightly with stretch wrap while placing a clean cloth underneath. This prevents dust from settling on the surface without trapping moisture. Choose a stable, climate-controlled environment—avoiding areas prone to humidity or temperature fluctuations—and elevate the panel on blocks or pallets to keep it off the floor. This prevents potential water damage and makes handling easier. Before reassembling, immobilize any movable parts with straps and ensure all attachment points are aligned. It is also wise to inspect and tighten all loose hardware to prevent future leaning issues. You can also enhance stability by reinforcing the base using methods from securing a swivel recliner. Secure screws and hardware in a labeled container to keep everything organized. Finally, vacuum the panel to remove dust and confirm it’s completely dry before storage. If your recliner seat is also sagging, consider a project like replacing broken zig-zag springs while the panel is removed. Proper preparation guarantees a smoother reattachment process later.