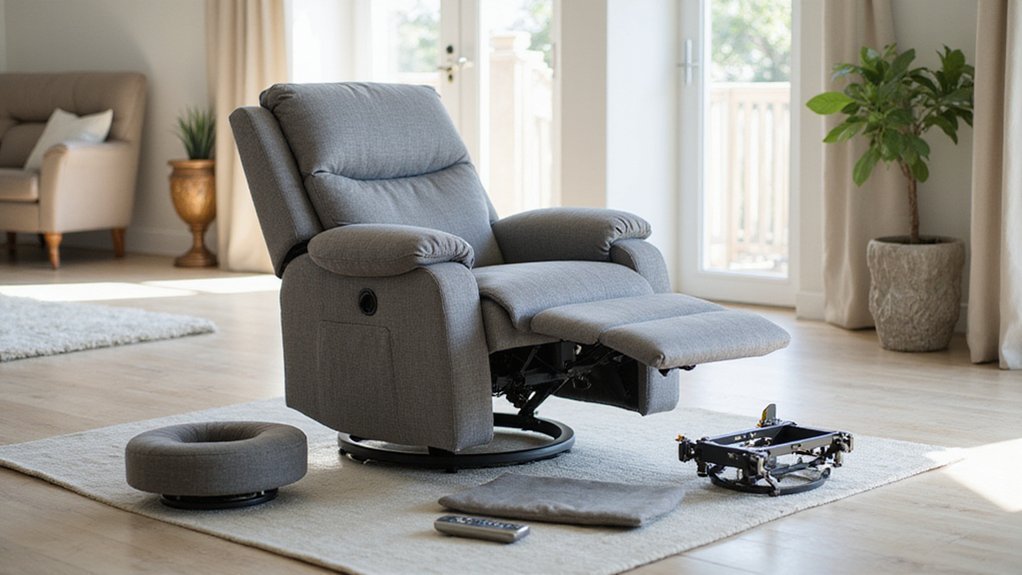
If you’re wondering how to take apart your Ashley Furniture power recliner, you’re in the right place.
Whether you need to fix, replace, or move it, knowing the basic steps makes the process much easier.
By the end of this guide, you’ll be able to safely disassemble your recliner with confidence.
Let’s get started.
Unplug and Prepare Your Power Recliner Workspace
Unplug and set up a safe workspace before taking apart your recliner. First, disconnect the power by unplugging the cord from the wall outlet. If your recliner uses an adapter plug, locate it and remove it carefully. Store the cord out of the way to prevent tripping or damage. Before disassembly, consider troubleshooting with a multimeter to check if the issue is simply a power supply problem.
Choose a clean, open area with at least six feet of space around the recliner. Protect your flooring by laying down a thick blanket or drop cloth. Clear away any obstacles to create a clutter-free zone. Make sure the area is well-lit and dry for safety and precision. Before you begin taking things apart, it is a good practice to check the chair’s structural integrity for any loose joints or broken components.
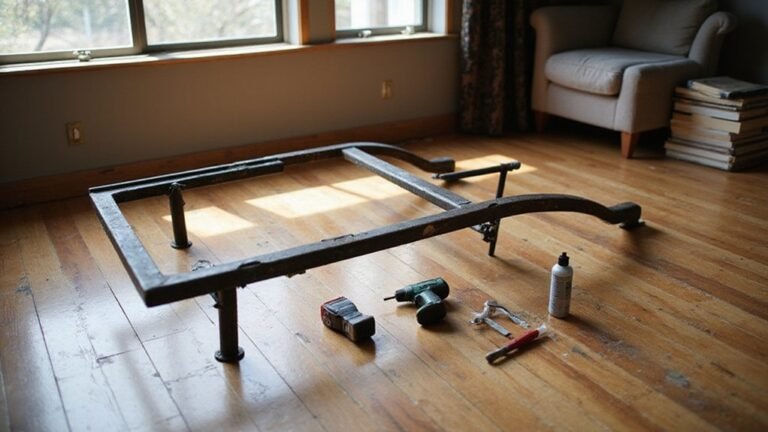
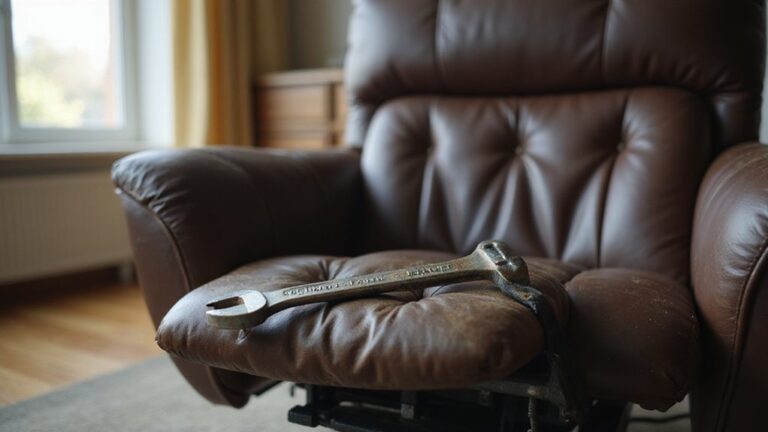
Gather your tools—screwdrivers, a wrench, and small containers or bowls for organizing screws and small parts. You will also need a ratchet and socket set, as the mechanism is primarily held together by circular tube bolts. For certain repairs, you may also need to access the cable mechanism from underneath or by tipping the recliner. Finally, carefully position the recliner on its back using a sturdy block or stabilize it against a wall or large object to prevent rolling during disassembly.
PIVOTING HEAD WITH LOCK OFF - Pivots and locks between three positions (0, 22.5, and 45 degrees) for improved ergonomics in tight spaces

PIVOTING HEAD WITH LOCK OFF - Pivots and locks between three positions (0, 22.5, and 45 degrees) for improved ergonomics in tight spaces

FOR EVERYDAY USE — This cordless electric screwdriver is your go-to for small projects.
Remove the Power Recliner’s Footrest and Ottoman
To remove the Power Recliner’s footrest and ottoman, start by unplugging the chair to ensure safety. Locate the release levers or buttons on the footrest assembly, which are typically used to secure or release the ottoman. Check beneath the seat for locking clips and linkage rods connecting the footrest to the main frame. Using a screwdriver or wrench, carefully remove the screws or bolts securing the footrest mechanism to the frame. Next, detach the linkage rod that connects the footrest to the reclining handle. Gently pull the release levers to disengage any locks. Always handle these clip mechanisms with care to prevent breakage.
Support the seat frame with one hand to stabilize it while pulling the footrest outward. If it feels stuck, try rocking it slightly side-to-side to loosen it. Once free, remove any fasteners securing the mid-ottoman at the front and detach it from the metal base. This process should be performed carefully to avoid damaging the mechanisms or frame. For those with mobility concerns, a power lift chair offers easier sitting and standing without complex disassembly. Once reassembled, you can employ a decorative screen to seamlessly integrate the chair into your room.

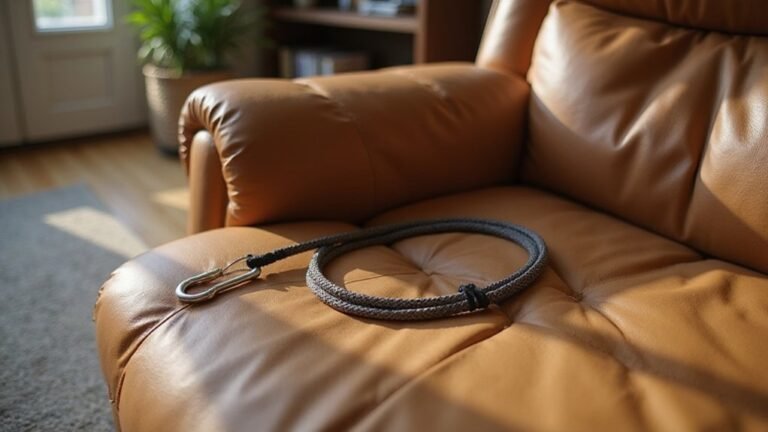
【Universal Recliner Part】Couch release handle size is 3.5" by 3", This handle replacement with cable is a universal replacement part found in Ashley Furniture and most recliner brands.

【Universal Recliner Part】Universal Recliner cable replacement fit Most major furniture and recliner brands, such as Ashley, Lazy Boy, and so on.

Universal Replacement Handle: Car Door Flapper Style universal replacement handle is found in Ashley Furniture and most recliner brands with this type of outside handle
Detach the Back Panel and Upholstery
To detach the back panel, start by locating the release mechanisms on both sides where the backrest meets the seat frame. Use a flashlight to identify the metal clips or levers inside the track. Gently lift these levers or press the tabs to release the back. Hold the panel firmly on both sides and lift straight up, rocking it slightly if needed to slide the tracks free. Before lifting, ensure you disconnect any power wires if your recliner is an electric model. It is crucial to document the placement of any springs and tension rods to ensure correct reassembly later. Once the back is removed, you can access the upholstery by pulling away any hook-and-loop tape securing the fabric to the frame. Remove the fabric carefully to prevent damage during upholstery repairs. This process exposes the internal structure, allowing for a thorough inspection of the frame, mechanism, and brackets, unlike the simpler peg adjustment of the original Morris chair. This removable design facilitates easier movement and transportation by making the chair less bulky.

Thickened high quality metal material, sturdy structure, durable and strong, not easy to corrode, can be used for a long time

KD Clip for Recliner Sofa Seat Back

MAXIMIZE YOUR LIVING SPACE - Enjoy full relaxation in small spaces, apartments, or an RV thanks to a smart wall hugger power recliner design requiring just 2 inches of space from the wall
Take Off the Armrests and Seat Structure
You will remove the armrests and disassemble the seat’s main structure. Start by accessing the inner side of each armrest; lift the fabric flaps to locate the screws securing it to the frame. Use a screwdriver to fully remove all fasteners. Hold the armrest firmly and lift it straight up after disconnecting any linkage rods to avoid damaging connections. It’s best to work on a clean, non-marring surface to protect your furniture and floor. When dealing with clips and brackets, remember that releasing the back panel locking mechanisms often requires careful disengagement similar to removing other furniture components.
Next, tip the recliner onto its back to access the underside. Locate and remove the bolts attaching the seat cushions and ottoman to the metal base. Detach any linkage rods connected to these components. Lift them away carefully to prevent damage. Lastly, identify and unscrew the fasteners securing the seat frame rails and support members, then carefully separate the entire frame structure. For safety when working with power recliners, always start by unplugging the chair to prevent any electrical shock during disassembly.

Metal Material: This durable cup holder is made of aluminum alloy, featuring a robust structure and strong load-bearing capacity. Its recessed design makes it resistant to damage even from accidental drops and can withstand high and low temperatures, suitable for both hot and cold beverages.

Stable Support: This recliner chair screws and nuts set helps tighten armrest and connector points, reducing wobble and misalignment so your seat feels more solid during everyday use

Replacement kit: the set includes recliner replacement parts featuring both recliner bolts and nuts, making installation without the need to find additional furniture repair screws for your sofa or patio chair,armrest mounting screws,recliner accessory hardware
Track All Hardware to Avoid Reassembly Mistakes
To avoid reassembly mistakes, you must meticulously track all hardware from the start. Begin by creating a detailed disassembly checklist that specifies each step and part involved. As you remove components, place all screws, bolts, and clips into small, clearly labeled bags. Use a permanent marker to mark each bag with the specific part name and a unique location code, such as “left armrest.” Keep a notebook to record the fastener type, size, and quantity for each section. When tightening loose screws and bolts later, this organization is crucial, as leaning issues are often caused by this hardware becoming loose over time. For anyone using this recliner during pregnancy, this meticulous tracking is especially important to ensure the chair’s stability and safe entry and exit techniques can be properly followed. Careful maintenance of these components is key to maximizing your furniture’s average lifespan of power recliners.
Photograph every connection before disassembly to serve as a visual reference later. To make identification easier, color-code the bags based on the frame sections they belong to, for example, red for structural components. When detaching components like the motor and power mechanism, be cautious of collapsing parts and keep all related hardware together. Before proceeding to reassemble, verify each bag’s contents against its label to ensure nothing is missing or misplaced. This systematic approach minimizes the risk of reassembly errors and saves time in the long run.

✅【Declutter Instantly — No More Lost Remotes】-- Tired of dropping the remote, phone, or snacks between couch cushions? This armchair caddy transforms your recliner or sectional into a clean command center, keeping remotes, phones, glasses, and magazines exactly where you need them

Hooks for hanging heavy duty white--compatible with any other modern designed home decor, it is enough to last for a long time,bathroom hooks suction

【Innovative Design】 - Our 4 Pockets Sofa Armrest Bag With Cup Tray offers a modern solution for organizing your living space. Designed specifically to fit over recliner chair arms, this storage bag allows you to keep close at hand, transforming your furniture into a and versatile storage hub. Imagine lounging in your favorite chair with your drink, remote, or phone easily accessible, making it a addition for your dorm room, living room, or bed
Finish Disassembly and Store the Components
To finish disassembly and store the components, you need to carefully remove all the major assemblies. Start by detaching the backrest, armrests, and footrest assembly. For reclining furniture, extract the reclining mechanism carefully. If you’re working with sectionals, separate each unit to make storage easier.
Clean all metal parts using a degreaser to remove any dirt or grease, then wipe them dry. Fabric pieces should also be cleaned and then wrapped in protective bags to prevent dirt and damage. Inspect every component for signs of wear or damage, replacing or repairing as needed before storage.
Lubricate all hinge points with fresh lubricant to ensure easier reassembly later. Focus on clean, accessible areas for lubrication—this will make future setup smoother. Carefully coil and secure any electrical wires or cables to prevent tangling or damage during storage.
Organize small hardware, such as screws, bolts, and other fasteners, by placing them in labeled bags. Wrap fragile parts separately with bubble wrap or cloth padding for extra protection. Store fabric components in sealed, protective bags. Place everything in a dry, climate-controlled space, elevating components off the floor on shelves or pallets and securing them to prevent shifting.
Finally, document the layout with photos of the disassembled parts and create a detailed inventory list. This record will simplify reassembly and help ensure you don’t lose any crucial components during storage.