Does your recliner seat feel saggy or uncomfortable? Over time, cushions and springs wear out, making your chair less supportive.
Luckily, fixing a sagging seat is often straightforward and can restore comfort without replacing the entire chair. Here’s how you can reinforce and rebuild your seat for long-lasting support—just follow the steps below.
Identify Why Your Recliner Is Sagging
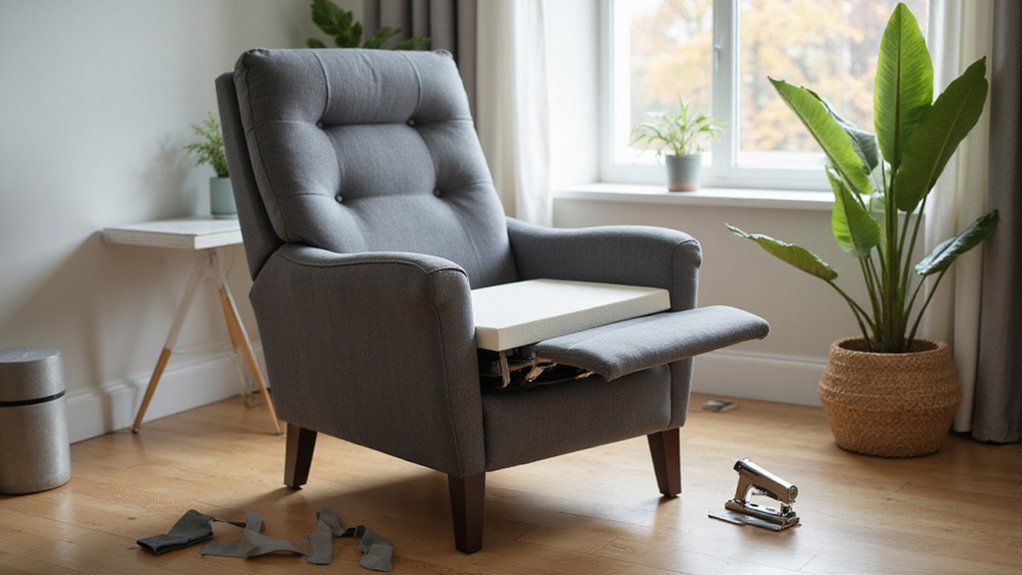
To identify why your recliner is sagging, start by inspecting the internal mechanisms. Remove the seat cushion to access the support components, ensuring the area is clean and dust-free for easier assessment. Check the springs for signs of breakage, disconnection, or loss of tension, as these are common causes of sagging. Examine the seat foam for permanent compression or splits, which diminish support and comfort. If you find damage, you may want to consider the budget-friendly restoration approach used when reupholstering the entire chair. Inspect the webbing beneath the seat; look for excessive stretch, tears, or detachment from the frame. Also, examine the frame for loose bolts, cracks, or broken welds that could cause misalignment and contribute to sagging, and keep all removed hardware organized for any necessary reassembly. Lastly, evaluate the support latches or pawls for wear or breakage, since these parts ensure the recliner locks into proper position and can lead to sagging if damaged. A properly supported seat is crucial, as compromised support mechanisms can negate the ergonomic design benefits that promote safety and posture in specialized chairs.
Remove and Inspect the Seat Cushion
To effectively remove and inspect the seat cushion, start by locating the zippers, ties, or staples that secure the cover. Carefully detach the fabric to avoid tearing or damaging it. Once the cover is set aside, you’ll see the seat’s core components. Begin your inspection by evaluating the cushion structure. Check the wooden base for warping, loose joints, or any signs of damage. Make sure all support blocks are in place and secure. Examine the spring system underneath the foam for rust, detachment, or loss of tension, as these can affect comfort. Next, focus on the foam itself. Look closely for permanent indentations, cracks, or crumbling edges—these are clear signs of foam degradation. Feel the foam to assess if it has lost its supportive density. Selecting a recliner with durable material texture is key for longevity, but wear like this is normal over time. For extensive structural issues, you might consider a more complex project like a motorized recliner conversion, which replaces the internal mechanism and should involve careful diagnosis by testing components individually to ensure the new system functions properly. You can then use the existing cushion as a template for cutting a precise replacement if the foam is worn out. A thorough inspection of each component will help determine whether the cushion needs repair or replacement to eliminate sag.

GET UP EASIER: The Havargo recliner chair cushions for elderly is designed specifically for seniors and people who need to use recliners and armchairs for long sitting. Its patented dual-layer chair cushion design includes a 2.5 inch thick highly supportive foam and a 2.5 inch thick soft cushioning layer, effectively raising the seat height by 3-4 inches (more friendly with shorter people), working as a seat booster to help users stand up or get up from the recliner chair easily.

HIGH QUALITY – Foamy Foam High Density Upholstery Foam is the best option for Seat Cushion Replacement, Couch Cushion Replacement, Bench Cushion Replacement, and variety of other upholstery projects.
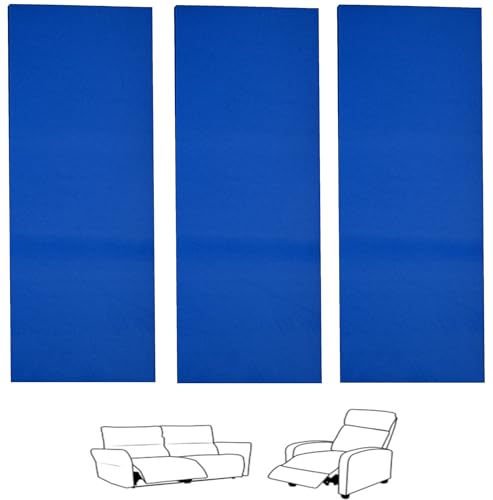
MAKE YOUR RECLINING FURNITURE LOOK AND FEEL LIKE NEW. Fix those uncomfortable ugly sags in your recliner and restore its beauty. SagsAway chair pads are the ultimate sinking or sagging seat saving repair tool
Replace Your Recliner’s Worn-Out Foam
Once you confirm that your foam is worn out, replacing it restores firm support to your recliner’s seat. Start by selecting the right foam—high-density foam offers longer-lasting support. Use the old foam as a template by tracing its outline onto the new piece with a marker for accurate fabric fit. Cut the foam to size with an electric or serrated knife, ensuring smooth, even edges. This process is similarly straightforward and economical, making it a great DIY repair project just like replacing a broken recliner pull cable. If you are also dealing with a power recliner that won’t move, remember that troubleshooting a motor and battery backup might be necessary. Wrap the cut foam in batting to create a smooth finish, which also helps when cleaning or reupholstering later. A well-restored seat ensures you can safely achieve the semi-reclined positions recommended for comfort during pregnancy. Securing the batting in place and then snugly inserting the wrapped foam into the cushion frame helps extend the lifespan of your furniture, embracing a philosophy of revival over replacement. Finally, reattach the cushion cover, making sure it fits tightly and smoothly, to revive your chair’s comfort.
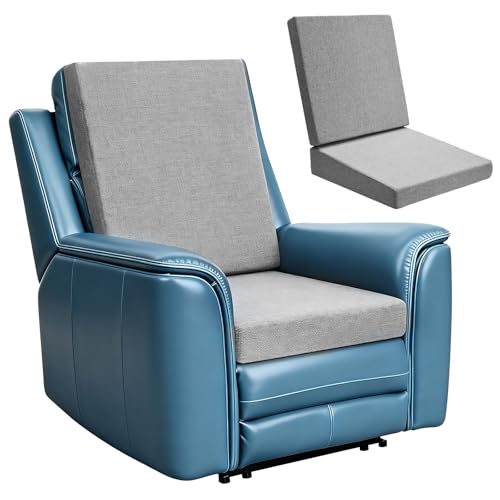
High-density foam filling inside a soft, breathable fabric pillowcase. The contoured design conforms to the body, relieving pressure on the back and legs for lasting comfort during extended sitting.

GET UP EASIER: Our recliner seat cushion measures in20 x20 x 4inches, it's easy for elderly to get up and sit down,effectively reducing the stress of getting up Also, They are extremely versatile and can be used in multiple scenarios such as dining rooms, living rooms, bedrooms and offices providing you with comfort whenever and wherever you require it.

Size: Recliner cushion for elderly combines a wedge-shaped seat pad and a leg pillow. The seat measures 20"x20" with a height that gently slopes from 2.5" to 4.7", while the leg rest is 20"x17" with a 1" to 3.5" slope. Together, they help you sit back and elevate your legs
Fix Sagging Springs for Core Support
To fix sagging springs in your recliner, you need to remove the damaged springs and install new ones that match the original size and pitch. First, identify broken serpentine wires or missing hog rings, as these issues cause the springs to lose tension and shift out of position. Check the tension wire for integrity before removing the old hardware, as an intact wire can often be reused for proper load distribution. Always practice careful handling of components to ensure safe operation. To remove the old spring, cut the damaged hog rings with side cutters and use pliers to release any clips holding the springs in place. Measure the length and pitch of the old spring—this ensures you select a compatible zig-zag replacement. For many DIY furniture projects, understanding the basic woodworking steps from planning to assembly is crucial for a successful repair. For tensioning and reattaching the new spring, a tool like needle-nose pliers or vice grips can provide the necessary leverage. When installing the new spring, hook the difficult end first and then pull the other end into position with a suitable tool. Secure it with new hog rings to maintain proper tension, then test the mechanism’s motion by hand to confirm full range and firmness. After making repairs, be sure to test the reclining mechanism as you would with a new sofa to ensure smooth operation.

FIX SAGGING FURNITURE WITH PROFESSIONAL RESULTS: Give your recliner chair, sofa, or couch a durable upgrade with this couch repair kit. Includes all components—springs, wire, spring clips, and screws—needed to restore couch cushion support and sofa support for sagging cushions. Perfect for DIYers who want to fix sagging seats and foundations, bringing new life to your furniture with long-lasting, heavy-duty materials.

Replacement Rocker Recliner Springs

FIX SAGGING FURNITURE WITH PROFESSIONAL RESULTS: Give your recliner chair, sofa, or couch a durable upgrade with this couch repair kit. Includes all components—springs, wire, spring clips, and screws—needed to restore couch cushion support and sofa support for sagging cushions. Perfect for DIYers who want to fix sagging seats and foundations, bringing new life to your furniture with long-lasting, heavy-duty materials.
Add a Plywood Base for Solid Structure
Adding a plywood base provides a solid, level platform for your seat frame, enhancing stability and durability. Use ¾-inch plywood, cutting it slightly larger than your cushion to ensure full coverage and avoid gaps. Carefully measure your seat’s dimensions, checking for any asymmetry between sides to achieve a precise fit. Sand all edges of the cut plywood to remove splinters and prevent fabric tears.
Secure the plywood to the frame’s cross supports with short screws, working from one corner to the other to ensure even attachment. This also helps compensate for any loss of elasticity in the original webbing underneath. This added support is beneficial for maintaining the proper height adjustment of your chair. For ongoing care, performing routine inspections can help identify other potential issues early. It is also wise to check for loose screws or bolts in the seat frame, as these can lead to wobbling and instability over time. Before covering the seat, consider cleaning your upholstery for better adhesion and appearance. Pull your fabric taut over the plywood, staple it underneath, and smooth out wrinkles to achieve a neat, finished look. This solid base not only stabilizes the seat but can also subtly improve footrest adjustment by providing consistent support across the entire surface.

Premium Quality Baltic Birch Plywood: Made from high-quality B/BB grade Baltic Birch, offering superior strength, durability, and a smooth surface for all your crafting needs.

STRONG, DURABLE, HEAVY-DUTY - These craft wood pieces of multi-coated Baltic Birch plywood offer exceptional durability, rigidity, and stability for all your woodworking needs. The surfaces provide excellent holding power for glue and screws and the birch edges create cleaner joinery.

Not treated against toy and decay like pressure-treated plywood
Layer in Extra Foam for Targeted Firmness
To add targeted firmness to your recliner, layer in extra foam between the existing cushion and the springs. Start with a high-density foam layer directly over the sagging area to provide strong support. Then, add a secondary foam insert on top for more localized firmness. Before beginning, carefully disconnect the power source to ensure safety, just as you would when working on a power car seat. Position these foam layers carefully between the cushion cover and the springs to counteract spring-induced sags, using a closed cell foam sheet about two inches thick for optimal rigidity and support. Use contour-specific materials such as memory foam to shape the support to your body while maintaining firmness. For a stable seating experience, these adjustments are just as crucial as securing the chair’s base with non-slip furniture pads. For placement flexibility away from a wall outlet, a rechargeable battery pack can power the recliner’s motors after your repair. Secure the foam layers with non-slip fabric or Velcro strips to prevent shifting during use. Ensure the edges are aligned precisely with the seat frame to avoid gaps that can create uneven pressure. This approach results in a firm, comfortable seating surface tailored to your specific needs.
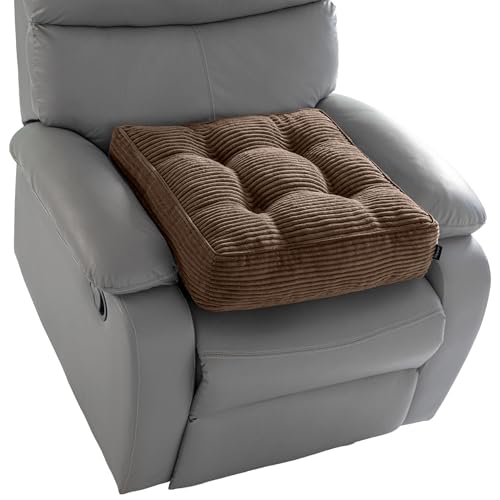
GET UP EASIER: This recliner cushion measures 20 x 20 x 4 inches and is designed to be a rising aid for seniors, effectively reducing the stress of getting up. At the same time, it can also relieve neck and back fatigue for sedentary adults, assist in maintaining correct sitting posture, and take care of spinal health.

【3-Inch Height Boost & Targeted Relief】 Instantly raise your seat height by 3 inches for better visibility and reach. This ergonomic chair pad combines a beveled edge with high-density memory foam to help reduce pressure around the coccyx, tailbone, hips, and thighs, providing everyday relief from discomfort and pain caused by prolonged sitting

Integrated Lumbar & Seat Cushion Support: All-in-one ergonomic design combines a lumbar support pillow with a contoured seat base for sciatica pain relief, tailbone pressure, hip discomfort, and lower-back support during long sitting sessions. Raised side wings, an ergonomic backrest curve, and a center relief channel evenly distribute body weight to prevent numbness and fatigue. Suitable for office chairs, car seats, gaming chairs, and work-from-home setups
Reassemble and Test Your Repaired Recliner
After you’ve added extra foam for firmness, reassemble your recliner and test its functionality thoroughly. Carefully realign and position the seat and backrest cushions directly over their frame supports. Secure all fasteners to the recommended torque with a socket wrench, ensuring you don’t strip the threads. Reattach the dust cover and any loose upholstery panels, pulling the fabric taut before stapling it in place. If you performed upholstery cleaning, verify that the panels are completely dry, and consider color matching any new staples or fabric for a seamless look. As a final inspection step, check that the entire reclining mechanism securely fits and operates without obstruction after reassembly, ensuring all moving parts like the footrest tracks are free of dust and properly lubricated.
Next, move into a functional movement test. Sit down slowly and extend the footrest, listening for any strange noises. Press gently on the seat to assess its recovery and stability. Confirm that the chair sits level and that all parts operate smoothly. During this test, it’s worth noting that the electrical consumption of the recliner’s motors during adjustment is quite low, similar to that of small household appliances. This process ensures your repair is solid and the recliner is ready for regular use.
Confirm Your Recliner’s Stability and Function
To confirm your repaired recliner is truly stable, start with a thorough frame inspection. Check all joints and connections you worked on, ensuring there are no cracks or looseness. Next, verify the reclining mechanism’s alignment; it should operate smoothly without catching or resistance. Then, perform a handle testing sequence: activate the lever multiple times through its full range of motion, making sure it stays securely attached and engages the mechanism consistently. Examine the cushion support springs and their base connections to confirm they are firmly in place. Before proceeding, it is essential to confirm the seat springs are intact for the repair to be effective and safe. Finally, test the footrest by extending and retracting it fully. If you notice any stiffness, apply lubrication at the joints immediately. Following this step-by-step check guarantees both the stability and reliable function of your recliner.