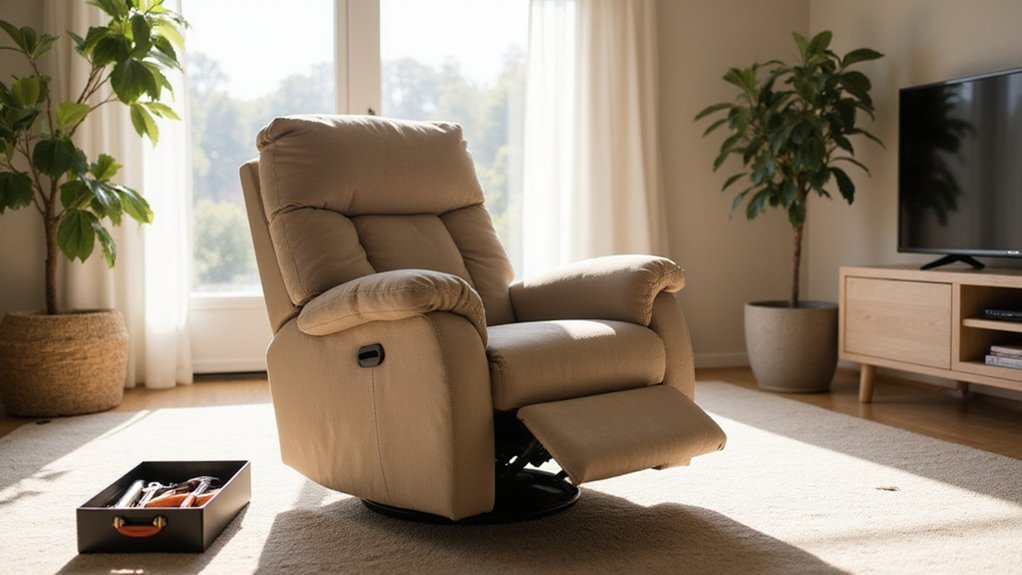
Having trouble getting your recliner to lean back? It’s a common issue that usually has a straightforward fix.
In most cases, tightening bolts, lubricating joints, or adjusting a tension knob can restore smooth reclining.
If these steps don’t do the trick, you might need to check for jammed locks or disconnected cables.
Keep reading to find out how to get your recliner working perfectly again.
Tighten All Bolts and Screws to Secure the Frame
Looseness in bolts and screws is a leading cause of a shaky recliner. To fix this, start by inspecting all fasteners. Carefully tip the chair onto its side for easier access. For particularly heavy chairs, consider using a furniture dolly to safely maneuver it into position. Use a flashlight to examine every connection on the seat frame, backrest, and metal tracks. Look for screws that have backed out or bolts that seem shorter than others. Tighten each fastener clockwise with the appropriate tool—screwdriver, wrench, or Allen key—until it feels snug. The complex reclining mechanism of these chairs is a primary reason for their higher cost and requires diligent maintenance to function properly. As you work, organize removed hardware to ensure proper reassembly later. If you discover any stripped or missing fasteners, replace them with new, matching bolts or slightly larger screws to ensure a solid hold. After tightening, double-check all connections to confirm they are secure before returning the chair to its upright position.

This La-Z-Boy metal bolt set includes screws, and nuts that can replace the plastic parts of your recliner leg rest.
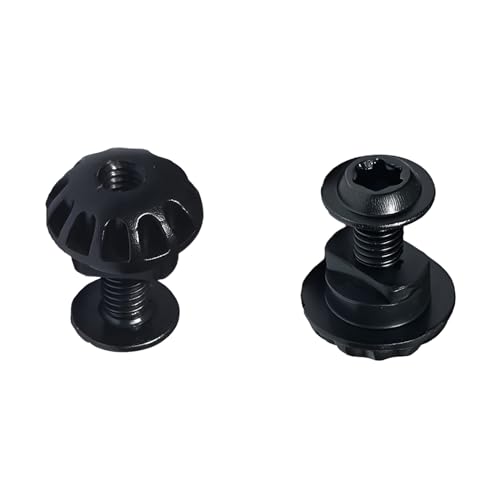
Product Overview:These Screw bolts and Plastic Grommet/Nuts Compatible with La-Z-Boy are used as replacement parts to replace the Screw bolts at the 3-position Locks position
Lubricate Moving Parts to Eliminate Stiffness
To eliminate stiffness, lubricate the chair’s moving parts effectively. Begin by identifying key areas such as pivot points, joint connections, and the ratchet mechanism. Use the appropriate lubricants: apply lithium grease on heavy joints for durability and silicone spray on general pivots for smooth movement. Avoid using WD-40, as it can attract dust and cause buildup over time. Ensure the chair is stable and secure during maintenance, similar to when you flip a chair for a swivel base installation. A stable base is crucial, just as securing a snug fit on a chair cover prevents slipping during use.
Prepare your maintenance tools, including a nozzle for precise application or a spray can with a short burst function. Apply the lubricant sparingly—too much can cause dirt accumulation and sluggish movement. After lubricating, operate the chair by reclining it repeatedly and working the footrest back and forth. This helps spread the lubricant evenly across the moving parts.
Wipe away any excess lubricant with a clean cloth to prevent dust or debris from sticking. Finally, check that the chair moves smoothly and quietly without resistance or grinding. Regular lubrication maintains easy reclining and prolongs the lifespan of the chair’s mechanisms.
Adjust the Tension Knob or Wing Nuts for Perfect Recline
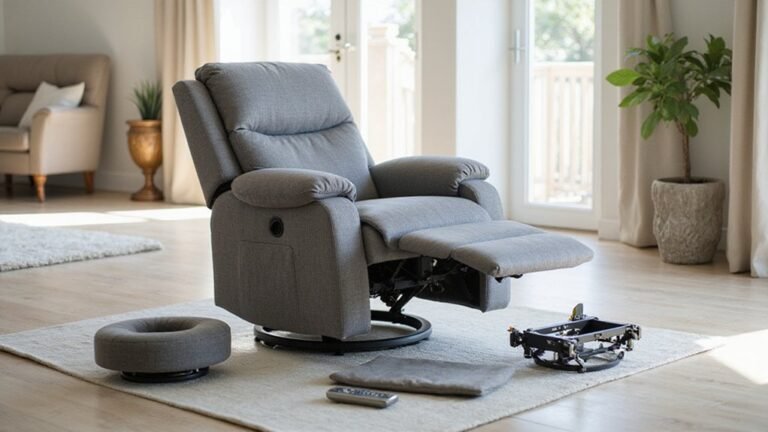
To achieve the perfect recline, adjust the tension knob or wing nuts on your chair. Locate these mechanisms on the underside of the recliner. Turn the wing nuts clockwise to increase resistance, making the recline firmer, or counterclockwise to decrease resistance for a smoother lean. Make small adjustments, such as a quarter-turn at a time, to avoid over-tightening. Always turn both wing nuts equally to maintain balance. After each adjustment, flip the chair upright and test the recline. Repeat this process until the recline feels just right. Keep in mind that on brands like La-Z-Boy, tightening the wing nuts to the right increases resistance. Apply adjustments equally to both sides of the mechanism for consistent operation and to prevent mechanical failure. Avoid over-tightening, as this can damage the springs or internal components. This can also lead to uneven stress and a leaning recliner. For power-operated recliners, you may need to remove the recliner mechanism from the frame to properly inspect and adjust these components. Before any major disassembly, carefully check all frame connections for stability.
Fix a Jammed Recline Lock or Cable
If your recliner’s lock or cable is jammed, start by inspecting the internal locking pawl and its toothed plate for any obstructions or damage. Look for loose screws or a metal burr on the small rod holding the spring, and file it smooth if necessary. Next, trace the cable from the handle to its anchor points, checking for fraying, disconnection, or kinks that could affect cable tension. Applying a silicone-based lubricant to hinges and springs can help if the mechanism is sticky. If the jam persists, adjust the tension knob and ensure the lock and pawl are properly aligned with the toothed plate. Similar to fixing a car seat, you may need to access the mechanism by removing seat panels to get a clear view. Make small adjustments, testing the recline after each to find the correct setting. Always ensure no obstacles are around while operating the mechanism to prevent damage. If the chair is a power model and shows no response at all, test the power supply with a multimeter to rule out an electrical issue before further mechanical disassembly.

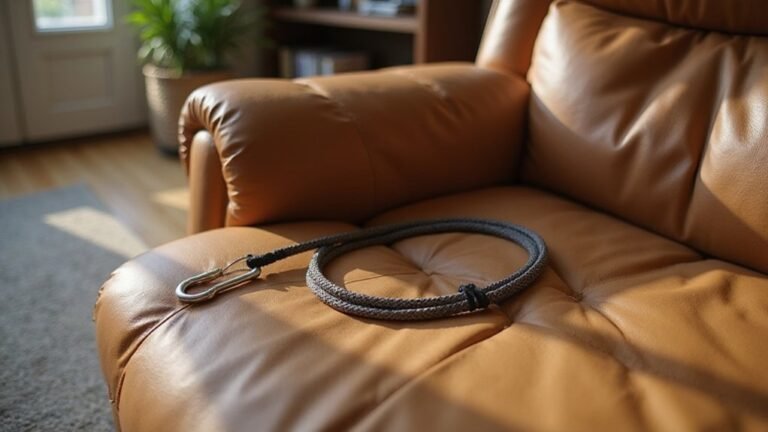
Fits Most Recliners: replacement pull handle with cable for manual recliner sofa, couch and chair; works with most major brands like Ashley and Lazy Boy. Exposed cable length is 5.1 in from the clip to the top of the Z-hook bend; to the cable sleeve it reads about 4.7 in, to the hook tip about 5.5 in - if your old cable measures anywhere in between, this is the right part.

2 1/2 inch short hook spring

Mechanism assist / lock / tension spring.
Identify the Source of Persistent Recliner Problems
If your recliner still won’t operate properly after clearing obvious jams, you’ll need to systematically identify the root cause. Start by inspecting for mechanical obstructions such as debris in the tracks or sticky residues that can hinder movement, and use a screwdriver to tighten any loose screws and bolts you find. Next, check the tension adjustment settings; over-tightening the mechanism can prevent smooth reclining. Examine the lever and handle mounting for loose screws or any bends that might interfere with proper engagement. Also, inspect the locking pawl assembly for signs of wear or misalignment, as these issues can prevent secure locking. Before diagnosing mechanical failures, ensure you’ve checked the chair’s structural integrity as a compromised frame could be the underlying issue.
For electric recliners, test the power supply and motor for faults, including loose wiring or burn marks, and consider checking the power cord for any visible damage. Since electric recliners rely on a functioning motor to operate, understanding their power recliner mechanism is essential for accurate troubleshooting. Remember to focus on mechanical components during this diagnosis—resist the urge to consider aesthetic or upholstery issues until the core functional problem has been addressed.
Replace Broken Parts Like the Handle or Gas Cylinder
Once you’ve identified a broken component, you can replace it to restore your chair’s functionality. To replace a handle, locate its mounting screws, then remove the old handle carefully. Match the new handle to your chair’s model and mounting style before securely attaching it with screws. If the issue is a broken cable, you can replace the pull cable with basic tools like a screwdriver and pliers. If your chair sinks or feels unstable, the gas cylinder likely needs replacement. Turn the chair upside down, remove the old cylinder using a mallet or wrench if it’s stuck, and select a replacement that matches the size and capacity of the original. Before assuming parts are broken, check if the recline lock lever is simply in the locked position, as this is a common and easily fixed issue. For motorized recliners, a failure to recline is often due to issues with the power actuator or its wiring. A systematic way to diagnose this is to test the buttons and actuator individually to isolate the fault. Install the new gas cylinder, then test for smooth operation and check for leaks. After any repair, make sure all fasteners are tightened securely.

Vari-Tilt Mechanism Cylinder

【Size Information】Gas Spring Shock Strut extended length approx 32cm/12.60inch, please refer to the image for detailed size data
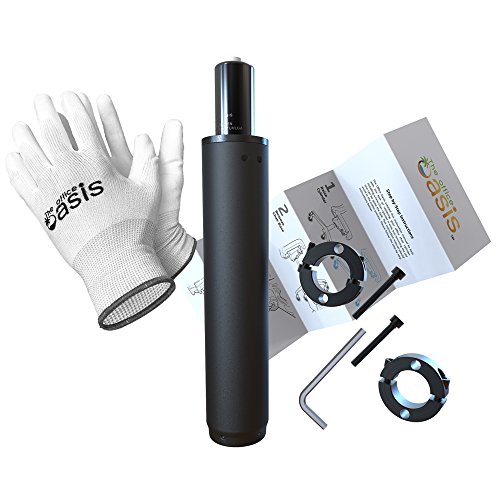
★ EASY REMOVAL & INSTALLATION – We invented the first cylinder replacement kit with a purpose-built removal tool in 2016. No more struggling for hours with tools you don’t have. Since then, our kits have helped fix 120,000+ office chairs, backed by the original American family business that guides you through every step.
Carefully Disassemble the Chair to Access Internal Mechanisms
To access the internal mechanisms of the chair, disassembling it carefully is essential. Begin by clearing your workspace and donning safety gear such as gloves and eye protection. For upholstery removal, detach all fabric fasteners like Velcro or staples from the base and backrest. Gently pull the upholstery away to expose the frame underneath, and use a vacuum with an upholstery attachment to clear any dust or debris from the exposed surfaces. Then, locate all screws and fasteners connecting the backrest to the seat and unscrew them, placing the hardware securely in a bag to prevent loss. When detaching the backrest, you may need to locate and unlock locking levers or spring clips as described in disassembly guides. Flip the chair over to access the underside and find the reclining mechanism. A common culprit for stuck movement is a jammed cable or spring that needs to be released to restore function. To remove it, press any locking tabs and carefully unscrew the mounting hardware holding it in place. If your chair features a power recliner, perform a wiring inspection by disconnecting and labeling all cords before proceeding to separate the internal sections. Always start by ensuring the chair is unplugged from power and any battery packs are disconnected for safety.
Replace the Entire Reclining Mechanism
To successfully replace the entire reclining mechanism, start by identifying your recliner model and sourcing the correct OEM replacement parts. Locate the label on the chair to record your model number and confirm the frame specifications. Once you have the new unit, remove the bottom panel to expose the internal frame. Inspect the area for debris and consider cleaning the upholstery now to prevent future issues. Disconnect the release cable attached to the mechanism and unbolt the old reclining unit. Before installing the new mechanism, check for any necessary frame reinforcement on the mounting points. Carefully align the new mechanism, bolt it in place, and reconnect the release cable. It is strongly recommended to inspect all parts for damage during this disassembly to identify any other issues with springs or the seat frame. Finally, cycle the chair manually to test the operation before reassembling the bottom panel.

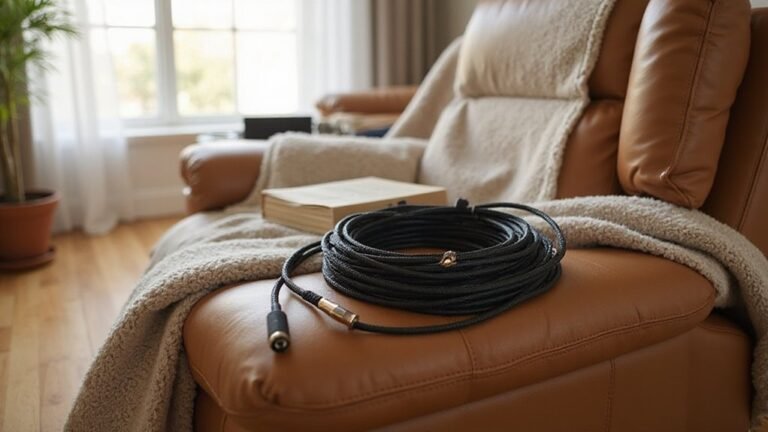
【Universal Recliner Cable】Universal recliner replacement cable with D-ring pull handle fit Most mainstream reclining sofas and recliner brands, such as Ashley, Lazy Boy couch, Flexsteel, catnapper, Lane, Stratolounger, Seatcraft, reclining sectional and loveseats recliner.

Match by Size: oval handle face 3.5 by 3 in; exposed cable length about 4.75 in, measured from the buckle to the top of the Z-hook bend; total cable length about 37 in. Compare these three numbers with your original part - sizes vary a lot between models, so measure first.

UNIVERSAL RECLINER SOFA PARTS: Exposed Cable Length 4.9 inch. The recliner cable replacement is suitable for most brands recliner sofas and chair, such as Ashley, Lazy Boy etc.
Know When to Call a Professional
Some issues with your recliner clearly require professional attention. Mechanical failures, such as a broken locking assembly or gears that cause grinding noises, usually need specialized parts and skills to fix properly. Do not attempt to repair structural damage to the frame yourself, as this can cause further injury or weaken the chair’s stability. Electrical problems like a humming motor that won’t move or frayed wires should always prompt a call to a professional because of risks including shock and fire hazards. If your recliner is still under warranty, contacting the manufacturer for authorized service is essential. Lastly, if you’ve already tried basic troubleshooting like tightening screws and lubricating moving parts but the problem persists, it often indicates a deeper issue that requires expert intervention.