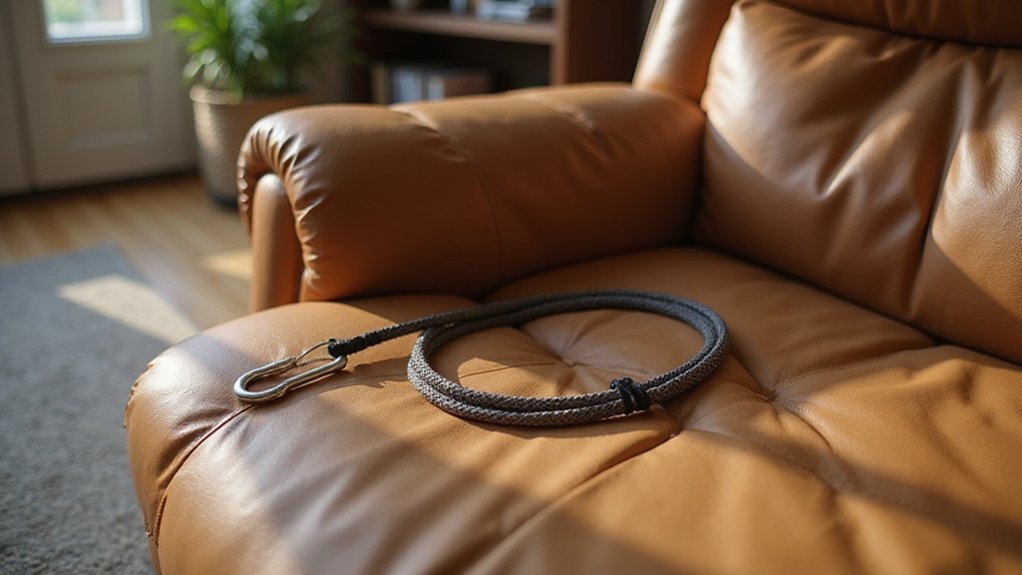
If your recliner handle has broken or stopped working, it can be frustrating to get it back in shape.
Replacing the pull cable is a straightforward fix that you can do yourself with just a few tools.
Once you’ve learned the steps, you’ll be able to restore your chair’s functionality quickly and without a costly service call.
The guide below walks you through the entire process.
Gather Your Tools and a Replacement Recliner Cable
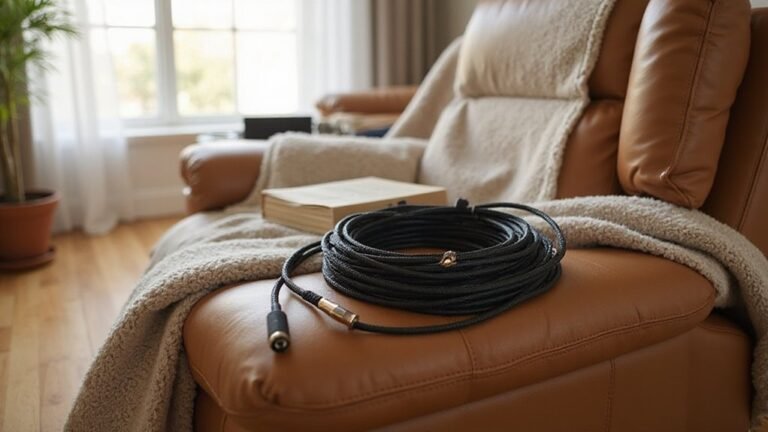
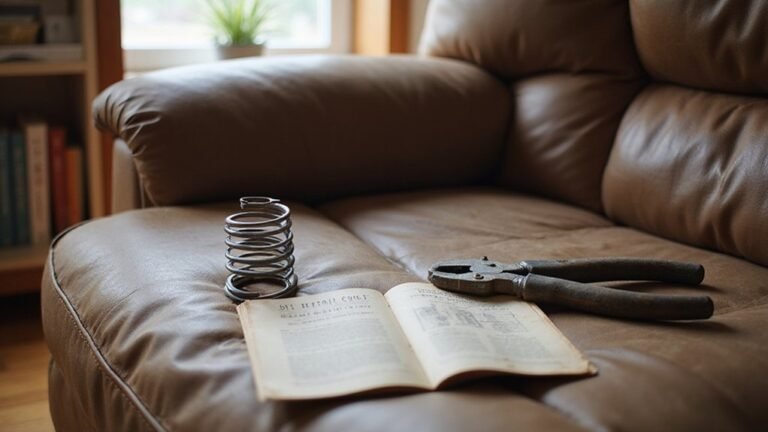
Before beginning, gather the necessary tools: a Phillips head screwdriver, a small flathead screwdriver, needle-nose pliers, wire cutters, and safety glasses. You will also need a universal replacement cable that matches specific criteria. Choose a 37-inch cable with a 5mm diameter, featuring an S-shaped hook at the barrel end and an exposed cable without any sheathing. The absence of cable insulation is essential for proper mechanism operation. Before any repair, it’s wise to check the chair’s structural integrity for any other issues. Ensure compatibility by matching your handle style since handle aesthetics affect the fit. Verify that the cable’s tab aligns with the existing hole and that the clip seats securely in the plastic groove. A suitable replacement typically costs between ten and fifteen dollars. Using the correct parts helps prevent installation issues and ensures smooth operation. This repair restores manual control, unlike a dual power recliner which uses motors for adjustment. To save money, consider that a two-pack is available if you need to repair multiple recliners or want a spare on hand. For specific brands, consult their modular disassembly tips before you begin.

Material: Made of high quality plastic and metal

【Universal Recliner Part】Universal Recliner cable replacement fit Most major furniture and recliner brands, such as Ashley, Lazy Boy, and so on.

Convenient Recliner D-Ring Cables: Unique couch recliner pull cable replacement D-ring pull handle allow you easily grip the recliner handle when you lay back the sofa and release the recliner cable, finish the step by easily clipping with the S tip of the string
Remove the Trigger Handle to Access the Broken Cable
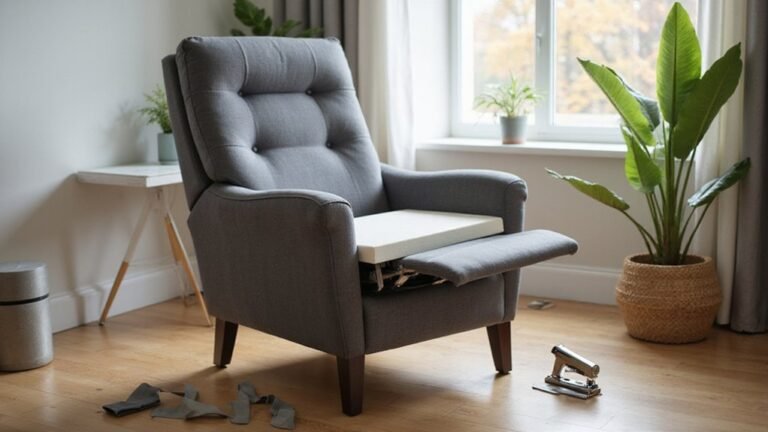
To remove the trigger handle, start by taking it off the chair. First, ensure your safety by confirming the footrest is closed and the recliner is stable. Locate the two Phillips-head screws that secure the handle—one at the top and one at the bottom of its housing. Use your #2 screwdriver to carefully remove both screws, placing them in a container to prevent losing them. Gently pull the handle straight up from the frame. This exposes the cable path inside the arm, giving you initial access to the broken cable without disturbing the mechanism. To facilitate the release, you may need to pull the latch while removing the handle. This careful method can often provide the necessary access without full seat removal, which is a common goal in these repairs. It’s a good practice to perform these final stability and functionality checks throughout the repair process. If you encounter levers similar to those holding a recliner back panel, use a flathead screwdriver to gently release them.
Locate and Release the Cable From the Recliner Mechanism
To locate and release the cable from the recliner mechanism, start by examining the cable routing from the trigger handle through the upholstery. You may need to tilt the chair over to access its underside. Use a flashlight to follow the cable from the handle down to the metal mechanism beneath the chair. Find the S-shaped end of the cable hooked onto the pivot hook of the mechanism. If there’s a plastic securing clip holding the cable tension, pinch it closed with pliers to release the tension. Carefully lift the release arm to create slack in the cable, then unhook the S-shaped end from the pivot point. For stubborn clips or tabs, you can use pliers to pinch and remove them as needed, and a flathead screwdriver can be useful for releasing stubborn brackets. Before tilting the chair, consider removing the back panel for easier access and to avoid snagging the cable on internal components. Keep in mind that a power recliner uses electric motors for adjustment, so this repair process is specifically for a manual recliner. Once fully free, gently pull the cable out from inside the chair, guiding it around any obstacles to avoid snags.
Thread and Secure the New Pull Cable in Place
Thread and secure the new pull cable in place. Begin by following the documented path, inserting the S-hook into its designated metal slot. Guide the cable through the frame carefully, making sure it passes around any plastic clips along the route. Feed the cable through the hole in the lever, ensuring it avoids any obstructions that could interfere with smooth operation. As you pull the cable through, keep it taut to prevent kinks or slack that could affect performance. For a neat and secure finish, consider using the clasps and straps method commonly used to install recliner covers.
Once the cable is threaded correctly, attach the S-hook securely to the mechanism. The replacement cable typically includes a tension spring to help control slack and improve retraction. Screw the lever onto the cable end and tighten the connection firmly to prevent slipping. Before finalizing, perform a tension adjustment by pulling the cable to eliminate any slack. The goal is to have the cable tight enough to function properly without being strained, which could cause damage or stiff operation. Remember to also inspect and lubricate the reclining mechanism as a part of routine maintenance to ensure smooth operation after the repair. If your chair is a power recliner, always disconnect it from the electrical wires before starting any repair. Secure the cable in place with clips or ties, ensuring it remains taut during use.

Smooth Reclining Restoration – Is your recliner’s pull ring broken, stiff, or no longer gliding smoothly like it used to? Our sofa recliner handle replacement easily fixes sluggish and jerky reclining issues, letting you recline and release the cable effortlessly for buttery-smooth operation every time
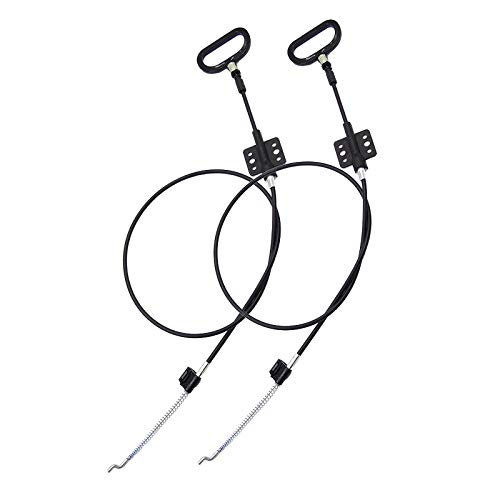
1.D-RING HANDLE :This handle is a universal replacement cable found in the arm of most major brands. It is used on recliners that have the handle in between the seat cushion and the arm.Handle size:is 2" x 2.5".

Oh Snap! - Did the sofa recliner pull ring suddenly broke or doesn't feel smooth anymore? Check out our Nonley sofa recliner handle replacement with updated design with superior grips!
Reattach the Handle and Test the Recliner’s Motion
Reattaching the handle correctly is essential for smooth recliner operation. Start by aligning its mounting holes with the screw points on the frame. Carefully slide the handle into the bracket until it sits flush against the frame. Check that the cable routing is correct; the cable should pass smoothly through the handle barrel without snagging or tight bends. Secure the handle using the original mounting screws, tightening them firmly with a screwdriver. Be careful not to over-tighten, as this could cause damage. Replacement handles are available in several finishes including black, brown, and metal, so you can match your chair’s upholstery like durable leather or fabric. In contrast, a stuck power recliner during an outage often requires a different approach, such as using a motor bypass or reset. Reconnect the cable’s S-hook to the metal mechanism, ensuring the hook is fully seated and secure. After reassembly, test the recliner’s motion by pushing the handle to recline and releasing it. Repeat this process to confirm consistent, smooth operation without lag or unusual noise. Regular maintenance of mechanical parts is key for longevity, which can help extend your furniture’s average lifespan significantly.
Fix Improper Cable Tension or Handle Lag
To fix improper cable tension or handle lag, start by diagnosing the underlying issue. Look for signs such as a delayed response when pulling the handle or excessive force needed to operate it. Inspect the cable and pulley system for frayed wires, worn pulleys, or debris inside the housing, as these can cause lag. Just like a squeaky recliner can benefit from routine care, ensuring all pivot points are clean and lubricated can prevent future cable stiffness and lag. Proper cable maintenance involves adjusting the tension: loosen the set screws to access the adjustment point, then rotate the adjustment bolt clockwise to increase tension and remove slack. If necessary, use needle-nose plers to reposition clips precisely. Always test the handle by pulling gently without fully reclining to check for responsiveness, and remember to consult the manufacturer’s guide for your specific chair model to avoid compromising safe use, especially for someone who may be using it for pregnancy-related comfort. If components appear worn or damaged, replacing the cable and spring can restore smooth operation and eliminate lag. These DIY approaches can be done with basic tools and materials from hardware stores, similar to fixing a sagging recliner seat.
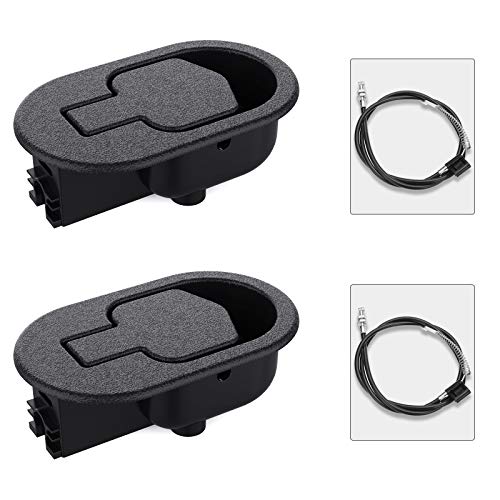
【BARIDWON Recliner Replacement Parts:】 Ideal for replacing worn-out and broken recliner handles and cables. Compatible with most major recliner sofa brands, like Ashley, Lazy Boy and more. (NOTE: Measure your original handles and cables to ensure compatibility before buying)

【Universal Recliner Part】Universal Recliner cable replacement fit Most major furniture and recliner brands, such as Ashley, Lazy Boy, and so on.
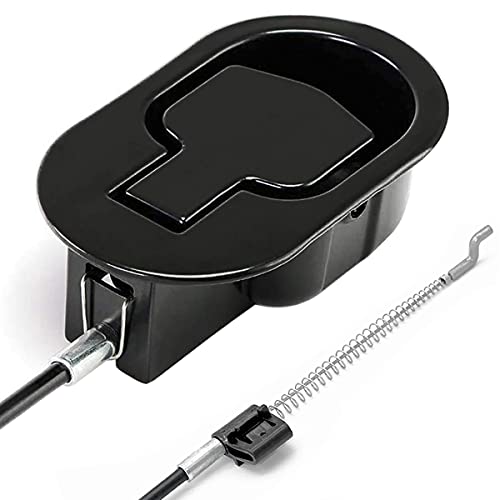
【Universal Recliner Part】Universal recliner replacement handle with long cable fit Most major furniture and recliner brands, such as Ashley, Lazy Boy.