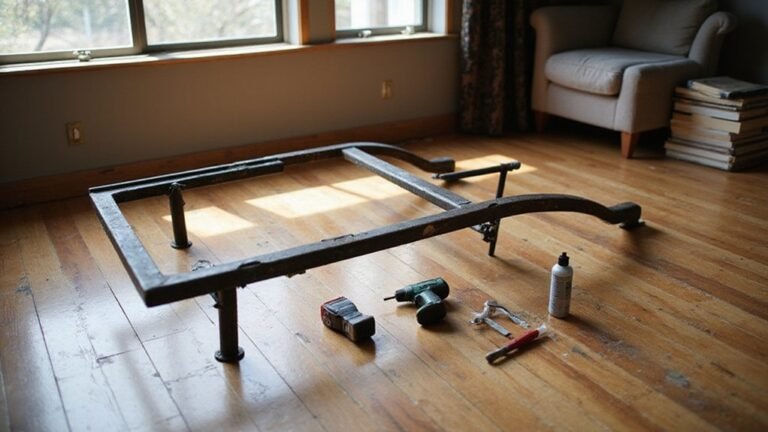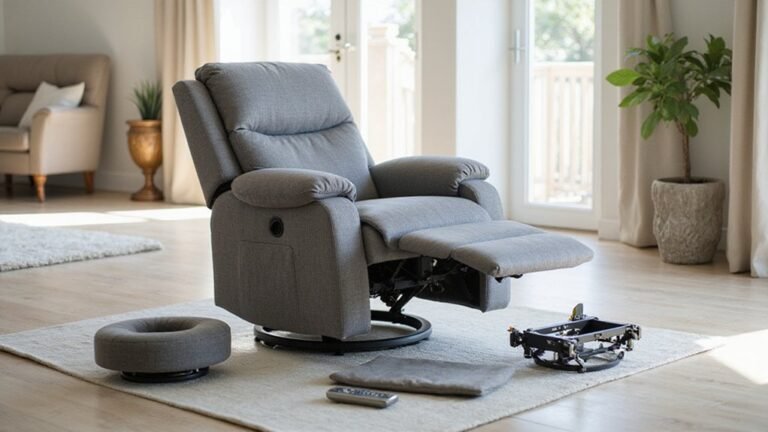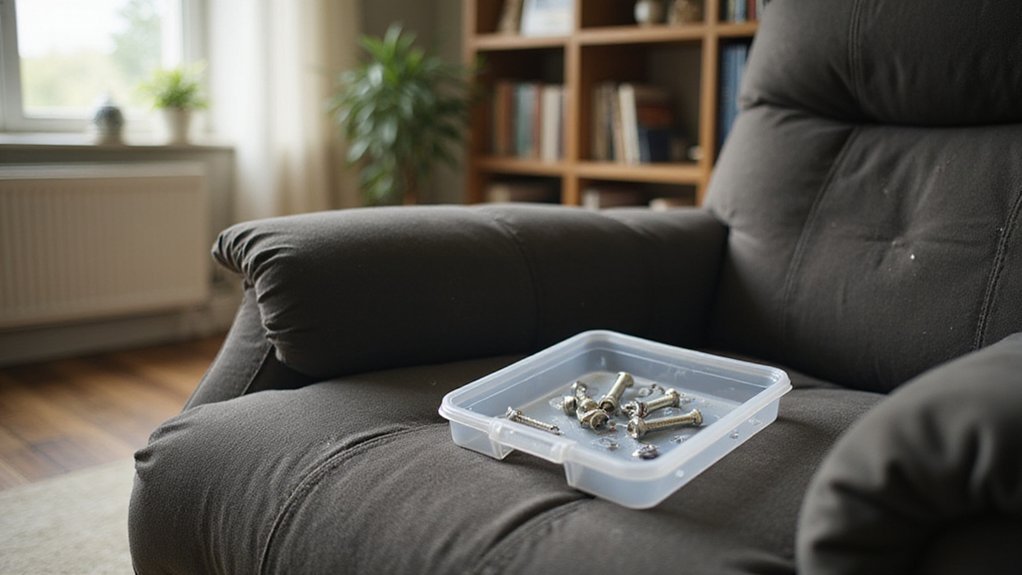
If your recliner’s back won’t stay in place and keeps slipping down, you’re not alone. A loose back can make relaxing uncomfortable and annoying.
Luckily, fixing it often involves simple steps like tightening screws or checking the locking mechanism.
By following a few easy tips, you can restore your recliner’s stability and get back to comfort.
The details you need are right below.
Diagnose Why Your Recliner Back Is Loose
To diagnose why your recliner back is loose, start by inspecting the internal components. A common cause is worn internal springs that have lost their tension, which may require replacing the springs. Next, examine the locking pawl and toothed plate; if these parts are stripped or not engaging properly, the back will not lock securely. Check all metal brackets for cracks, breaks, or signs of stress, as damaged brackets compromise stability. You can often access these brackets by disassembling the sofa frame as detailed in moving guides. Lastly, inspect the recliner lever and its cable system for any signs of damage or disconnection. Regular checks can enhance safety and comfort by helping you catch these problems early. Addressing this promptly helps maintain independent mobility and prevents the strain on joints that a faulty chair can cause. While doing this, make sure you don’t mistake a shifted cushion for a loose frame, as a displaced cushion can mimic a loose back but won’t affect the mechanical parts. When inspecting your recliner’s operation, it’s also wise to check for a manual override feature that could allow for manual adjustment if the mechanism ever jams. Proper diagnosis involves a careful, step-by-step examination of these critical areas to pinpoint the root cause before attempting repairs.
Tighten the Recliner’s Screws and Bolts First
Tightening the screws and bolts is the first step to stabilizing your recliner. Begin by locating the attachment points, which are often hidden beneath fabric flaps or covers. Use a flashlight if needed to reveal any hidden hardware. Check each screw and bolt for wobbling or looseness. Select the appropriate screwdriver or wrench that matches the hardware to prevent stripping the heads or damaging the frame. When tightening, apply firm, even pressure—avoid overtightening, as this can strip threads or crack the material. Tighten screws and bolts on both sides incrementally and evenly to ensure balanced support. Perform a thorough inspection of the seat frame and springs, checking the tightness of bolts connecting the seat frame to the arm frame. During this inspection, be mindful of safety risks like pinching hazards common when working with mechanical furniture. Understanding the typical lifespan of power recliners can help you assess if the wear on your chair is normal or indicative of a larger issue. For persistent issues, remember that a comprehensive DIY troubleshooting guide can help you diagnose mechanical problems before seeking professional help. After securing all fasteners, gently test the backrest’s stability by twisting it slightly to see if it feels secure. This process ensures the frame remains sturdy and ready for additional repairs.
Inspect and Fix the Attachment Mechanism
To fix a loose recliner back caused by the internal attachment mechanism, start by checking the pivot alignment. Examine the metal pivot rod for bends or warping, and ensure it moves smoothly through its bracket without excessive friction, as any obstruction can cause looseness. For balanced support, always make symmetrical adjustments on both sides of the chair when tightening components. Next, inspect the bracket mounting points on the frame for cracks or damage that might compromise stability. Then, evaluate the cable adjustment system: look for frayed or detached cables at their anchor points and verify that the spring hooks are secure. A broken hook or a spring that is overly stretched can weaken the connection and lead to looseness, so consider replacing broken zig-zag springs to restore proper tension. After securing any damaged components, ensure all bolts and screws are tightened properly to maintain the frame’s integrity. Once the mechanism is secure, you can further stabilize the sofa by using anti-slip pads under its legs to prevent any residual backward movement that might strain the repair. Ensuring proper pivot alignment and correct cable tension are essential steps toward restoring a secure recliner back.

Precision Fit for Recliners: receive a single, precisely crafted drive tube, measuring approximately 29.75 x 0.5 x 0.5 inches; This size is designed to accommodate most recliners, ensuring a seamless fit, please confirm measurements prior to purchase

Fits Most Recliners: replacement pull handle with cable for manual recliner sofa, couch and chair; works with most major brands like Ashley and Lazy Boy. Exposed cable length is 5.1 in from the clip to the top of the Z-hook bend; to the cable sleeve it reads about 4.7 in, to the hook tip about 5.5 in - if your old cable measures anywhere in between, this is the right part.
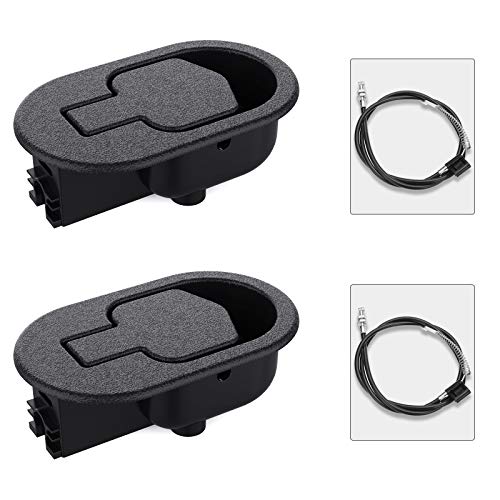
【BARIDWON Recliner Replacement Parts:】 Ideal for replacing worn-out and broken recliner handles and cables. Compatible with most major recliner sofa brands, like Ashley, Lazy Boy and more. (NOTE: Measure your original handles and cables to ensure compatibility before buying)
Fix the Recliner’s Tension or Lock
To fix the recliner’s tension or lock, start by locating the adjustment knob or wing nuts underneath the seat. Tilt the chair forward and use a flashlight to see clearly. Turn the knob clockwise to increase tension, which helps prevent the back from slipping. Make small adjustments, turning in half-turn increments, and test the recline after each adjustment to find the right level of resistance. If replacing a spring, choose a durable material that can withstand frequent use. Before proceeding, ensure safety by following procedures like disconnecting the power source. For other issues like a recliner that leans to one side, you may need to tighten screws and bolts for proper realignment. When selecting parts, consider both functionality and appearance; visible components should not detract from the chair’s overall look. Always use the correct tool, such as an Allen wrench, and avoid forcing components to prevent damage. For extensive issues, consider upgrading to a chair with enhanced safety features like those found in power lift recliners.

Backsaver 6700 and 6750 model chairs

4-5/8 inch Overall Length [ [4-3/8 inch Inside of Hook to Inside of Hook]

Product Dimensions: Total length:3-5/8 inches (measured from hook to hook as 3.46 inches), coil diameter: 13/20 inches, coil body length: 1-13/22 inches, wire diameter: 2mm, hook angle: 45 degree deflection
Realign the Backrest for a Perfect Fit
To realign a loose backrest for a perfect fit, start by examining the metal brackets connecting the backrest to the frame and locate their plastic clips. Ensure that all parts are cool to touch before proceeding. Check the brackets for symmetry by measuring the distance between them and look for uneven gaps where the backrest meets the frame. If you notice warped bracket arms, use adjustable pliers to carefully bend them back into proper alignment. This mechanism functions similarly to the gears and levers in a motorized recliner, where precise alignment is crucial for smooth operation. Like a dual power recliner which uses independent motors for fine-tuned positioning, your manual adjustments require careful control. Before proceeding, it’s wise to check the chair’s structural integrity to ensure a stable foundation for your repair. Insert the bracket arms into their designated frame slots, pressing down evenly until they click securely into place. Tighten any loose bolts to eliminate wobbling, and for a more precise adjustment, make small incremental adjustments to prevent damage and ensure stability. Finally, smooth out the backrest padding by patting it gently and ensure the fabric sits evenly against the frame without gaps, confirming a secure and flush fit.
Clean and Lubricate the Recliner Mechanism
To keep your recliner mechanism moving smoothly, regular cleaning and lubrication are essential. Begin by vacuuming dust from all joints, springs, and crevices to remove debris that can cause wear. Wipe down the joints with a damp cloth to eliminate grime and dirt buildup. Scrub the glide tracks thoroughly to ensure smooth movement. Check underneath the footrest for any obstructions or debris that could hinder operation. For a deeper clean, you can use a mild detergent solution to gently lift dirt from mechanical surfaces, ensuring not to over-wet them. This careful cleaning is especially important if you plan on moving the chair, as a clean and well-lubricated mechanism is easier to secure properly during transport.
For lubrication, apply a silicone spray or white lithium grease evenly to all moving joints and pivot points. Avoid using oil-based lubricants as they can attract dust and dirt, leading to gumming up or sticking. Repeatedly recline and return the chair to help work the lubricant into every moving part. Once done, wipe away any excess lubricant to prevent dust from sticking. This maintenance is important for all recliners, including power recliners that rely on electrical mechanisms. Performing this maintenance every three to six months for daily-use recliners, or once a year for infrequent use, ensures quiet, smooth operation and prevents stiffness over time.
Replace Broken Springs or Brackets
To replace broken springs or brackets, start by locating the mechanism and inspecting for damage. Look for broken coils or cracked hardware on the springs. For brackets, check for signs of wear or stress cracks. Use pliers to detach the old parts carefully, noting their original positions to ensure correct reinstallation. When selecting replacement springs, match the coil diameter and hook style precisely to ensure proper tension. For brackets, confirm that the new pieces are compatible with your model. Secure new springs by hooking each end firmly, ensuring they are seated correctly. Examine the tension wire for integrity, as an intact tension wire can often be reused. Attach the replacement brackets using the provided hardware, tightening them securely. If the issue involves the backrest itself, remember the entire back panel is often secured by spring clips on side brackets and can be removed if needed for better access. Before finalizing your work, ensure all connections are secure, similar to the care taken when connecting a power cord to an electric recliner motor. Manually cycle the backrest to test the tension and smoothness of movement. Make adjustments if necessary before completing your safety checks.

FIX SAGGING FURNITURE WITH PROFESSIONAL RESULTS: Give your recliner chair, sofa, or couch a durable upgrade with this couch repair kit. Includes all components—springs, wire, spring clips, and screws—needed to restore couch cushion support and sofa support for sagging cushions. Perfect for DIYers who want to fix sagging seats and foundations, bringing new life to your furniture with long-lasting, heavy-duty materials.
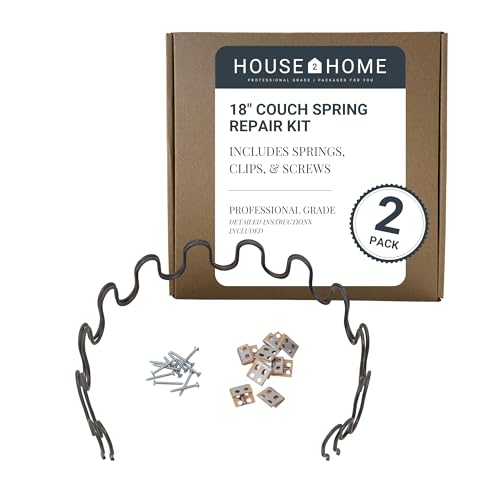
REPAIR SET - Whether you are working on a new upholstery project or just looking to fix a seat on an antique sofa or chair, this sinuous spring repair set includes the basic parts you'll need. It includes 2 no sag springs, 8 spring mounting clips (s-clips), 16 screws, and step-by-step instructions for installation

2 1/2 inch short hook spring
How to Reattach the Backrest Correctly
To reattach the backrest correctly, start by aligning its mounting brackets with the frame’s slots. Make sure both sides slide evenly onto the metal posts. Before lifting, verify that all lock levers are in the open position and remove any fabric flaps that may obstruct the process. Lift the backrest straight upward and then slide it down until you hear a clear clicking sound, indicating it’s securely in place. You can then pull down the recliner covering and fasten it over the bottom of the recliner back.
Next, test the lock mechanism by flipping the levers to their closed positions, ensuring they lock properly. Tighten any bolts snugly, but avoid over-tightening to prevent damage or misalignment. Finish by pulling the fabric flap back over the brackets and securing it with Velcro. Finally, gently shake the backrest to confirm it is stable and sits flush against the frame, ensuring a secure reattachment.

Thickened high quality metal material, sturdy structure, durable and strong, not easy to corrode, can be used for a long time
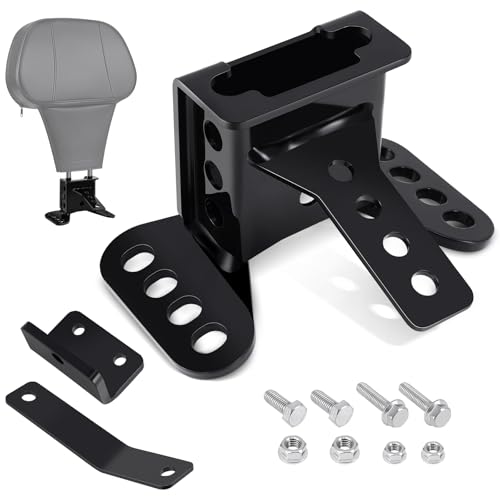
【WIDE COMPATIBILITY】 The Benlari driver backrest backrest fit for Harley Davidson Touring models including Street Glide, Electra Glide, Road Glide, Road King, and CVO from 1988 to 2024 with a one-piece slotted seat. Note: Not compatible with Trike models, 2021 and later FLH models, or two-up seats.

Practical good things: Made of metal materials, strong load-bearing force, smooth surface, strong and firm, not easy to bend, long-term use will not break, is a high-quality material connector.
Test the Recliner’s Stability Before You Relax
To ensure your recliner’s stability before you settle in, conduct a series of straightforward yet essential tests. Start by checking the lock’s engagement: recline the chair to 120 degrees, then firmly lock it in place. Lean back with your full weight; the chair should not slip or shift at all. Repeat this process at its maximum recline position to confirm stability across its range.
Next, evaluate side-to-side movement while locked in each position. Excessive wobbling indicates loose frame bolts or structural issues. Then, test the chair’s mid-travel reversal by gently shifting it from reclined to upright. Listen for any clunking or hesitation sounds, which can signal worn pivots or defective mechanisms.
Inspect the footrest tracking by extending it fully and ensuring it follows a straight, smooth path without wobbling or misalignment. Finally, verify overall stability by shifting your weight side to side and front to back. If the chair wobbles, shifts, or produces any concerning noises during these tests, it’s best to address those issues before relaxing. It’s also wise to conduct a visual inspection of the power supply and connections, as loose wiring can unexpectedly affect operation.
While the available color options can enhance your style, these practical tests focus on material durability and mechanism integrity. Do not settle in until the chair confidently passes all checks for stability—anything less might compromise your safety and comfort.