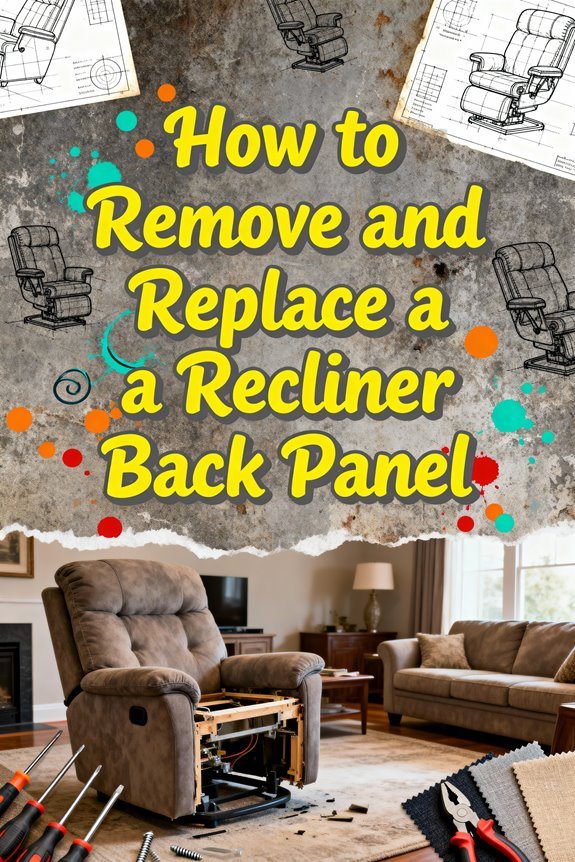
You can diagnose and fix most recliner issues with basic household tools and systematic troubleshooting. Start by checking mechanical components like release cables, handles, and springs for wear. For electric recliners, test the power supply and wiring connections with a multimeter. Lubricate pivot points, tighten loose screws, and repair upholstery tears using appropriate materials. While many repairs are DIY-friendly, complex problems with motors or structural damage may require professional expertise. The following guide breaks down specific repair techniques for common recliner problems.
Common Recliner Problems and Quick Diagnosis
When your recliner starts malfunctioning, identifying the root cause is essential for proper repair. Check for mechanical wear by examining the release cables, handles, and springs for damage or detachment. If you’re dealing with an electric recliner, observe whether it’s unresponsive, moves erratically, or stops mid-recline – these symptoms typically indicate motor or actuator problems. Using a surge protection device can prevent electrical damage to your recliner’s components and extend their lifespan. Testing components with a multimeter test can help pinpoint electrical issues precisely.
Among the key recliner maintenance tips, inspect for loose screws, misaligned components, or foreign objects that might obstruct movement. Listen for unusual noises during operation and check if the footrest extends evenly. For electric models, verify power connections and look for damaged cables. Pay attention to resistance when reclining, as this could signal rust formation or lack of lubrication at pivot points. Consider checking your recliner’s remote batteries before attempting more complex repairs, as this is often the simplest solution.
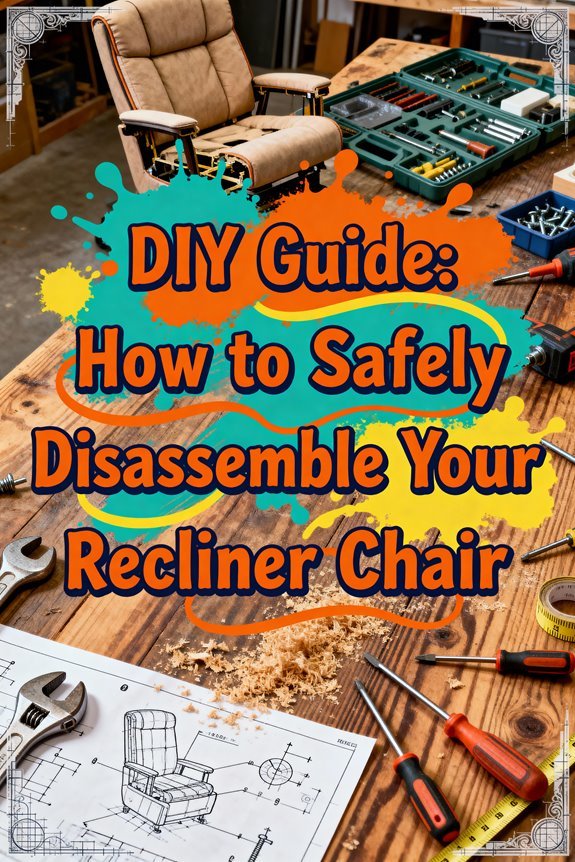
Tools and Materials Needed for Recliner Repair
Before attempting any recliner repair, gathering the proper tools and materials guarantees efficient troubleshooting and successful repairs. Your tool selection should include essential hand tools like screwdrivers, wrenches, pliers, and wire cutters for basic disassembly and mechanical work. For upholstery repairs, you’ll need a staple remover, sewing machine, and marking implements. A specialized Torques screwdriver may be required for removing certain fasteners during disassembly. Learning to fix common issues like broken cables can save significant repair costs.
Material sourcing involves obtaining the right fasteners, replacement parts, and upholstery supplies. Stock up on heavy-duty staples, foam padding, and polyester batting. Don’t forget safety equipment like goggles and gloves. Power tools, including a drill driver and electric staple gun, will speed up your work. You’ll also need cleaning supplies and adhesives for proper preparation. Consider keeping repair manuals and guides handy for technical reference during the repair process. Replacement cable kits are readily available through online suppliers for DIY cable repairs.
Fixing Stuck or Loose Reclining Mechanisms
With your tools ready, addressing stuck or loose reclining mechanisms starts with proper diagnosis of the core issue. Begin your recliner mechanism analysis by examining the underside for stretched springs, damaged locking pawls, or compromised cables. If you find the lever isn’t engaging properly, check for disconnected or loose components that need tightening. For optimal safety and effectiveness, ensure you gather essential tools before starting any repair work. If your chair leans to one side, check for bent tension springs that may need replacement. Some recliners allow you to adjust tension using thumb screws located underneath the seat.
When adjusting recliner tension, first disconnect the cable by releasing the plastic clip from the metal connection piece. Inspect the cable for strain or breaks, and verify the locking pawl’s interaction with the toothed plate. Apply appropriate lubricant to pivot points and springs if you notice sticking. Tighten loose screws on the locking pawl, but avoid over-tightening as this can cause binding. Test the mechanism’s operation after each adjustment to ascertain smooth functionality.
Repairing Broken Springs and Tension Issues
Successful spring repair in recliners begins with accurate diagnosis of tension and breakage issues. You’ll need to locate the damaged springs by identifying attachment points on the metal frame while the mechanism is in a mid-range position. Always wear protective eyewear, as springs can snap unexpectedly during removal. Keep your work area free of clutter to ensure a safer repair environment. Using needle-nose pliers provides better control when removing and installing springs.
For spring replacement, measure the existing components or consult manufacturer specs to guarantee proper sizing. Install new springs by carefully stretching them onto designated hooks, maintaining uniform spring tension throughout. Secure them with appropriate clips and cross brace wires to prevent migration. Adding closed-cell foam beneath springs can provide additional support and stability. Check that all connecting points are firmly attached and properly distributed to avoid uneven wear. If you’re addressing tension problems, inspect for overstretching and adjust or replace springs as needed to restore proper reclining function.
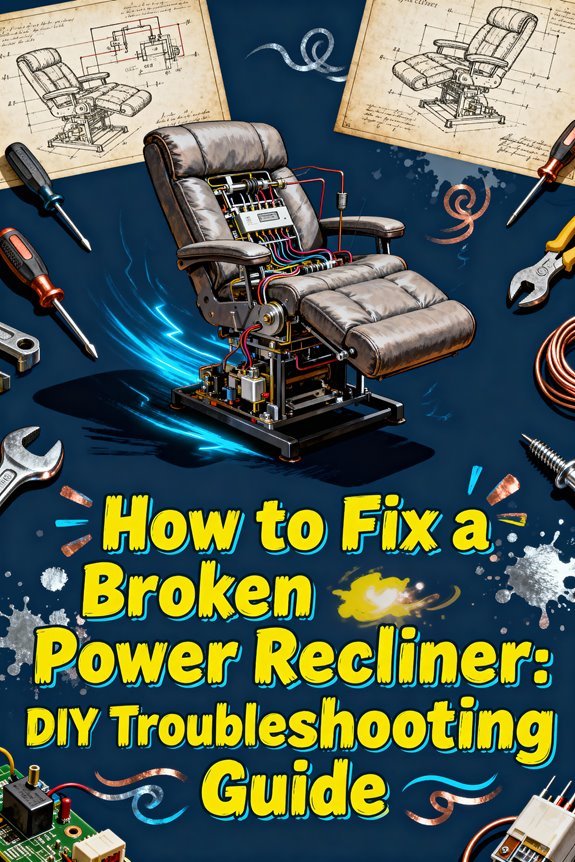
Troubleshooting Electric Recliner Malfunctions
When your electric recliner malfunctions, start by examining the power supply components systematically. Test the outlet with another device and check for green indicator lights on the transformer. Use a multimeter to verify the power supply’s 29-volt DC output and inspect all power cords for damage. The presence of solid LED lights indicates properly energized relays during normal operation.
If power isn’t the issue, investigate wiring issues by checking for broken cables, especially near connection points and motor housings. Test the hand control buttons using a multimeter for continuity, and ascertain all connectors are firmly seated. Listen for motor sounds when pressing buttons – noise without movement typically indicates motor failure. The gear mechanism converts motor rotation into smooth reclining motion. For wireless models, verify remote pairing and battery condition. Don’t attempt to force manual movement, as this can damage internal components. Consider installing a battery backup system to maintain basic functionality during power outages. Professional assistance is recommended for direct motor testing due to potential risks.
Addressing Footrest and Lever Problems
Footrest and lever problems represent common failure points in recliner chairs, often stemming from mechanical wear, debris accumulation, or misalignment. You’ll need to check for dirt and pet hair clogging the tracks, which can impede proper footrest movement. For lever adjustments, inspect springs and cables connecting to the handle assembly, as loose or broken components will affect operation. For a simple DIY fix, try using a clean sock lubricator to restore smooth movement. Wooden supports may require reinforcement with wood glue if cracked or weakened.
To address these issues, start by cleaning and lubricating the footrest tracks. Then, verify footrest alignment by checking for proper closure and lock engagement. If you notice striking or jamming, examine the frame for bending or warping. Keep a Phillips screwdriver handy for making quick adjustments to the mechanism. Tighten loose screws and replace any damaged springs to restore lever function. For persistent problems, you may need to disassemble the mechanism to access and repair internal components.
Resolving Squeaks and Stability Issues
Beyond footrest and lever repairs, squeaks and stability issues can considerably impact a recliner’s comfort and functionality. For effective squeak prevention, first identify common noise sources like rocker springs, metal-on-metal contact points, and loose components. Apply silicone-based lubricants directly to springs and pivot points, avoiding WD-40 which can attract dust and dry out mechanisms. A thorough visual inspection underneath helps pinpoint exact squeak locations for targeted fixes. Regular testing after each repair step ensures reclining mechanisms are properly maintained.
For stability maintenance, tighten all screws and bolts, and inspect the wooden frame for cracks. Add felt pads between contact points and guarantee even floor contact using furniture levelers. Clean tracks regularly and secure loose wiring with electrical tape. Consider replacing worn springs or mechanisms if lubrication doesn’t resolve persistent squeaks. For wood-on-wood friction, apply furniture wax or specialized lubricants to reduce noise and maintain smooth operation. A malfunctioning locking pawl often requires immediate attention to prevent further chair damage.
Upholstery Care and Fabric Repair Tips
Four essential techniques form the foundation of proper recliner upholstery repair: fabric patching, padding restoration, seam repair, and surface cleaning.
For holes under 0.6 cm, apply adhesive from edges inward, then distribute matching fibers through a mesh sieve. Larger tears require backing fabric and precise color matching. When restoring padding, check for compression and add foam layers strategically to maintain uniform support. Repair seams using upholstery thread and reinforced stitching techniques, especially in high-stress areas. Consider using a Coconix repair kit for professional-looking results at a fraction of professional repair costs. Begin with a spot test on an inconspicuous area before applying any cleaning solutions to prevent fabric damage.
Among upholstery cleaning techniques, regular vacuuming with proper attachments prevents fabric degradation. Apply fabric maintenance tips like prompt stain treatment and avoiding excess moisture during cleaning. For thorough repairs, document original upholstery patterns before removal and preserve attachment points for accurate reassembly. Avoid selecting linear patterns for replacement fabric since they can appear misaligned due to the recliner’s moving parts.
When to Call a Professional Repair Service
While many recliner repairs can be handled at home, certain issues demand professional intervention for safety and longevity. Key signs professional help is needed include structural damage to wooden frames, major joint failures, or damaged reclining mechanisms that require specialized tools and expertise. Experienced technicians can provide peace of mind warranties that protect your investment.
Inspecting for debris buildup around mechanical parts can help determine if professional cleaning is needed. Safety risks escalate when complex repairs involve springs, motors, or compromised mechanisms that could cause injury if improperly fixed. Proper assessment of tension wire systems is crucial for maintaining even weight distribution and stability. You’ll want to evaluate repair costs carefully – while DIY might seem cheaper initially, poor-quality fixes often lead to higher expenses long-term. Time constraints and lack of technical experience can make professional services more practical, especially for intricate mechanical repairs. When dealing with extensive upholstery damage, antique furniture, or complex repairs requiring precise matching of materials, it’s best to trust a qualified technician who can guarantee lasting results.